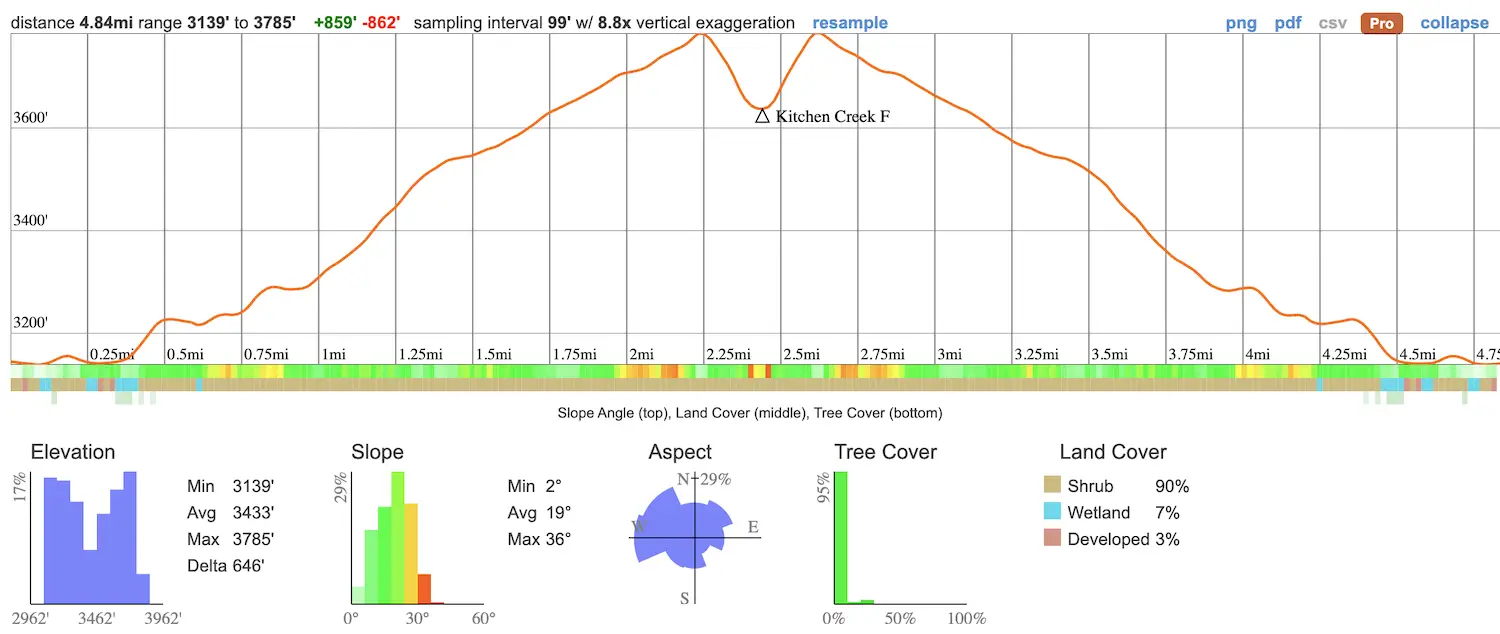
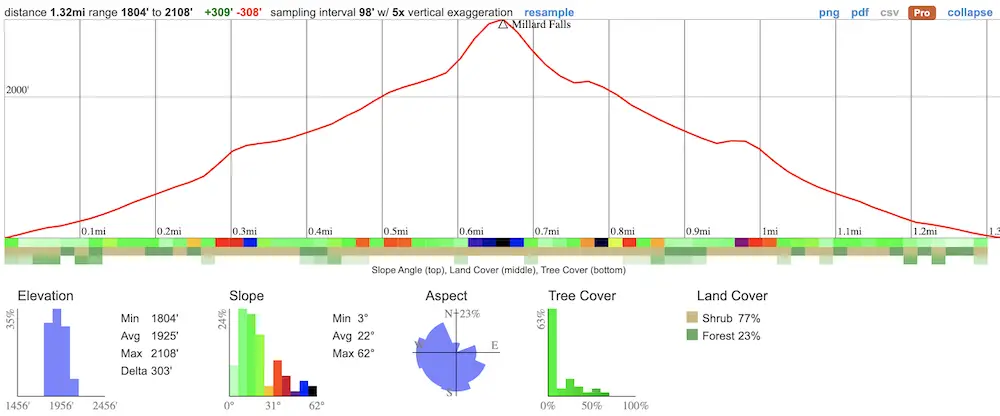
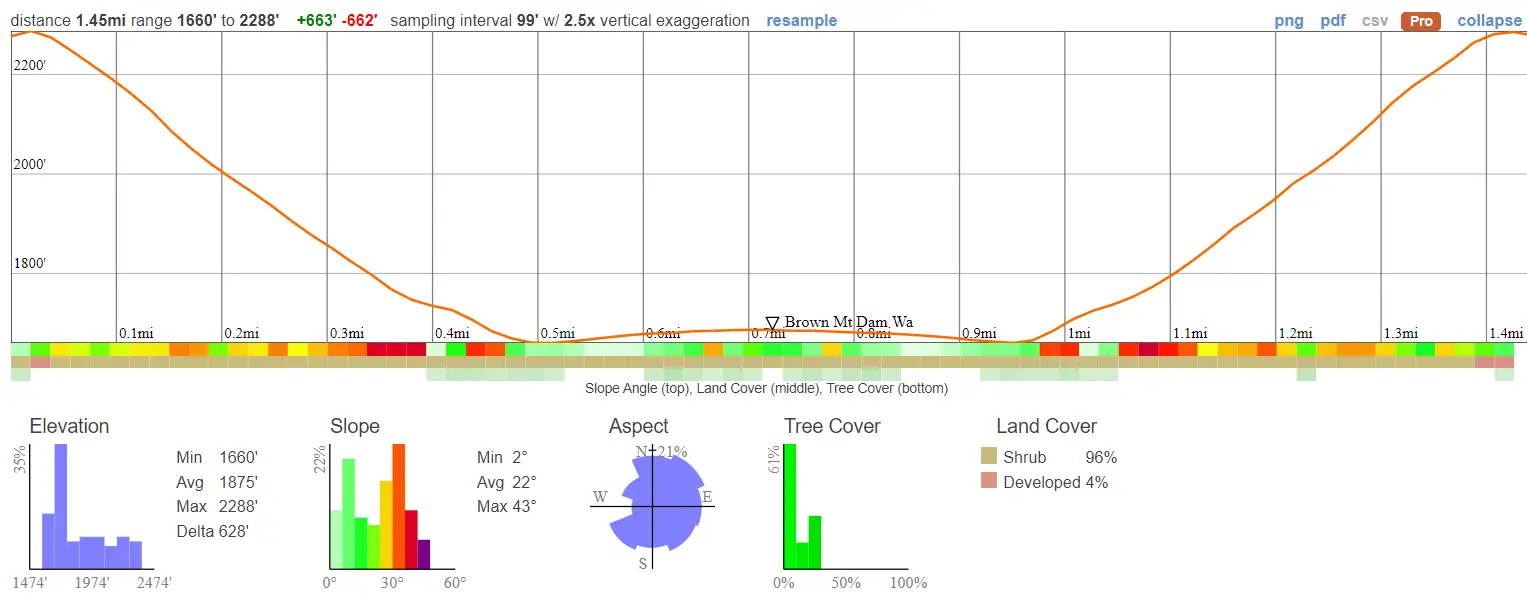
1-Mile Hike to Forgotten Heaton Mine and Ruins
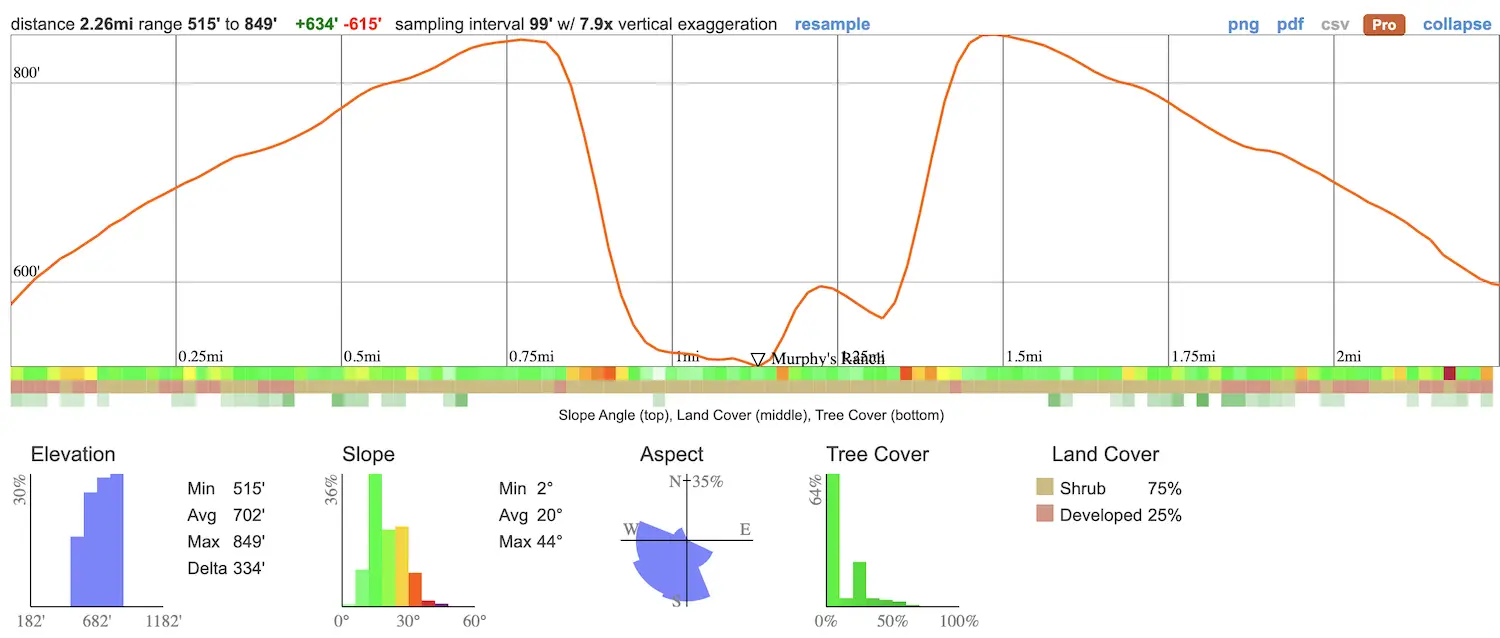
Distance
1 Mile
Time
45 min
Difficulty
Easy
Season
All Year
Elevation Gain
—
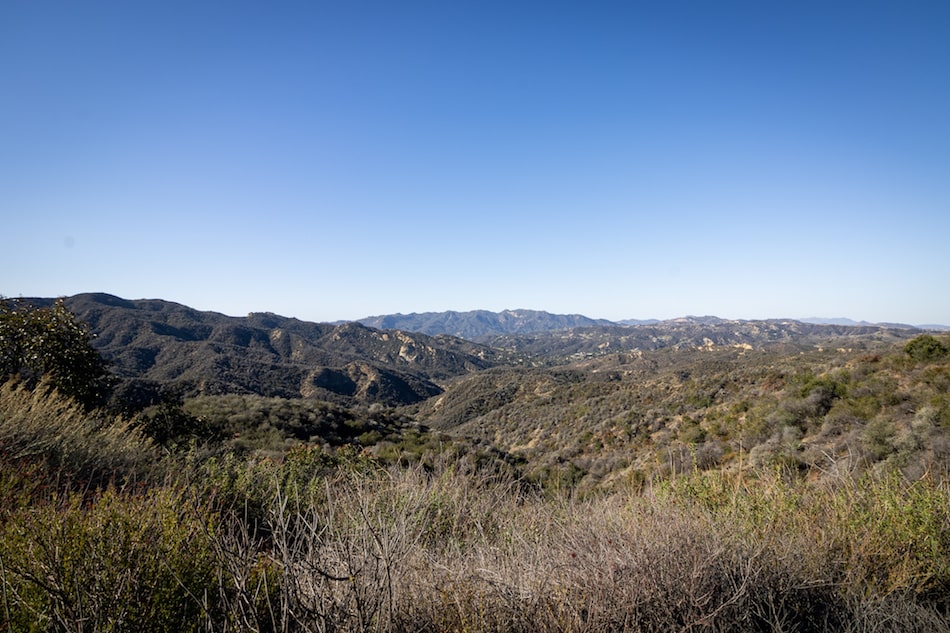
You might not know this, but there is a fun and forgotten short hike to an accessible mine, right by some of the most toughest and popular hiking trails. The East Fork is rich in history and secret mines, this being one of them. You won’t want to miss out on this hidden gem!
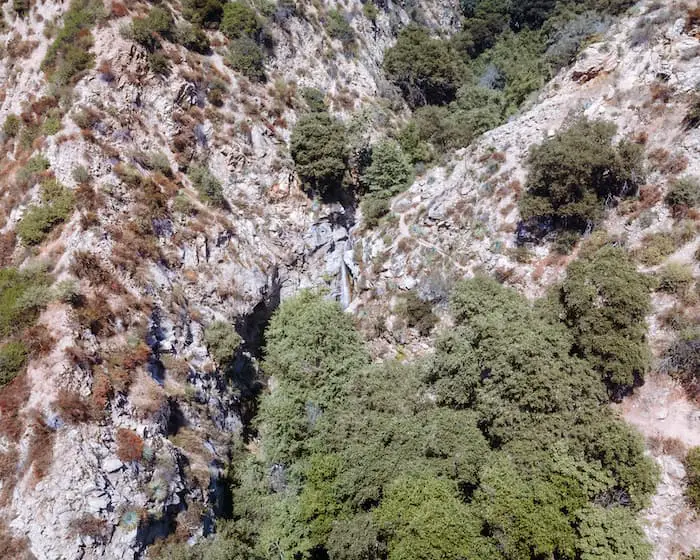
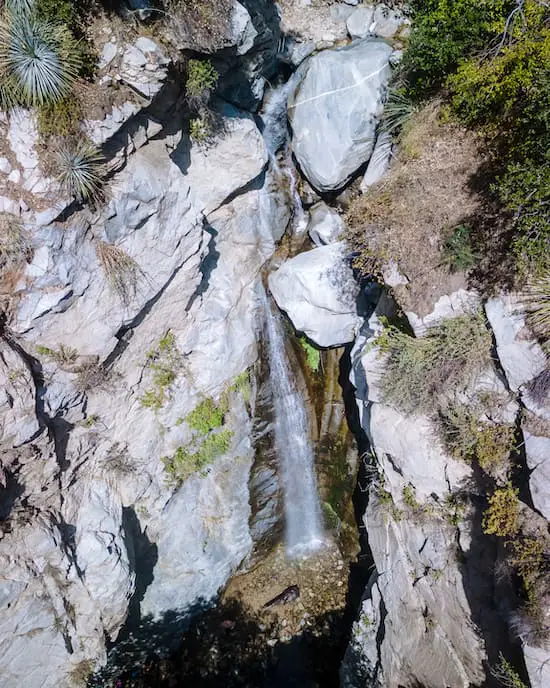
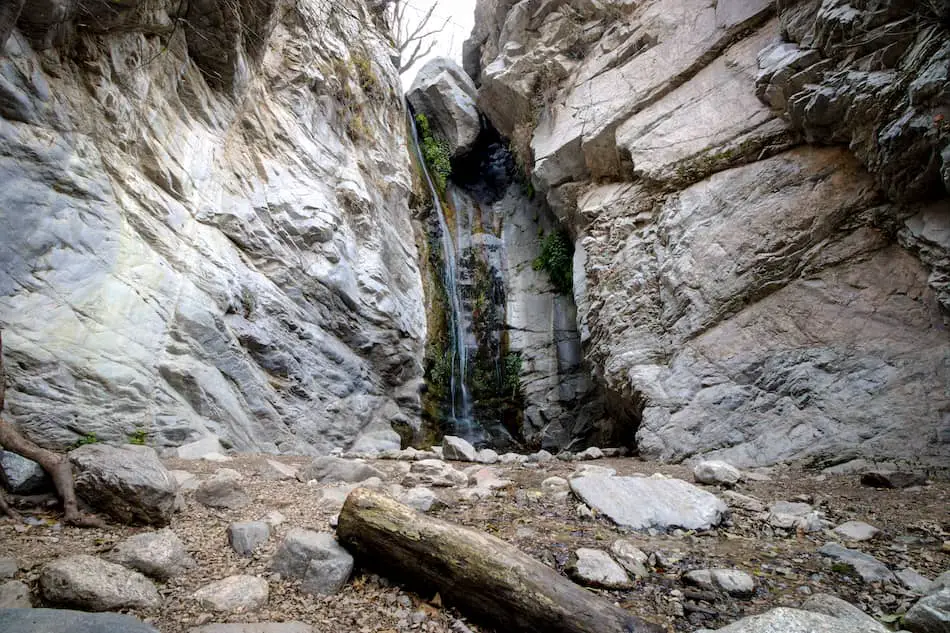
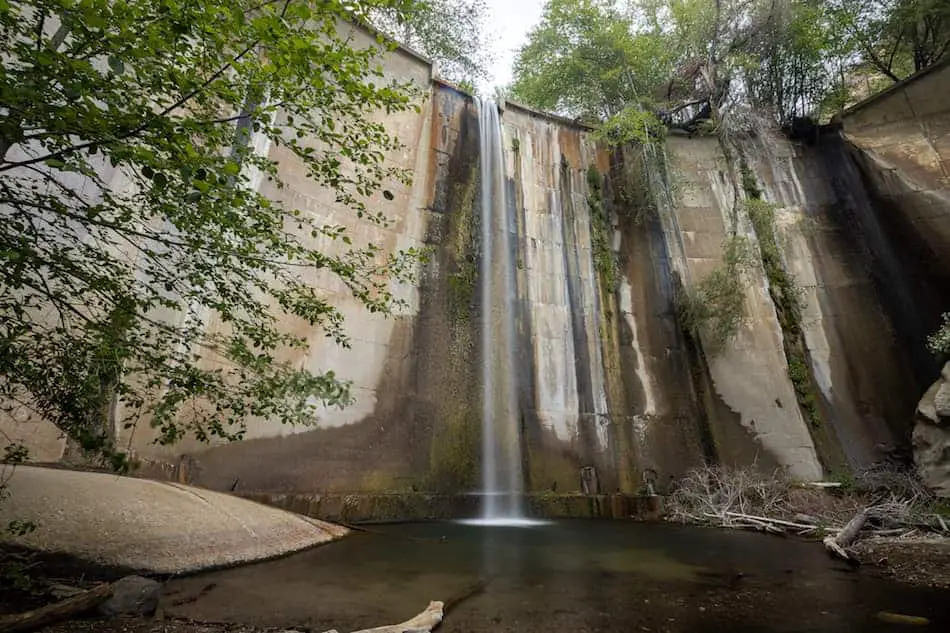
The Heaton (Queenie) Mine is a roughly one-mile, roundtrip hike located near the East Fork of the San Gabriel River within the Angeles National Forest. The short hike features ruins, a dried-up waterfall, and a 127-foot deep mine. It’s considered an easy-level hike perfect for beginners. This is a dog-friendly and child-friendly hike.
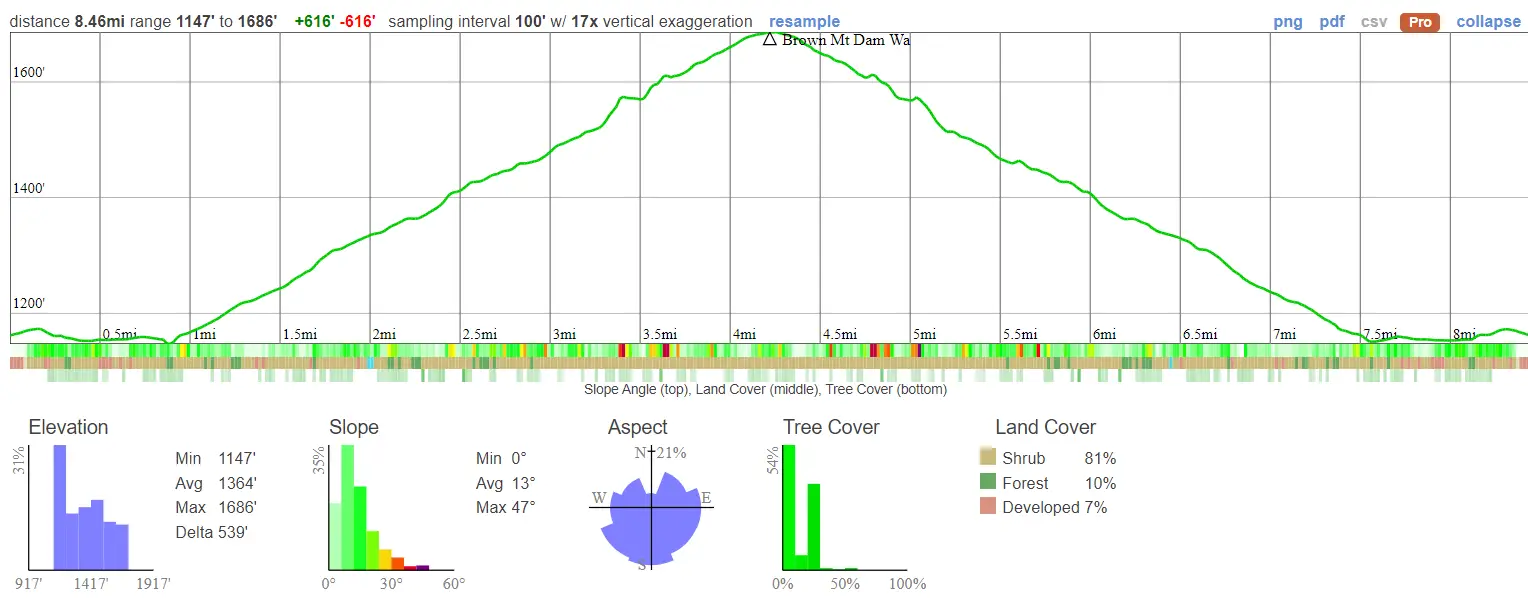
Map of Heaton Mine Trail

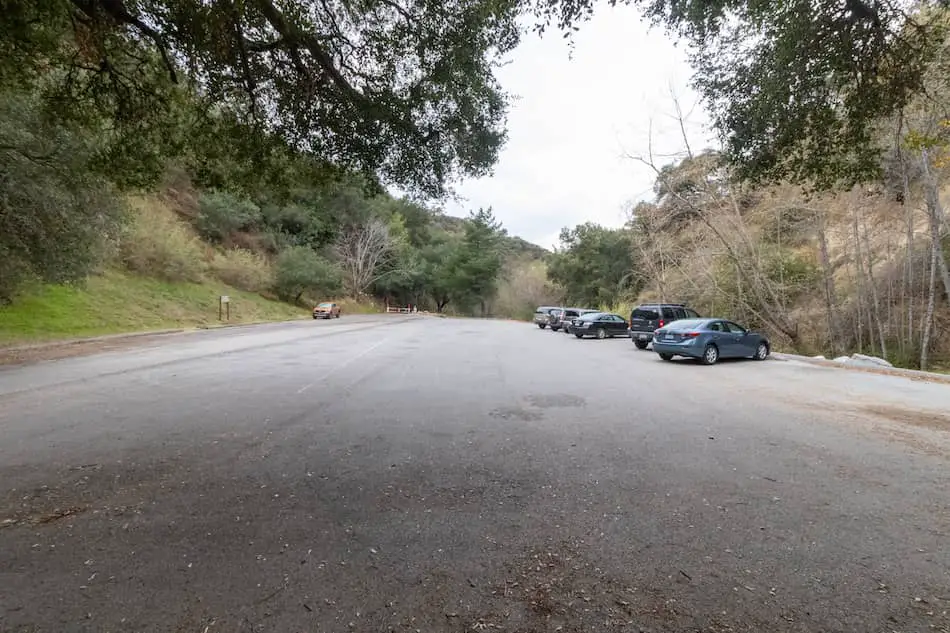
Directions & Parking
Click here for directions to the parking lot and trailhead.
I took State Route 39 N/San Gabriel Canyon Rd and then made a right onto East Fork Rd. Then, I made a swift left onto Camp Bonita Rd.
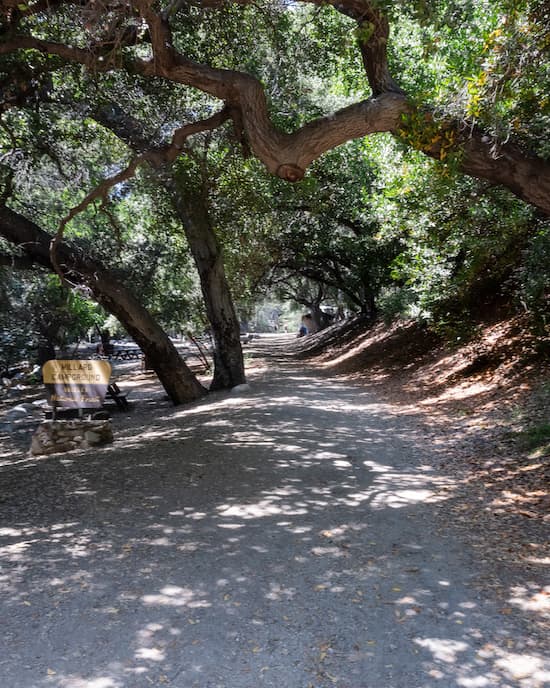
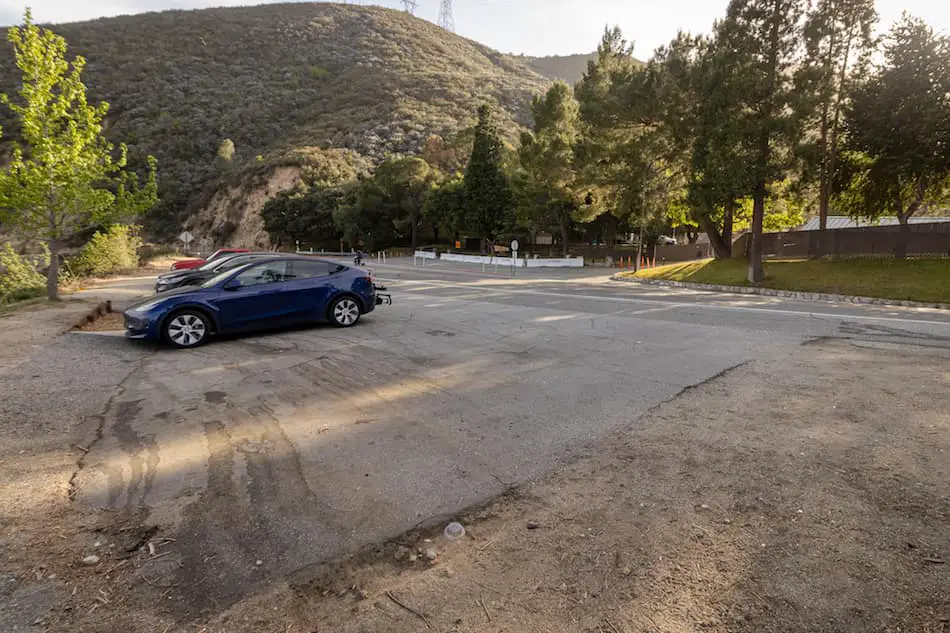
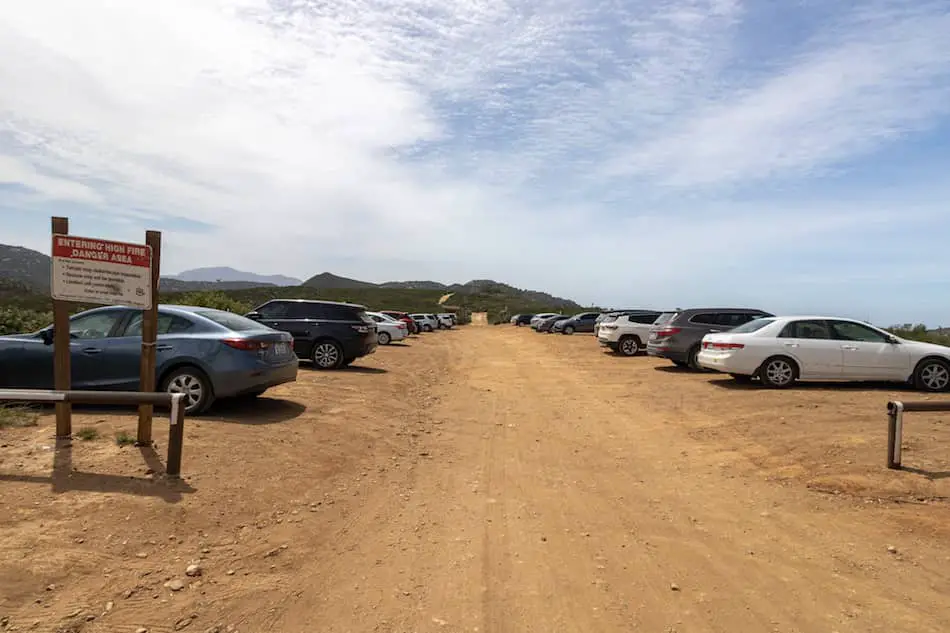
The parking lot is large and shared by other campers and hikers doing the nearby popular trails. Expect it to be very busy on the weekends.
The restrooms are located at the parking lot and near Heaton Flat.
Here’s some other LA hikes to check out!
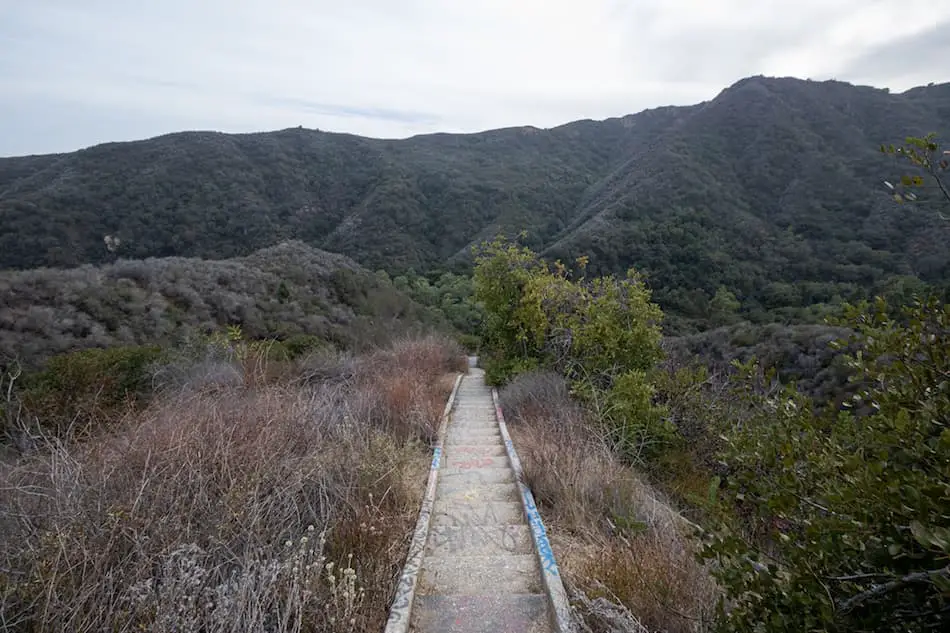
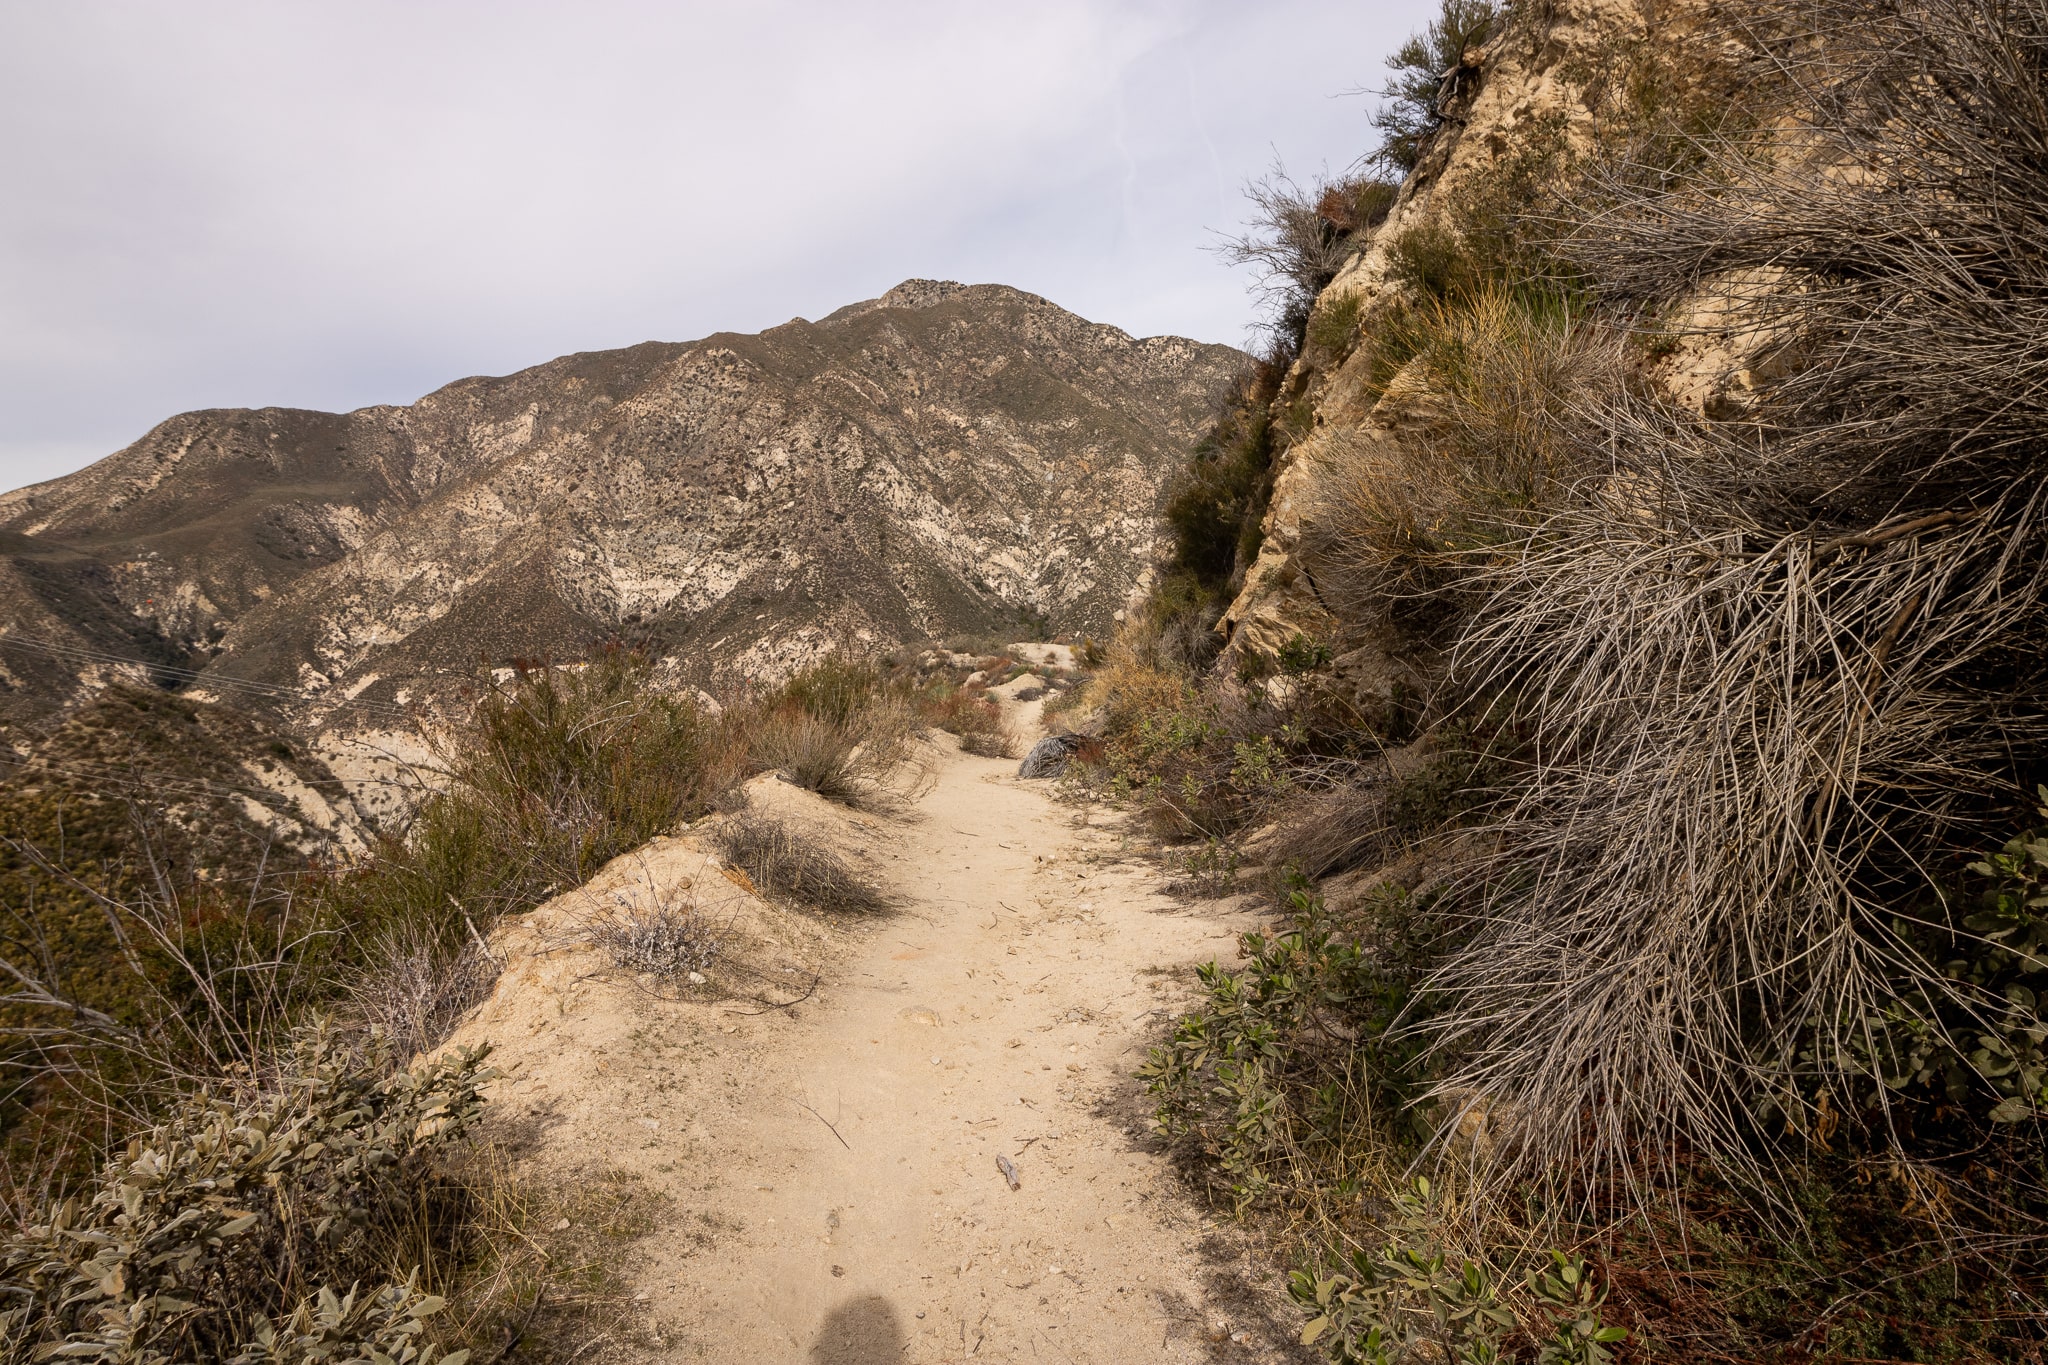
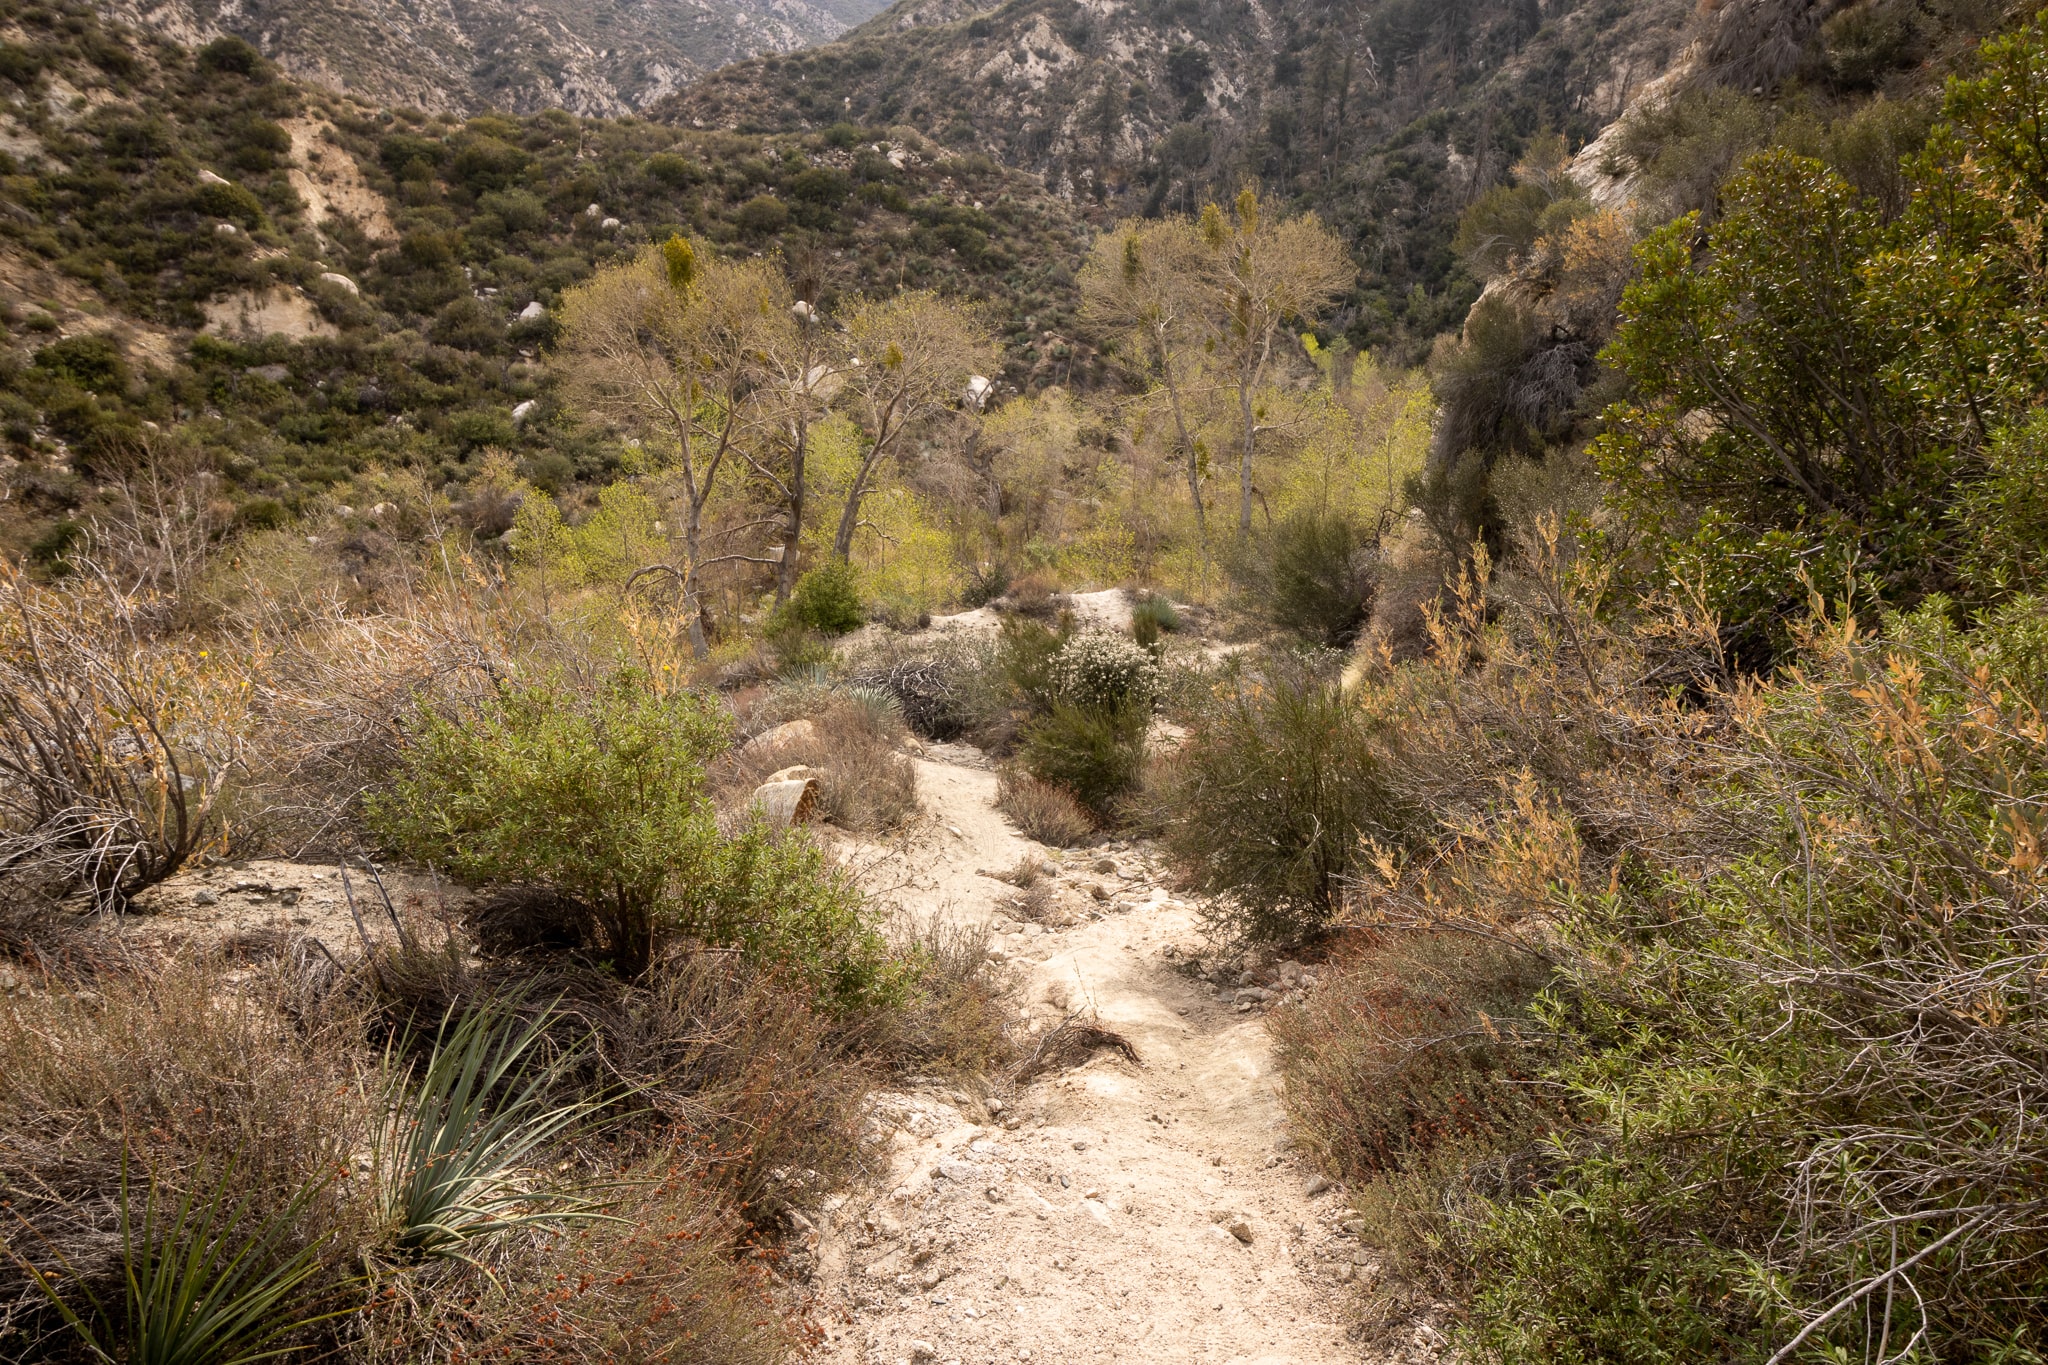
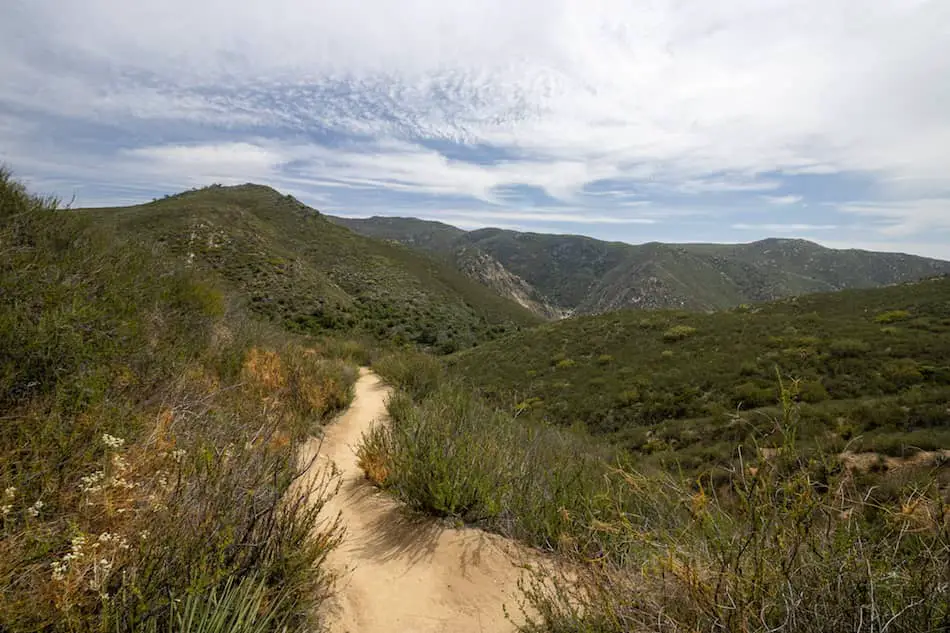
Let’s Start the Hike!
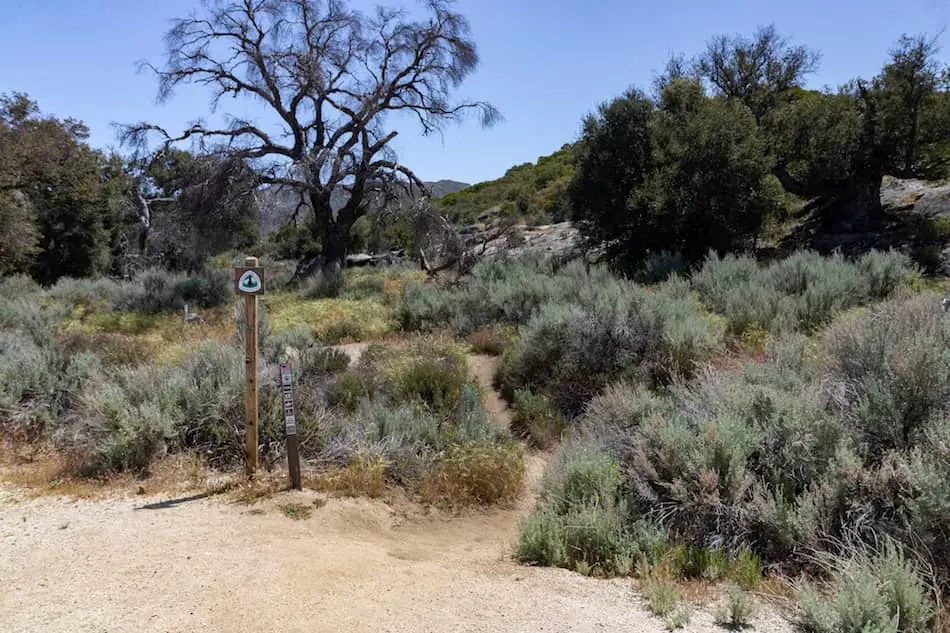
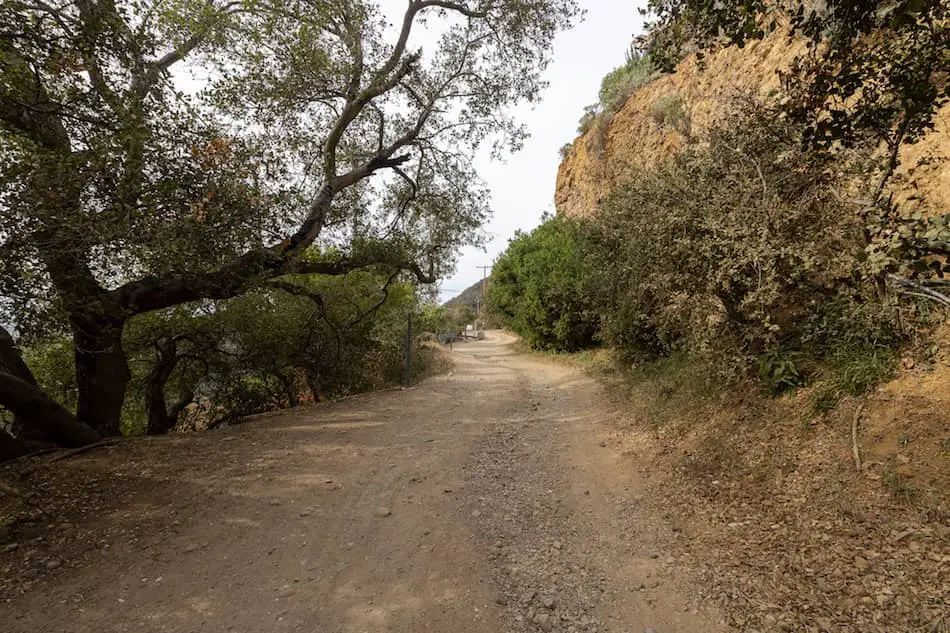
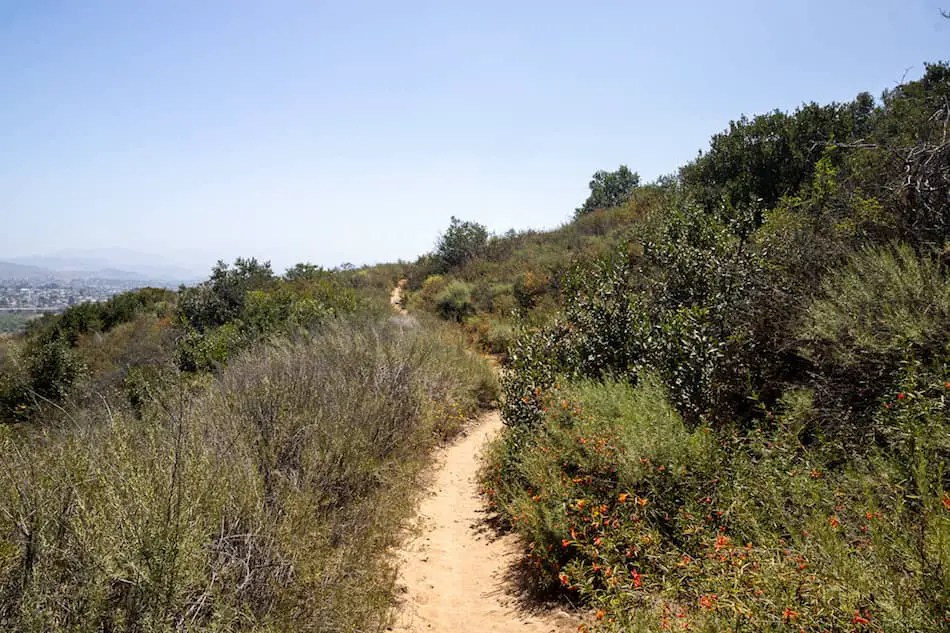
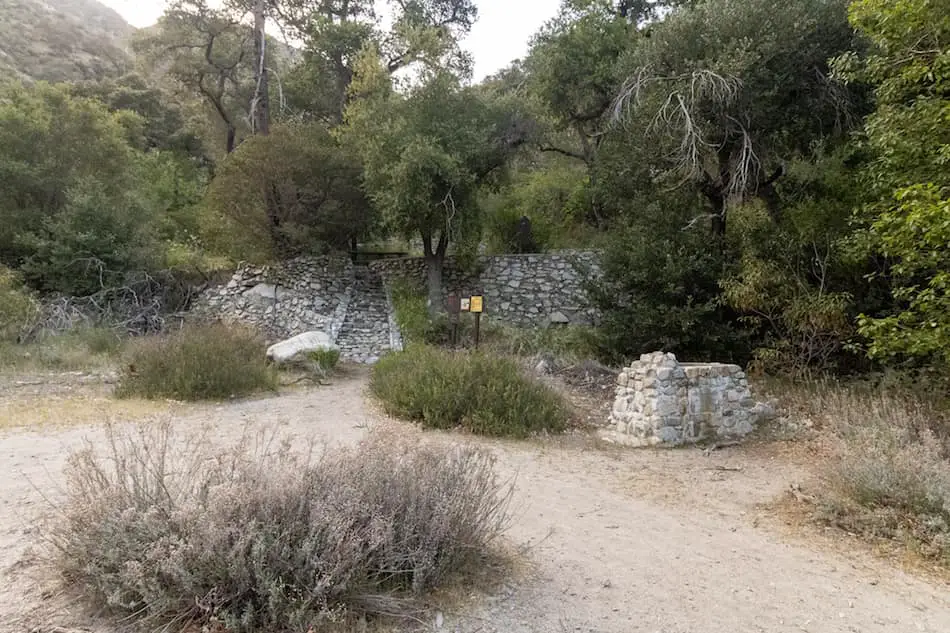
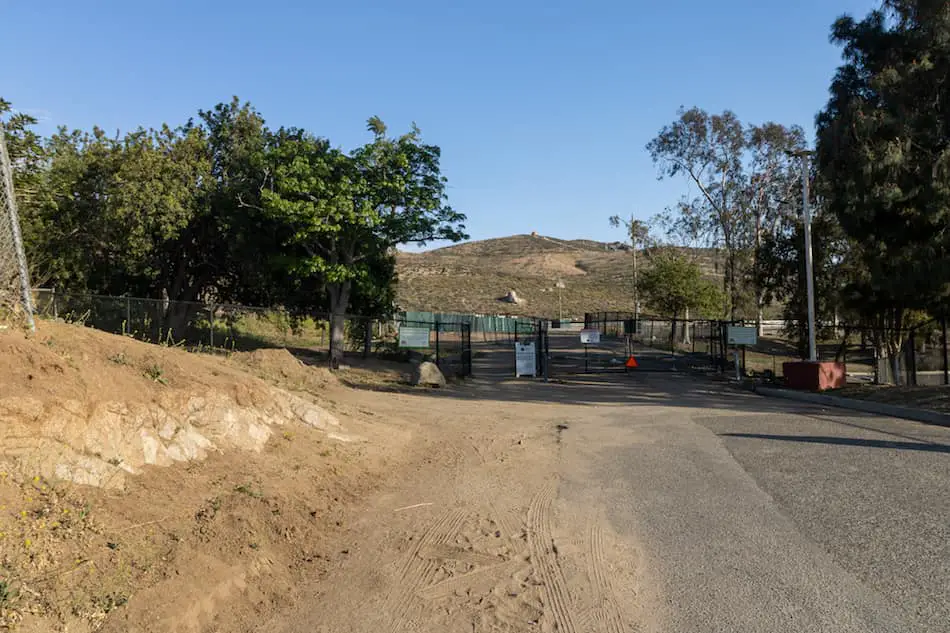
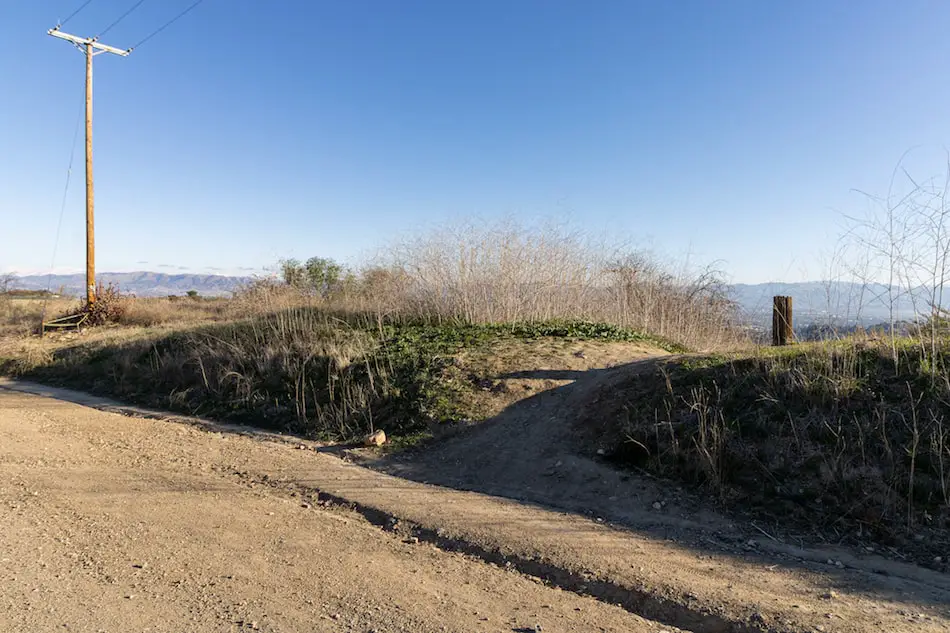
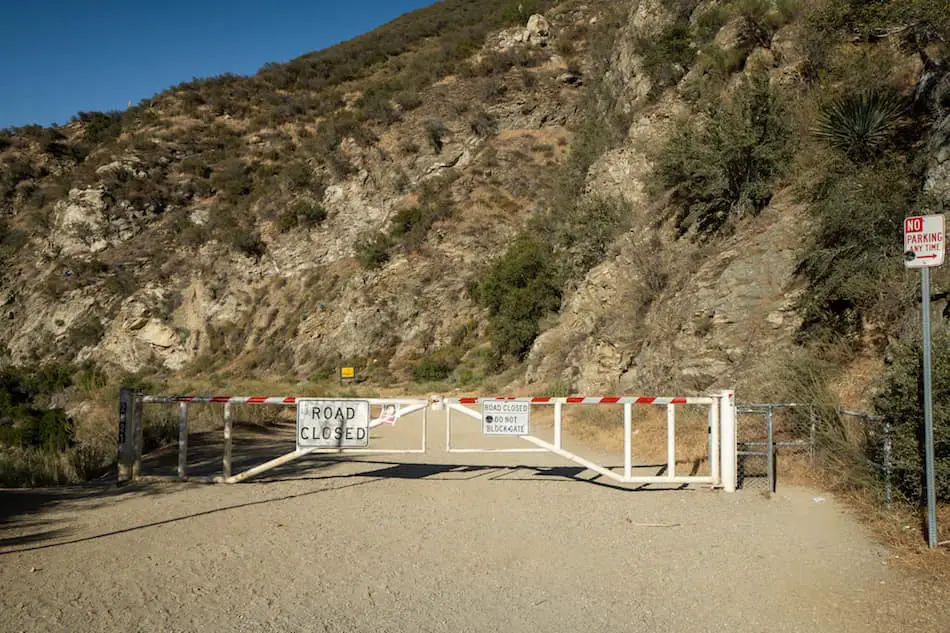
The trailhead starts behind the gate, right by the parking lot.
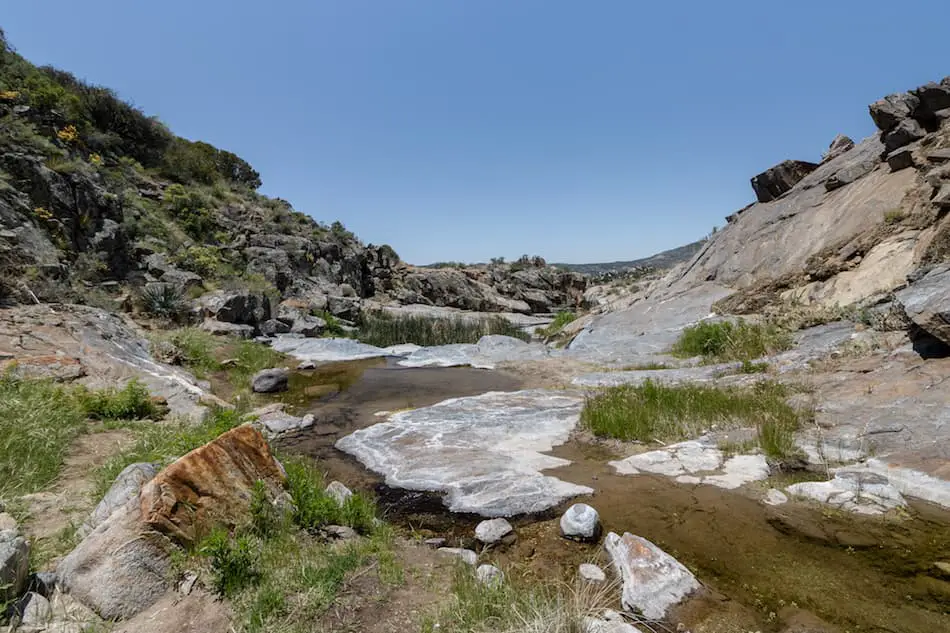
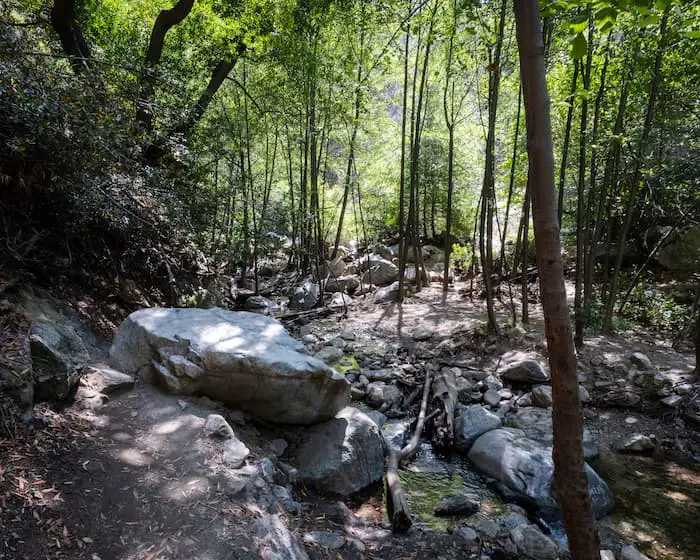
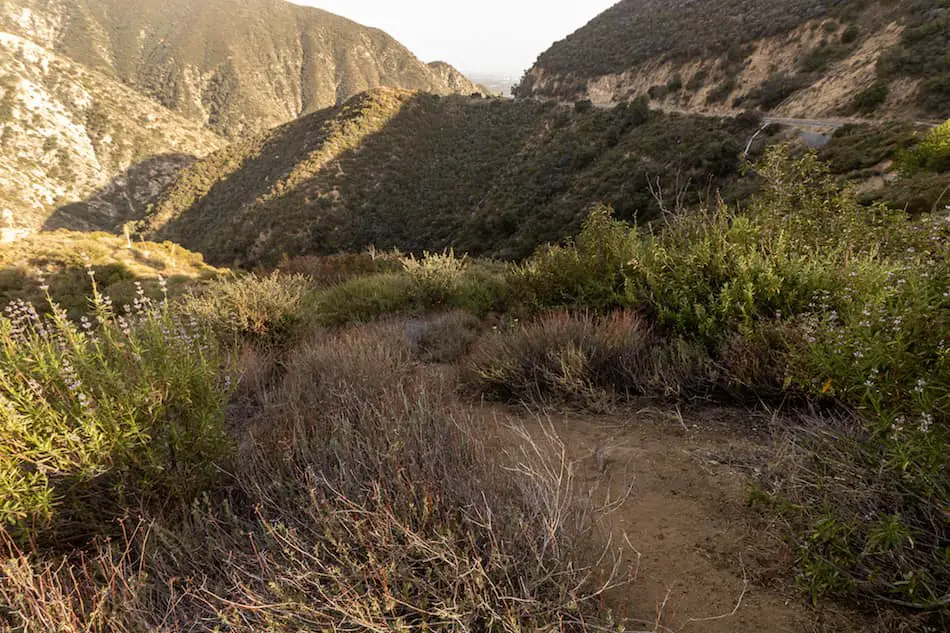
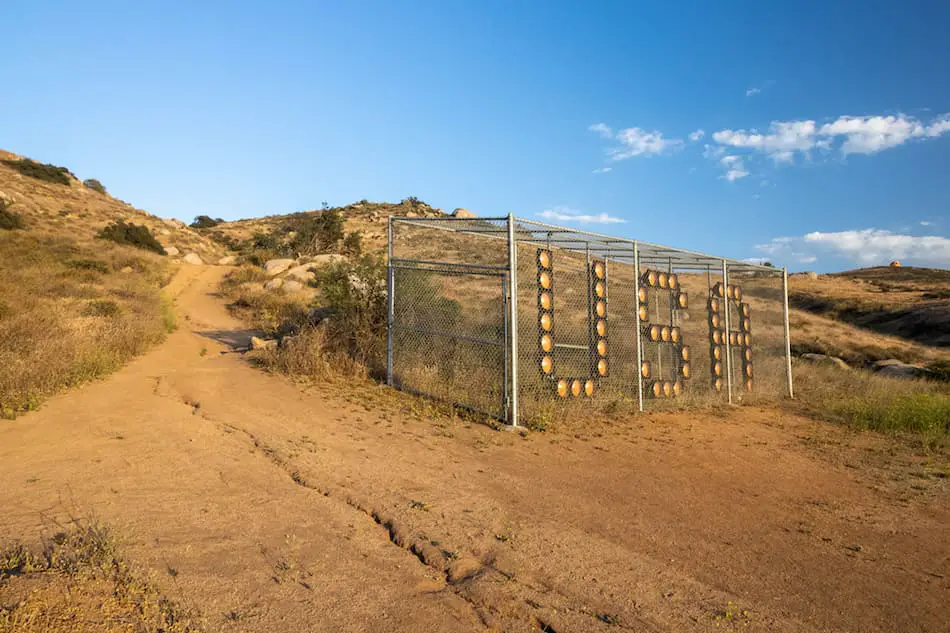
This dirt road is shared by many other hikers who are doing other popular hikes, such as the Bridge to Nowhere, Heaton Flats, Iron Mt Trailhead, and more!
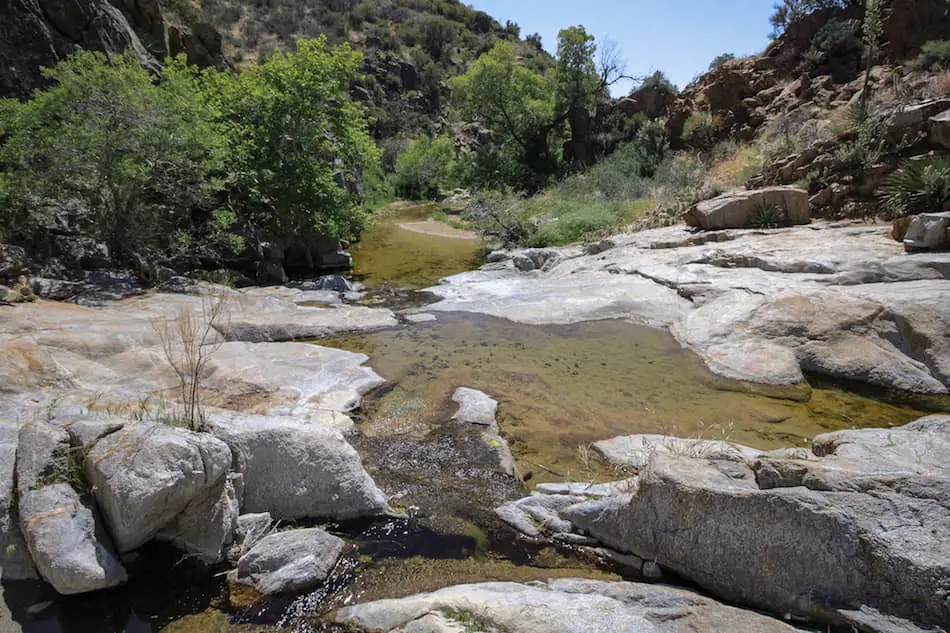
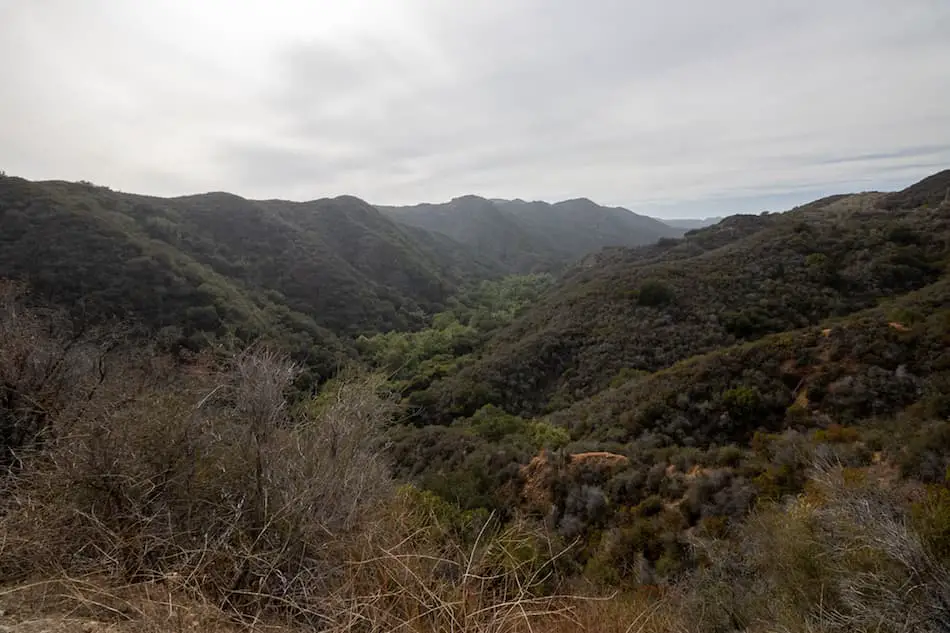
It was a really nice and warm Saturday afternoon. Lots of people were camping and hanging out at the San Gabriel River.
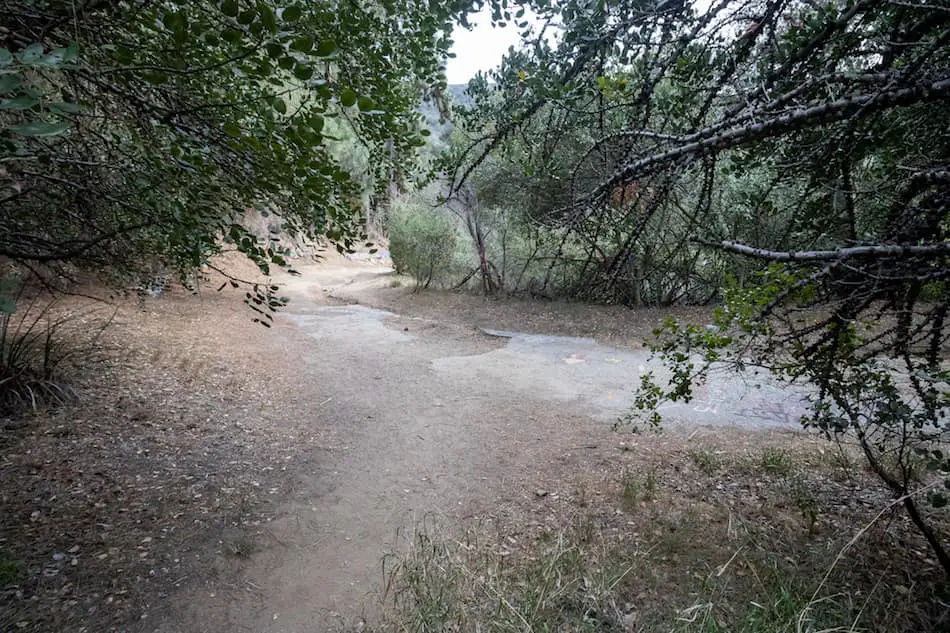
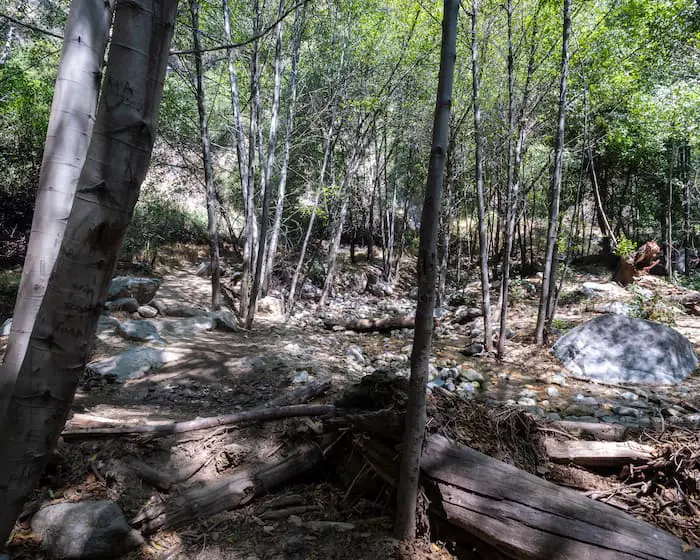
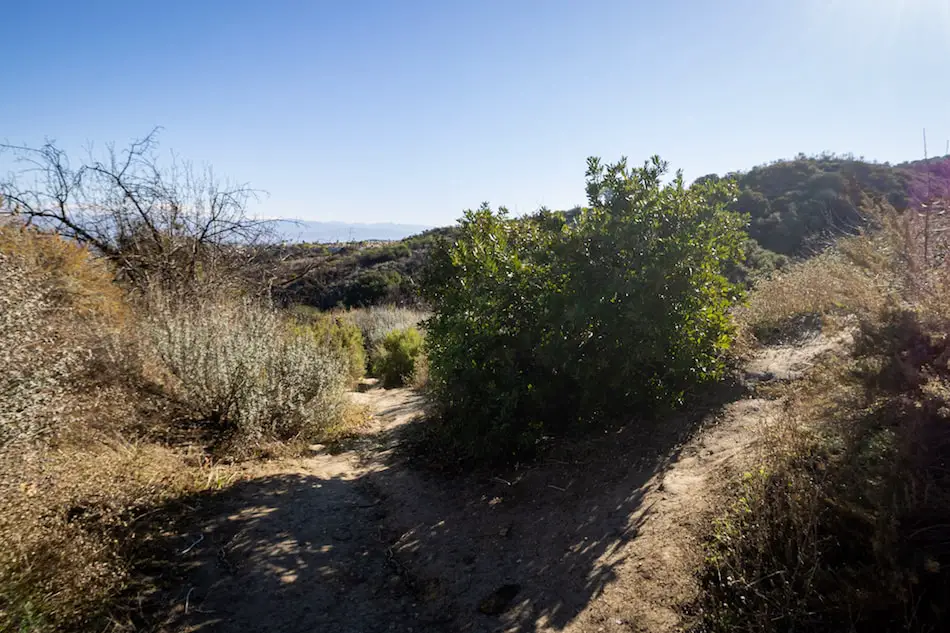
Most people don’t know about this short hike to the mine. They’re too busy heading to the popular nearby trails.
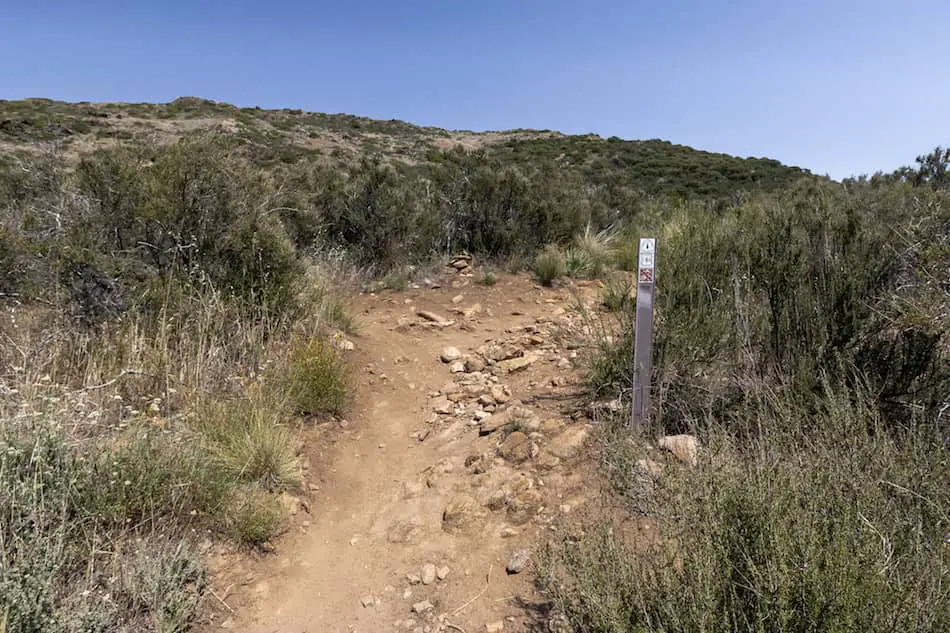
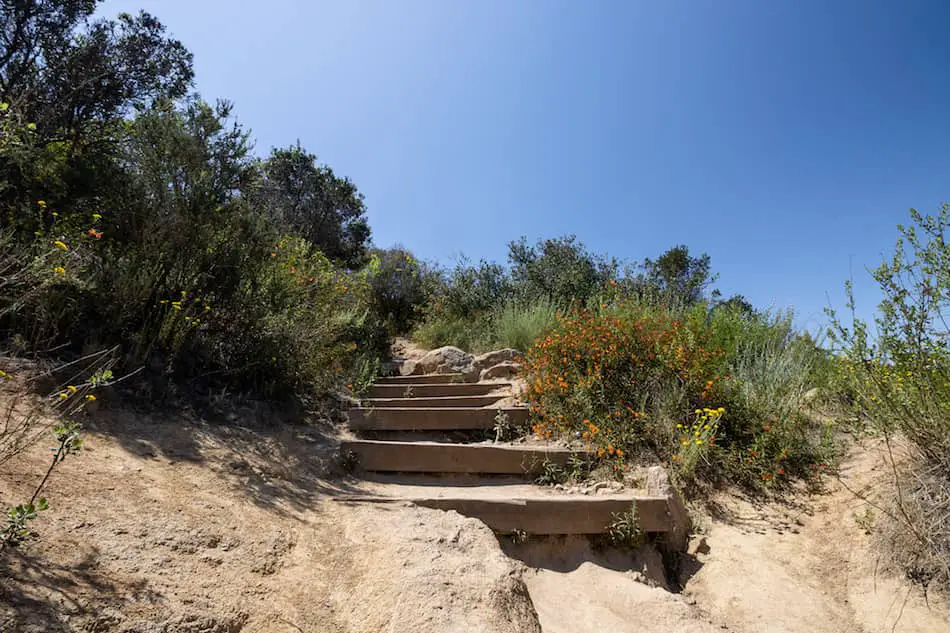
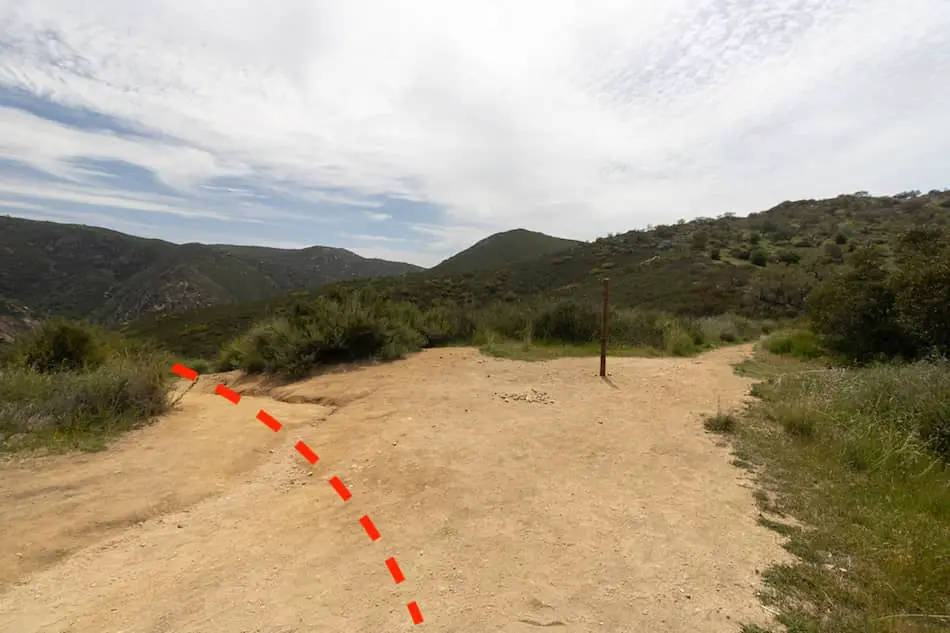
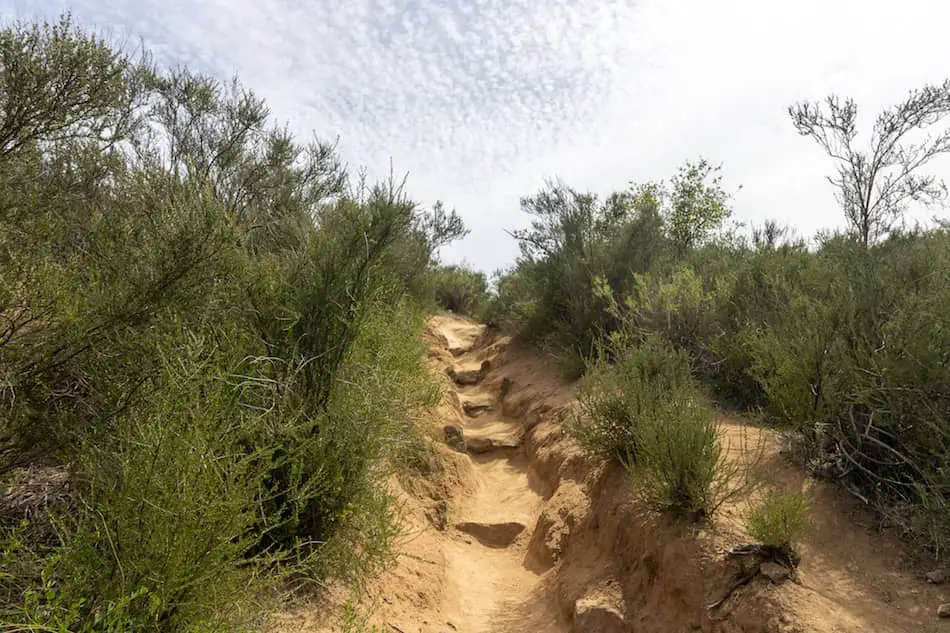
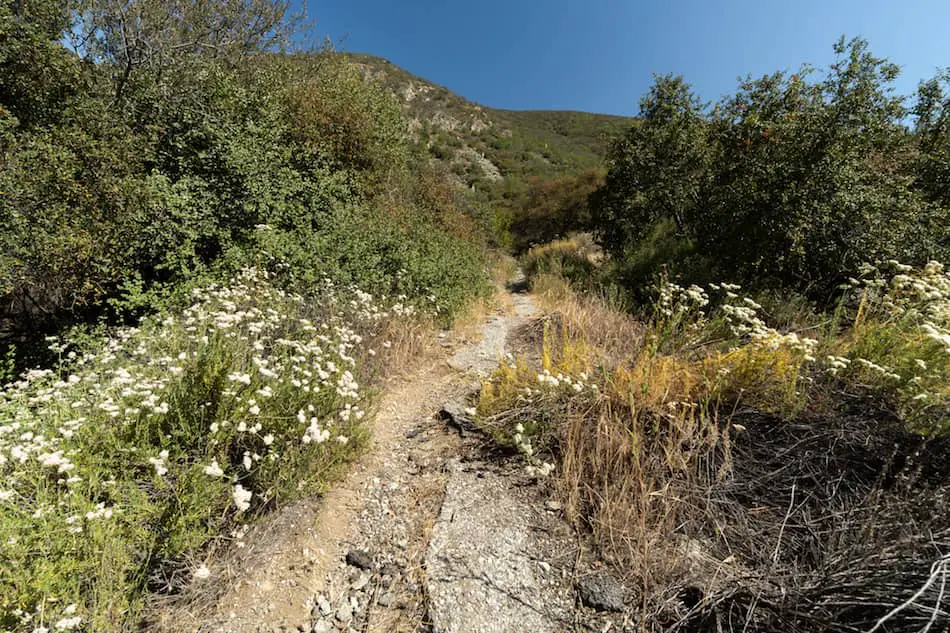
That being said, it can be tricky to find this slightly overgrown path to the mine and ruins
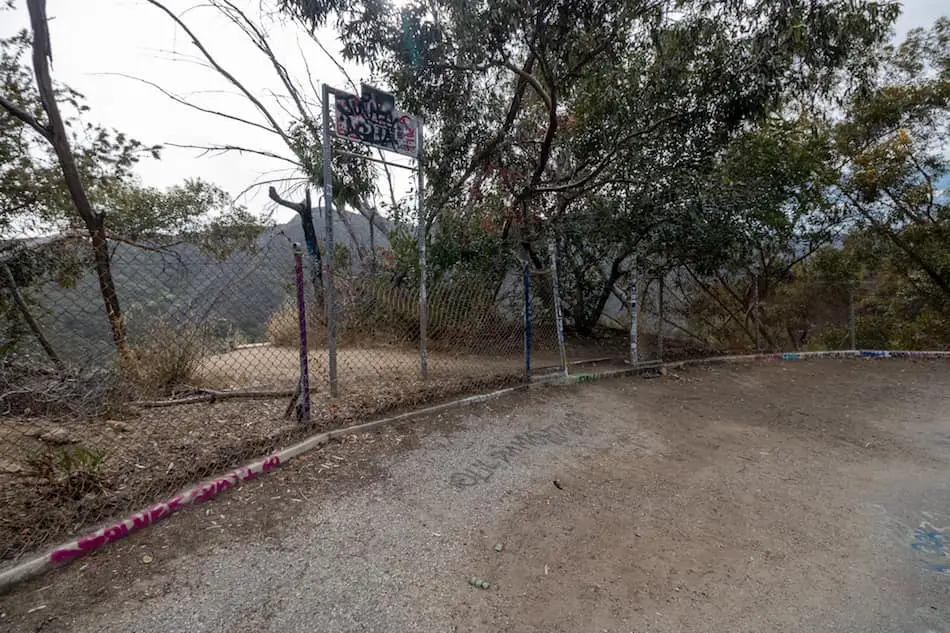
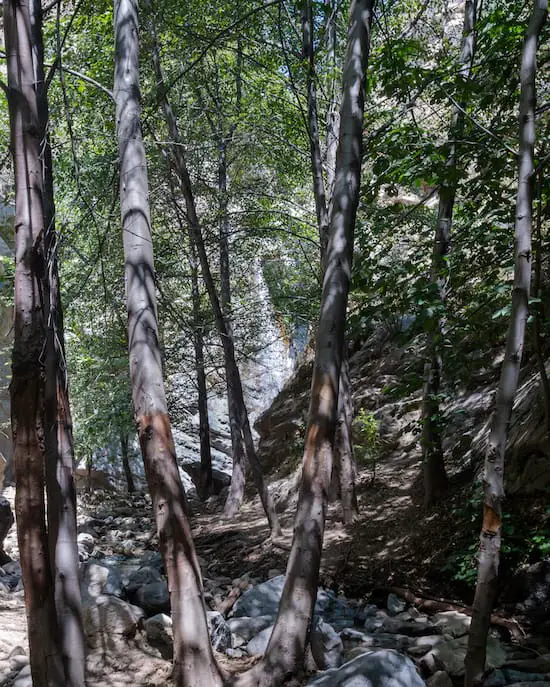
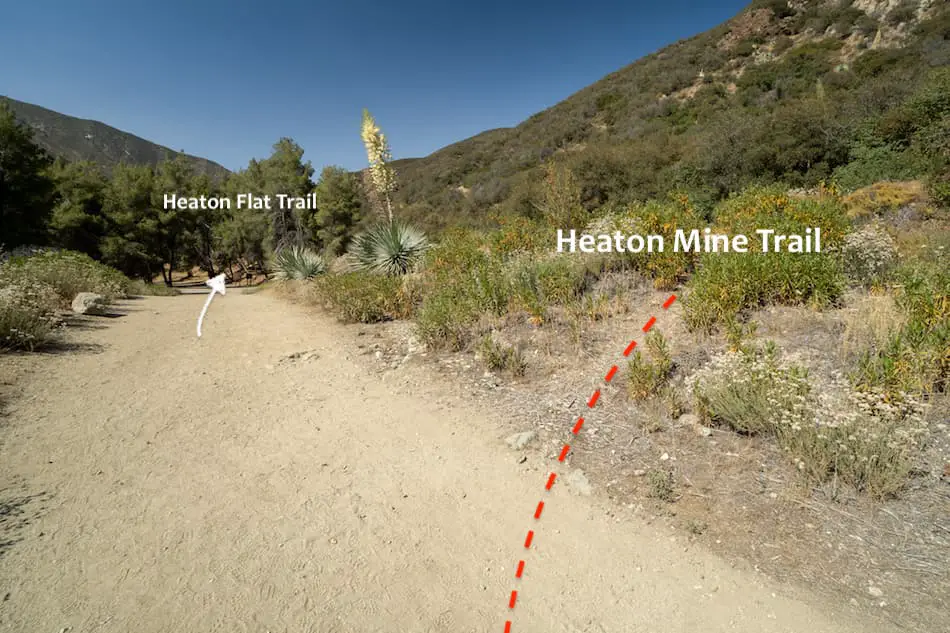
TIP: It’ll be right before the Heaton Flat Trailhead. (Click & hold on image below)
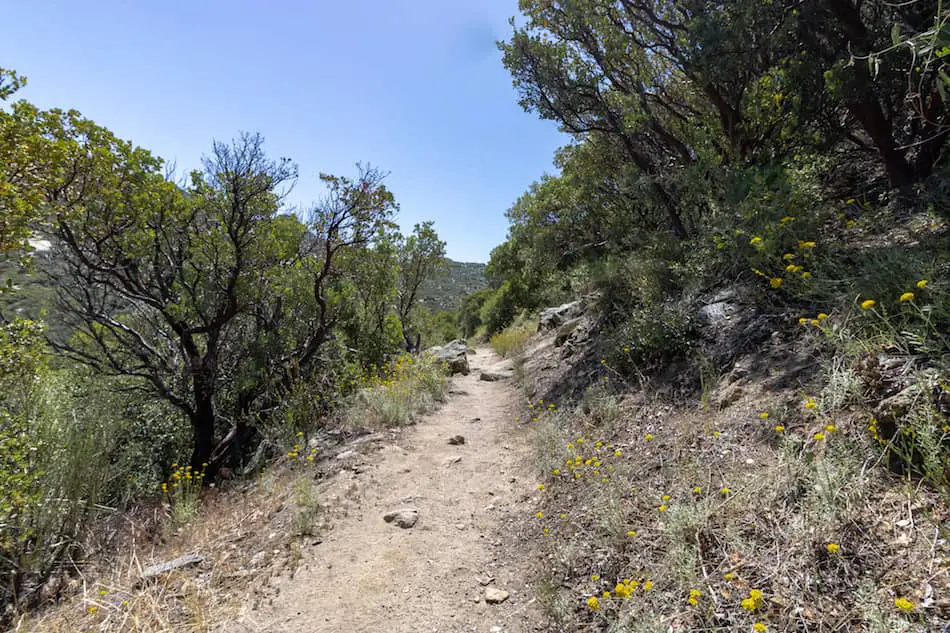
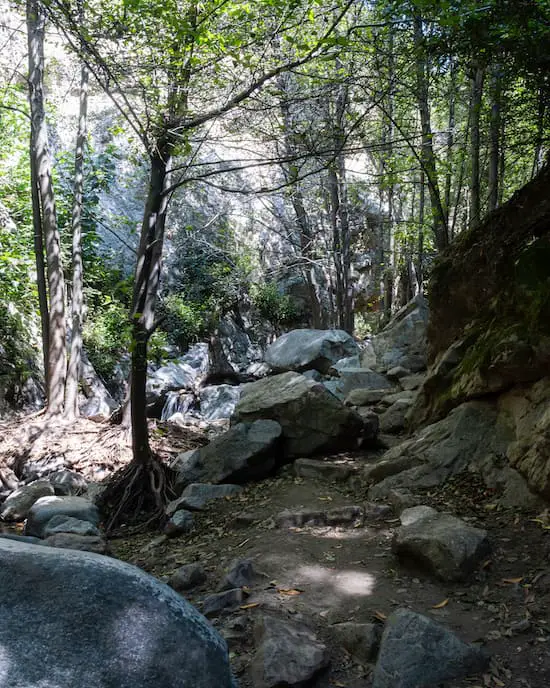
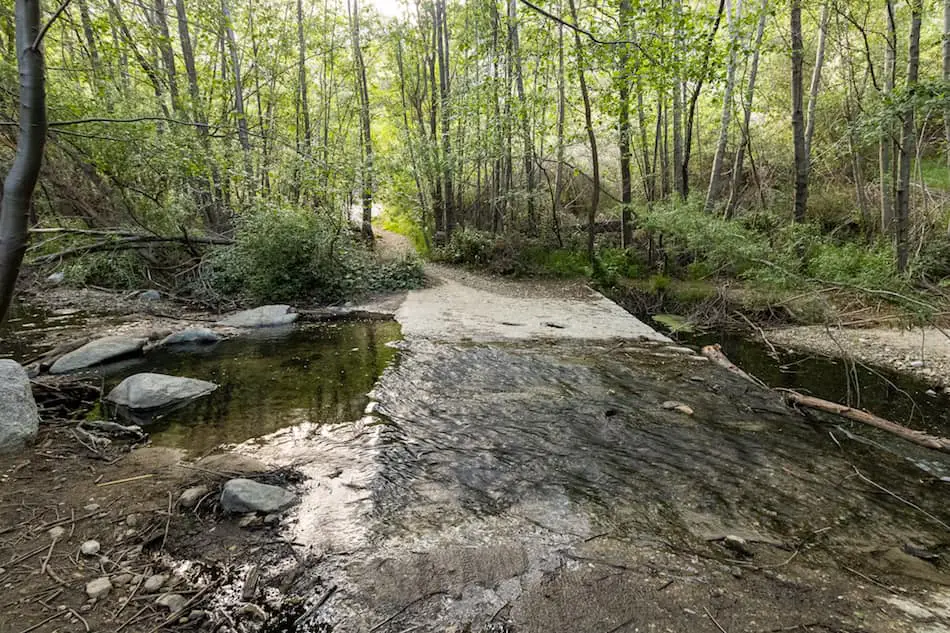
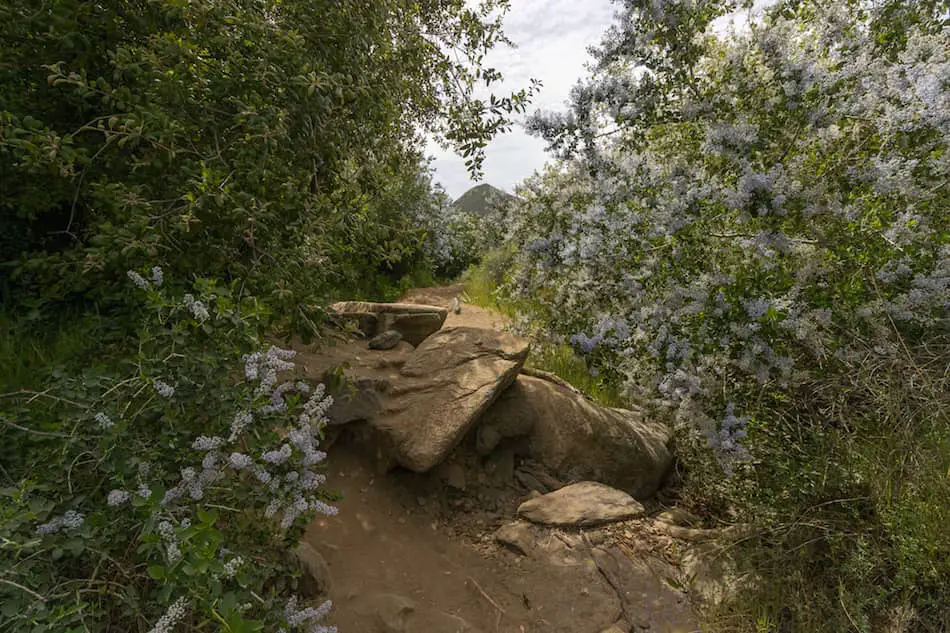
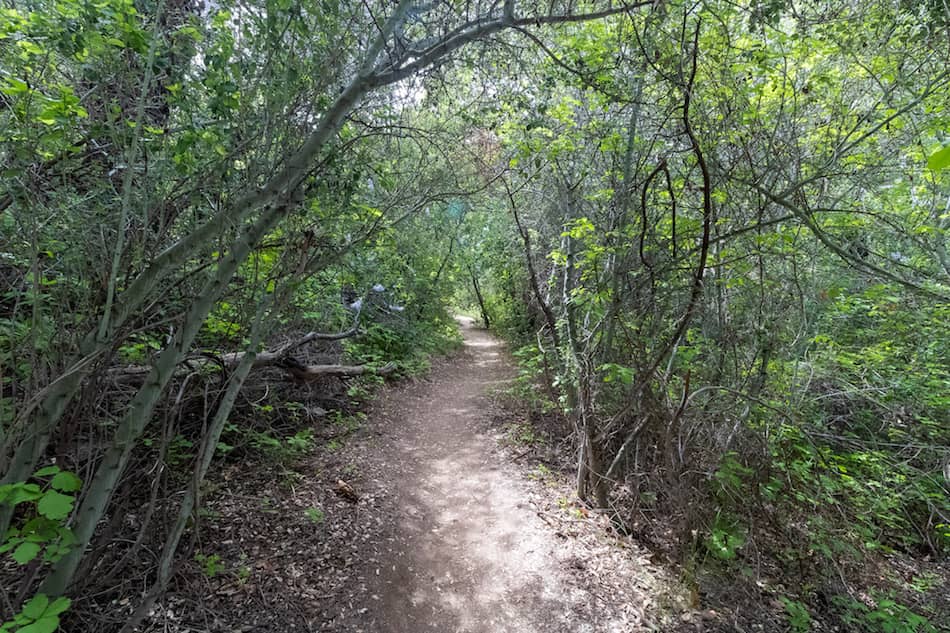
It’ll start off as a dirt path and quickly turn into an old and unused cement road.
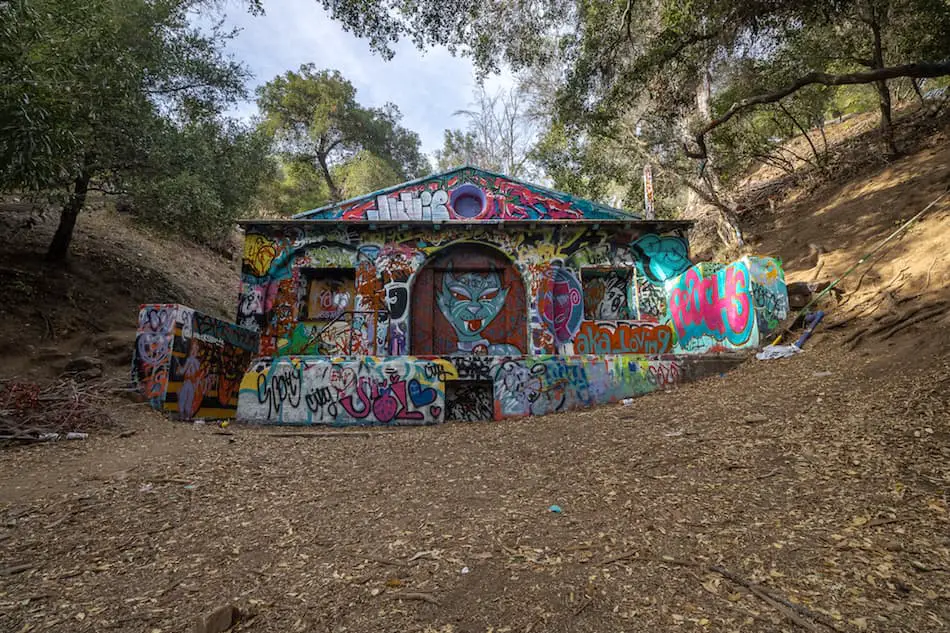
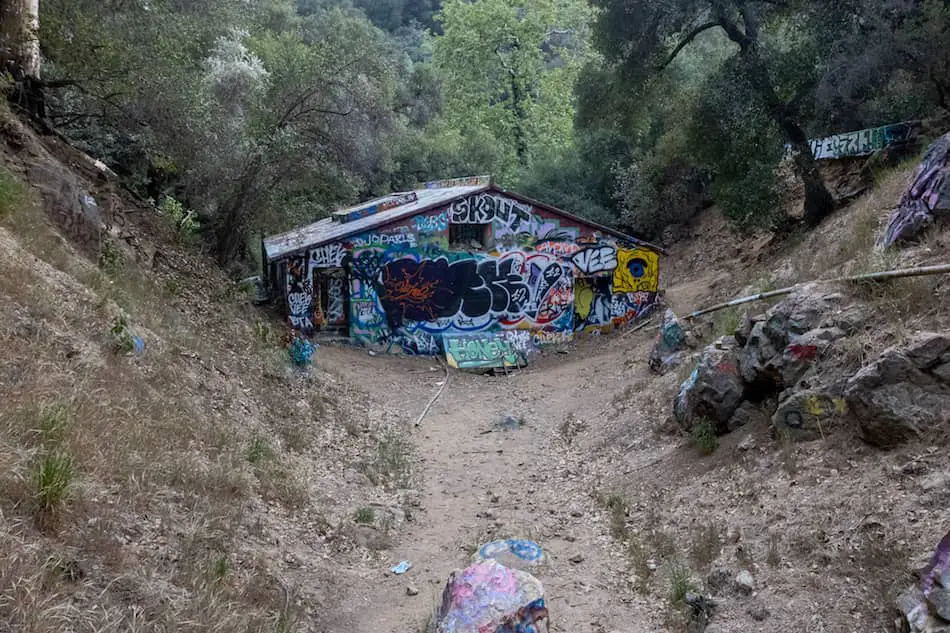
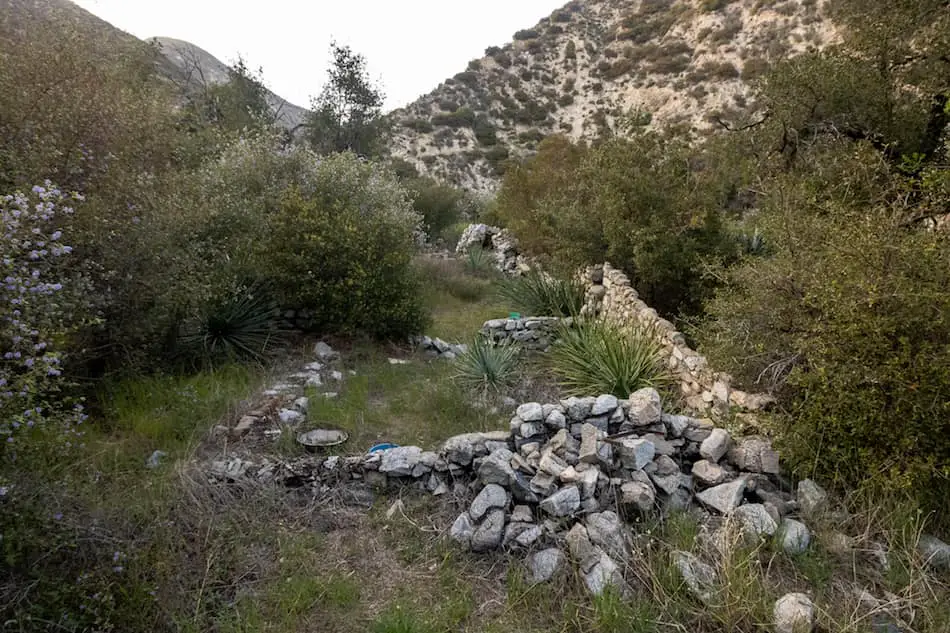
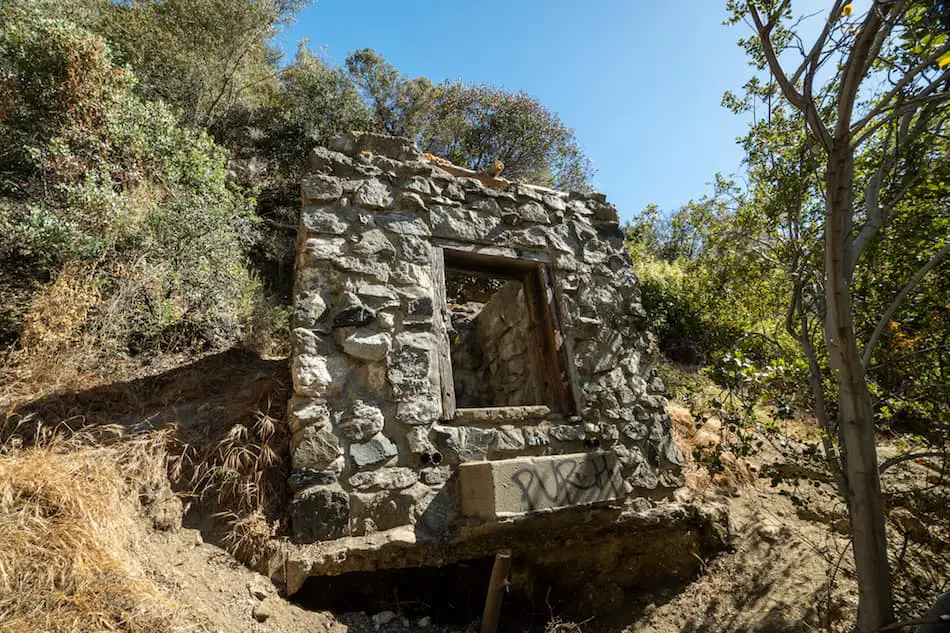
Less than 5 minutes on the trail, we had approached the first ruin.
This is just one of the two cabins.
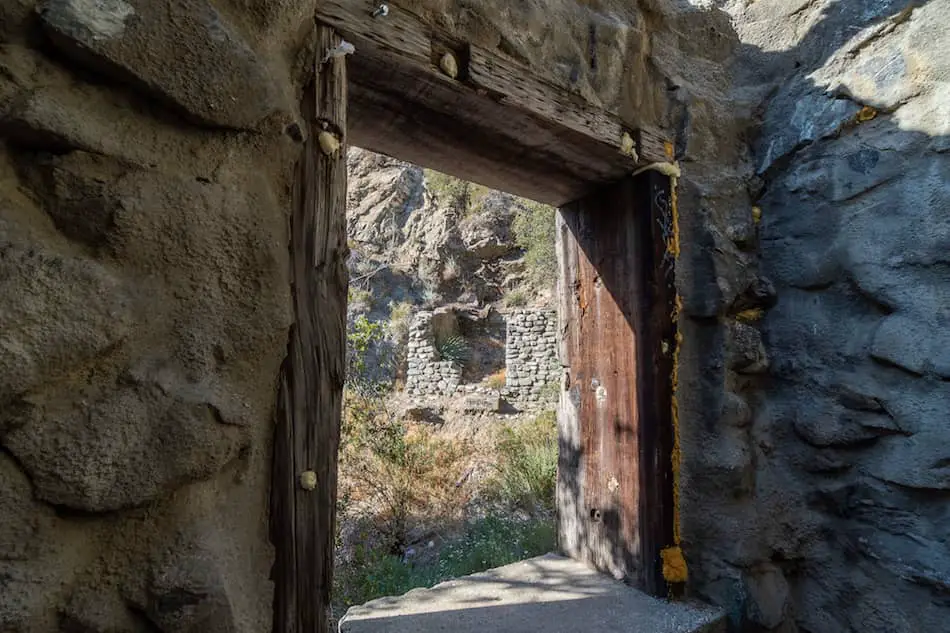
A shot from the inside looking out. You could see that second ruin, which was also once a cabin and home.
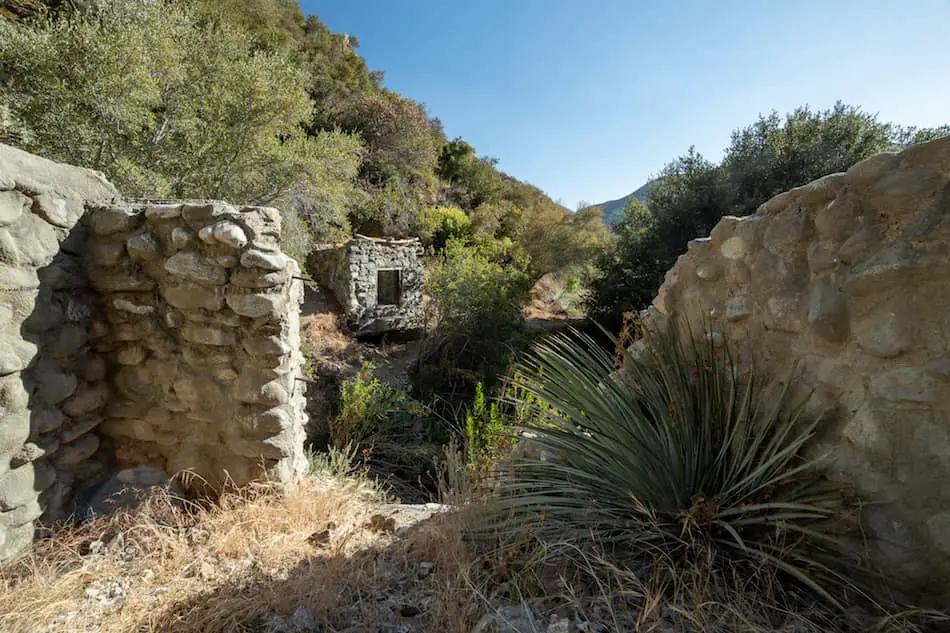
Here’s that second ruin.
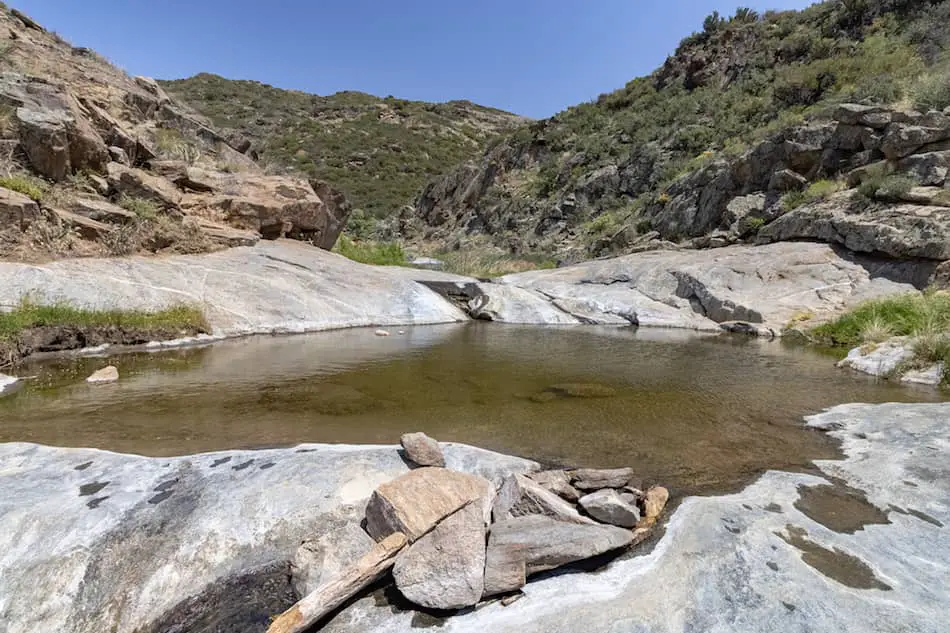
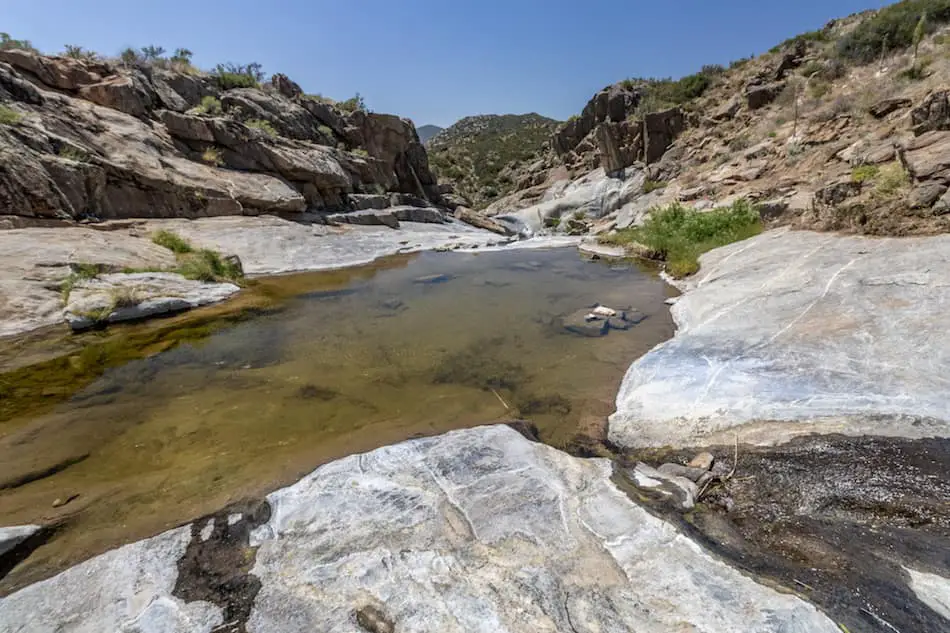
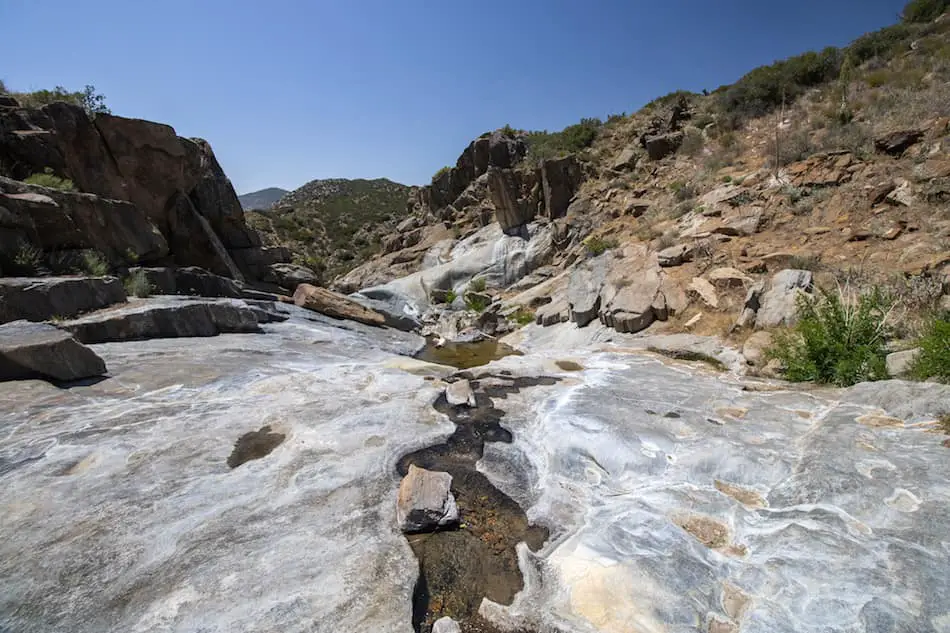
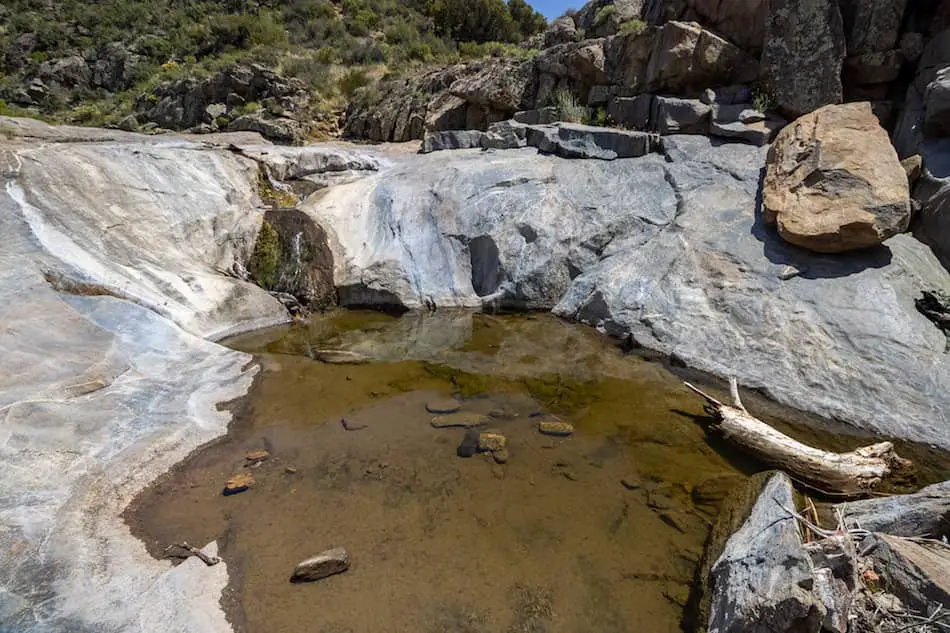
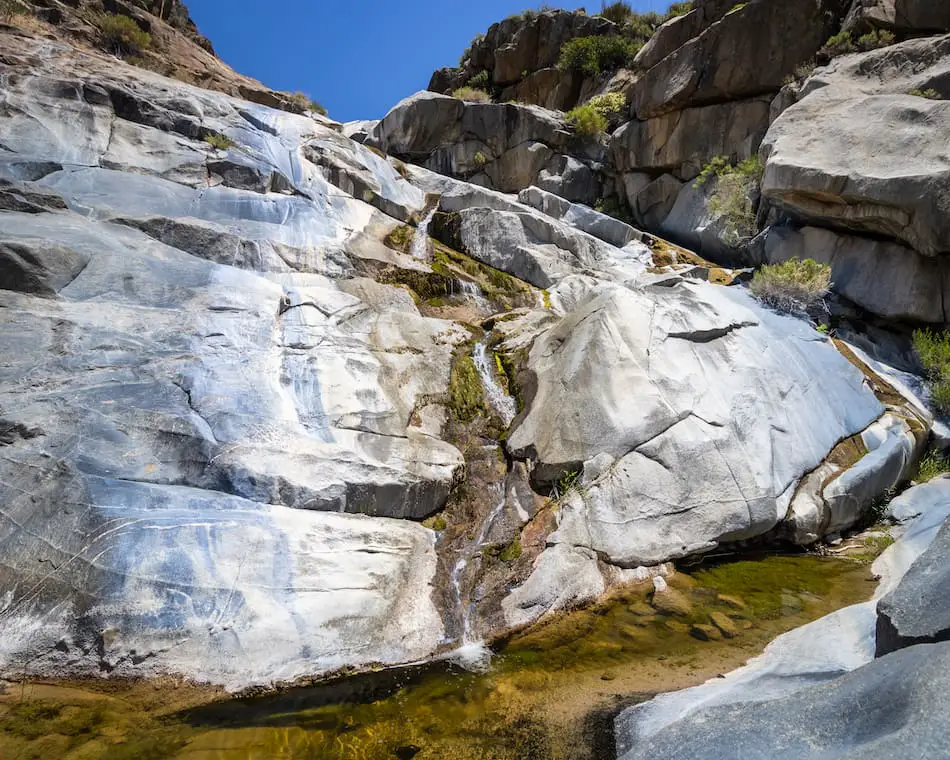
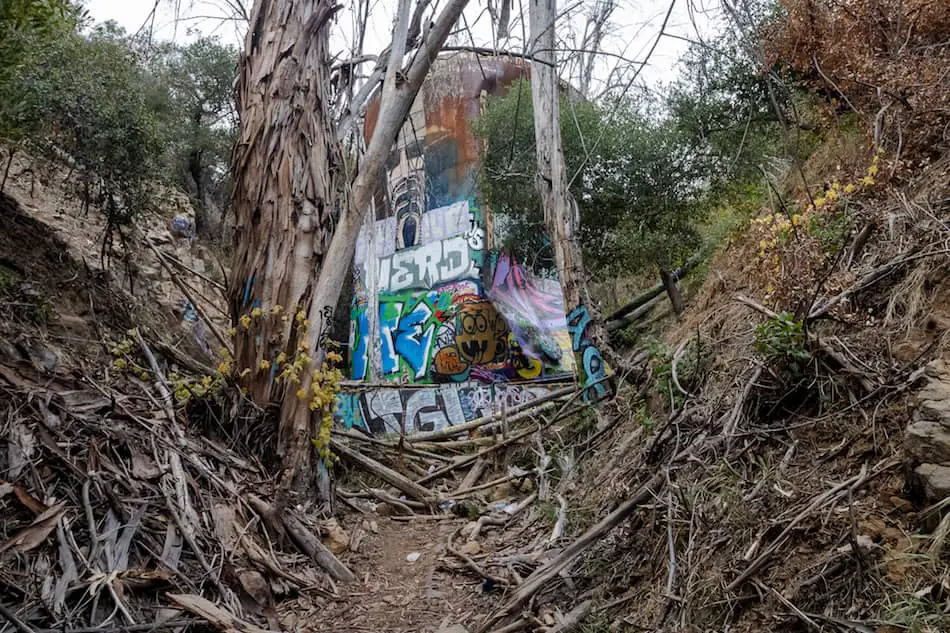
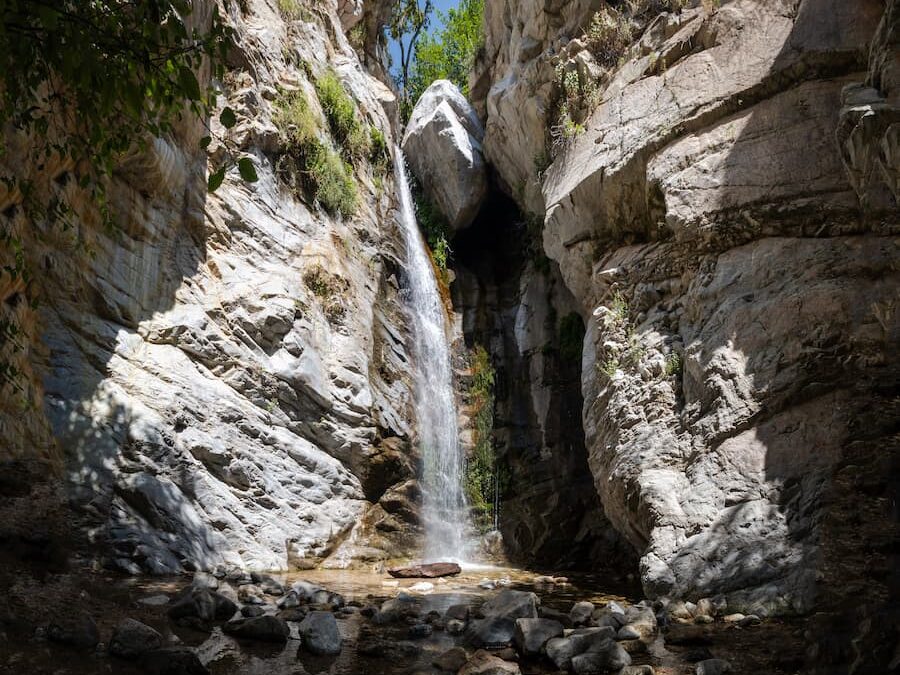
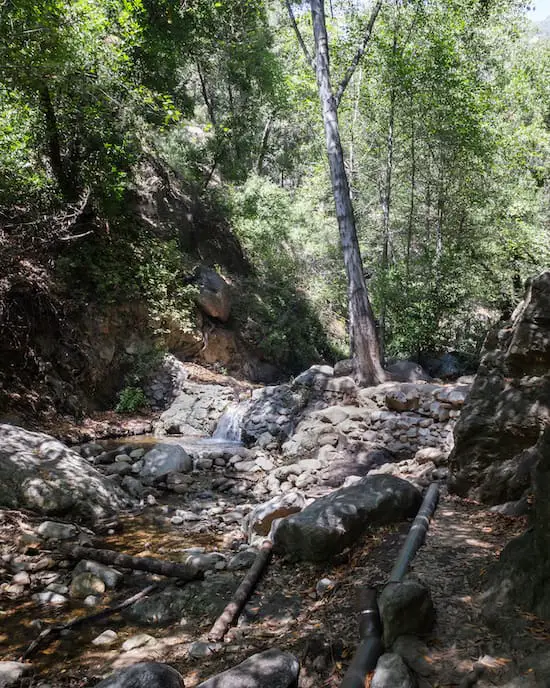
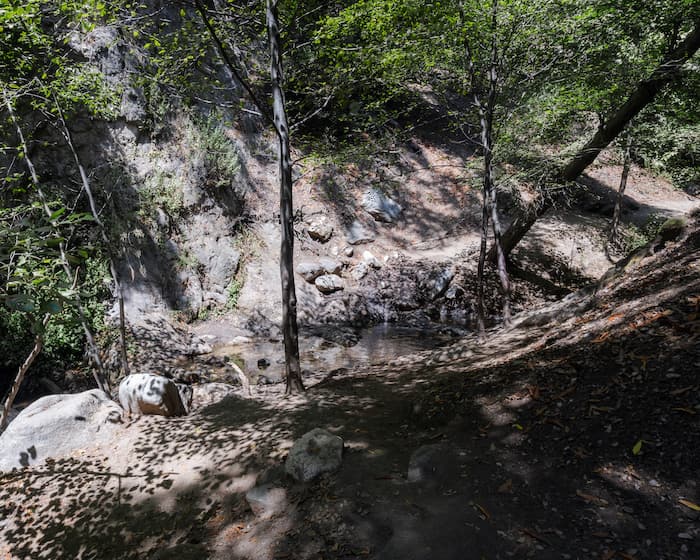
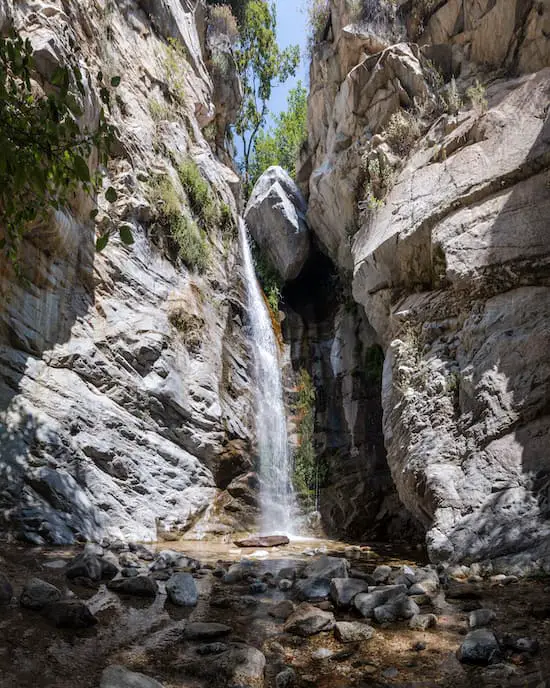
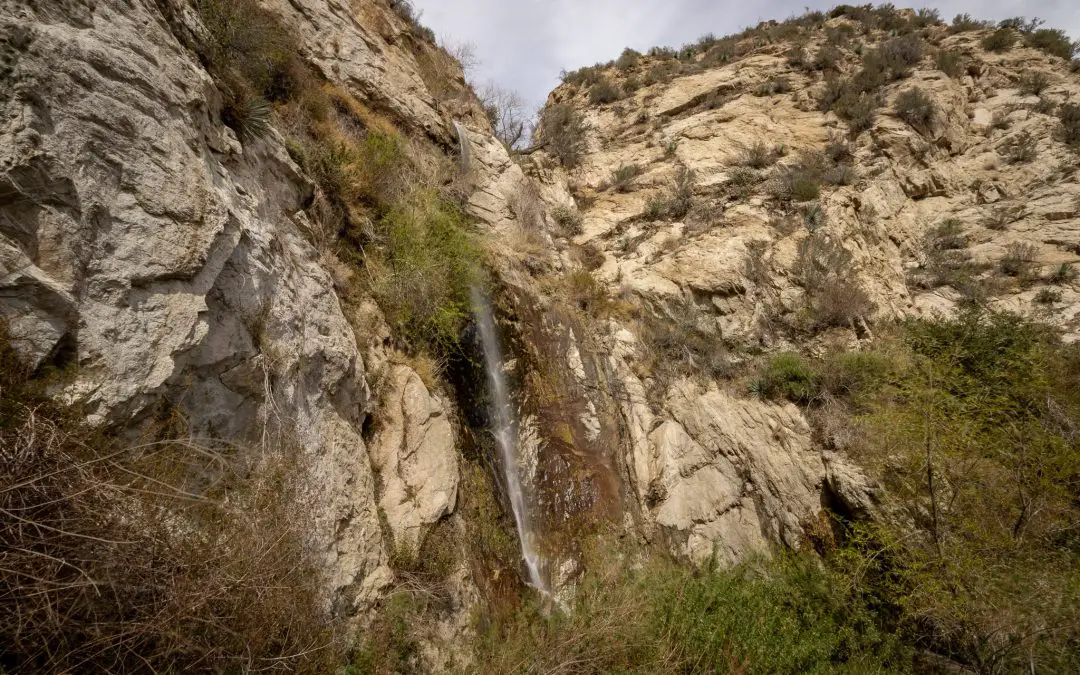
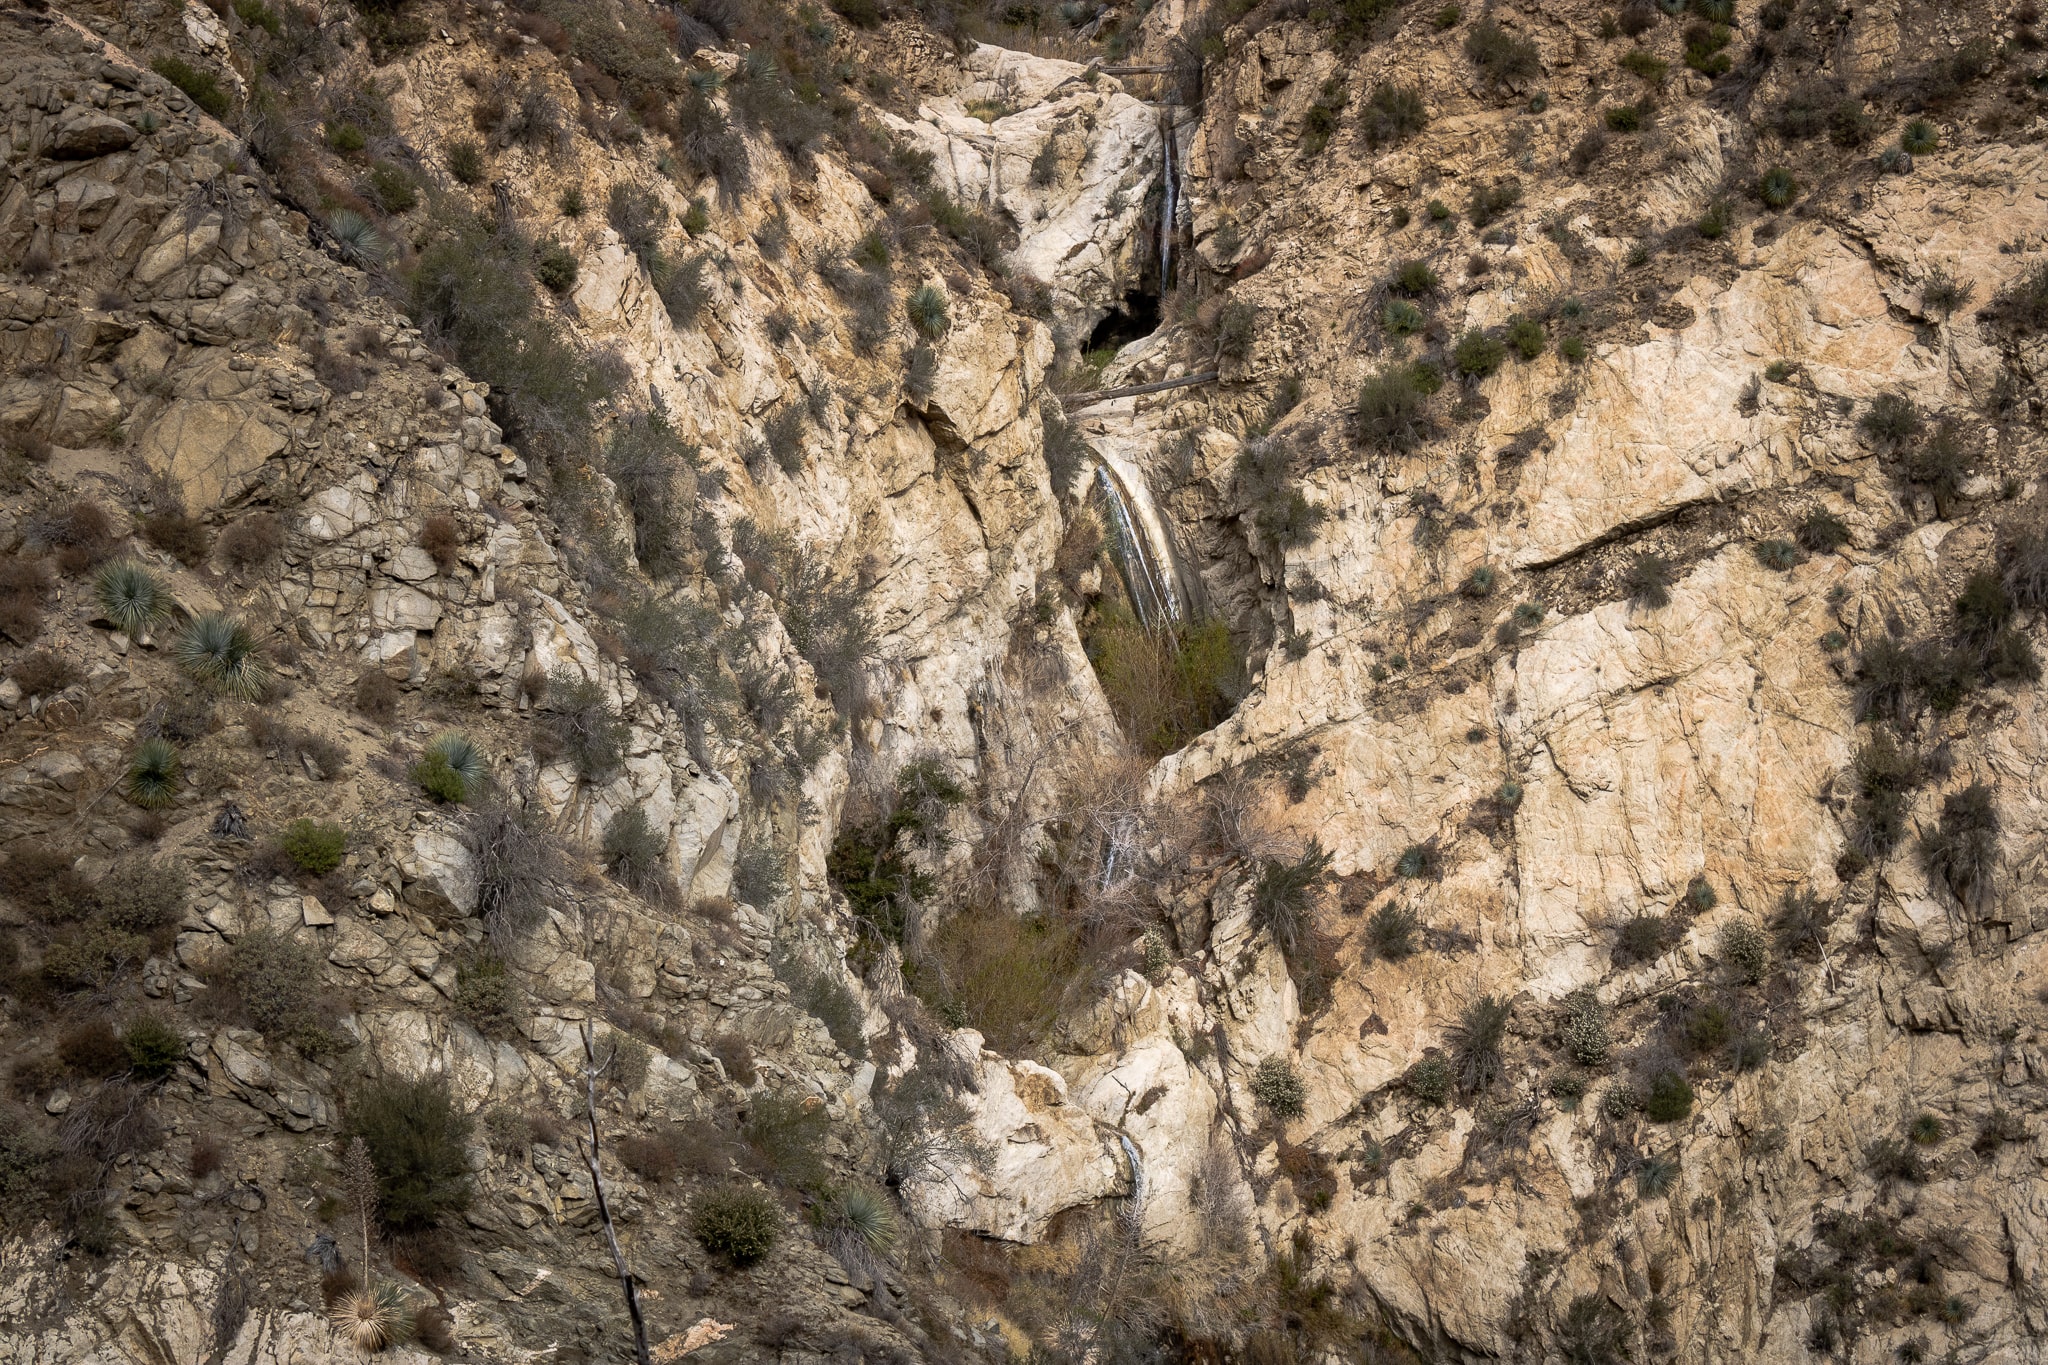
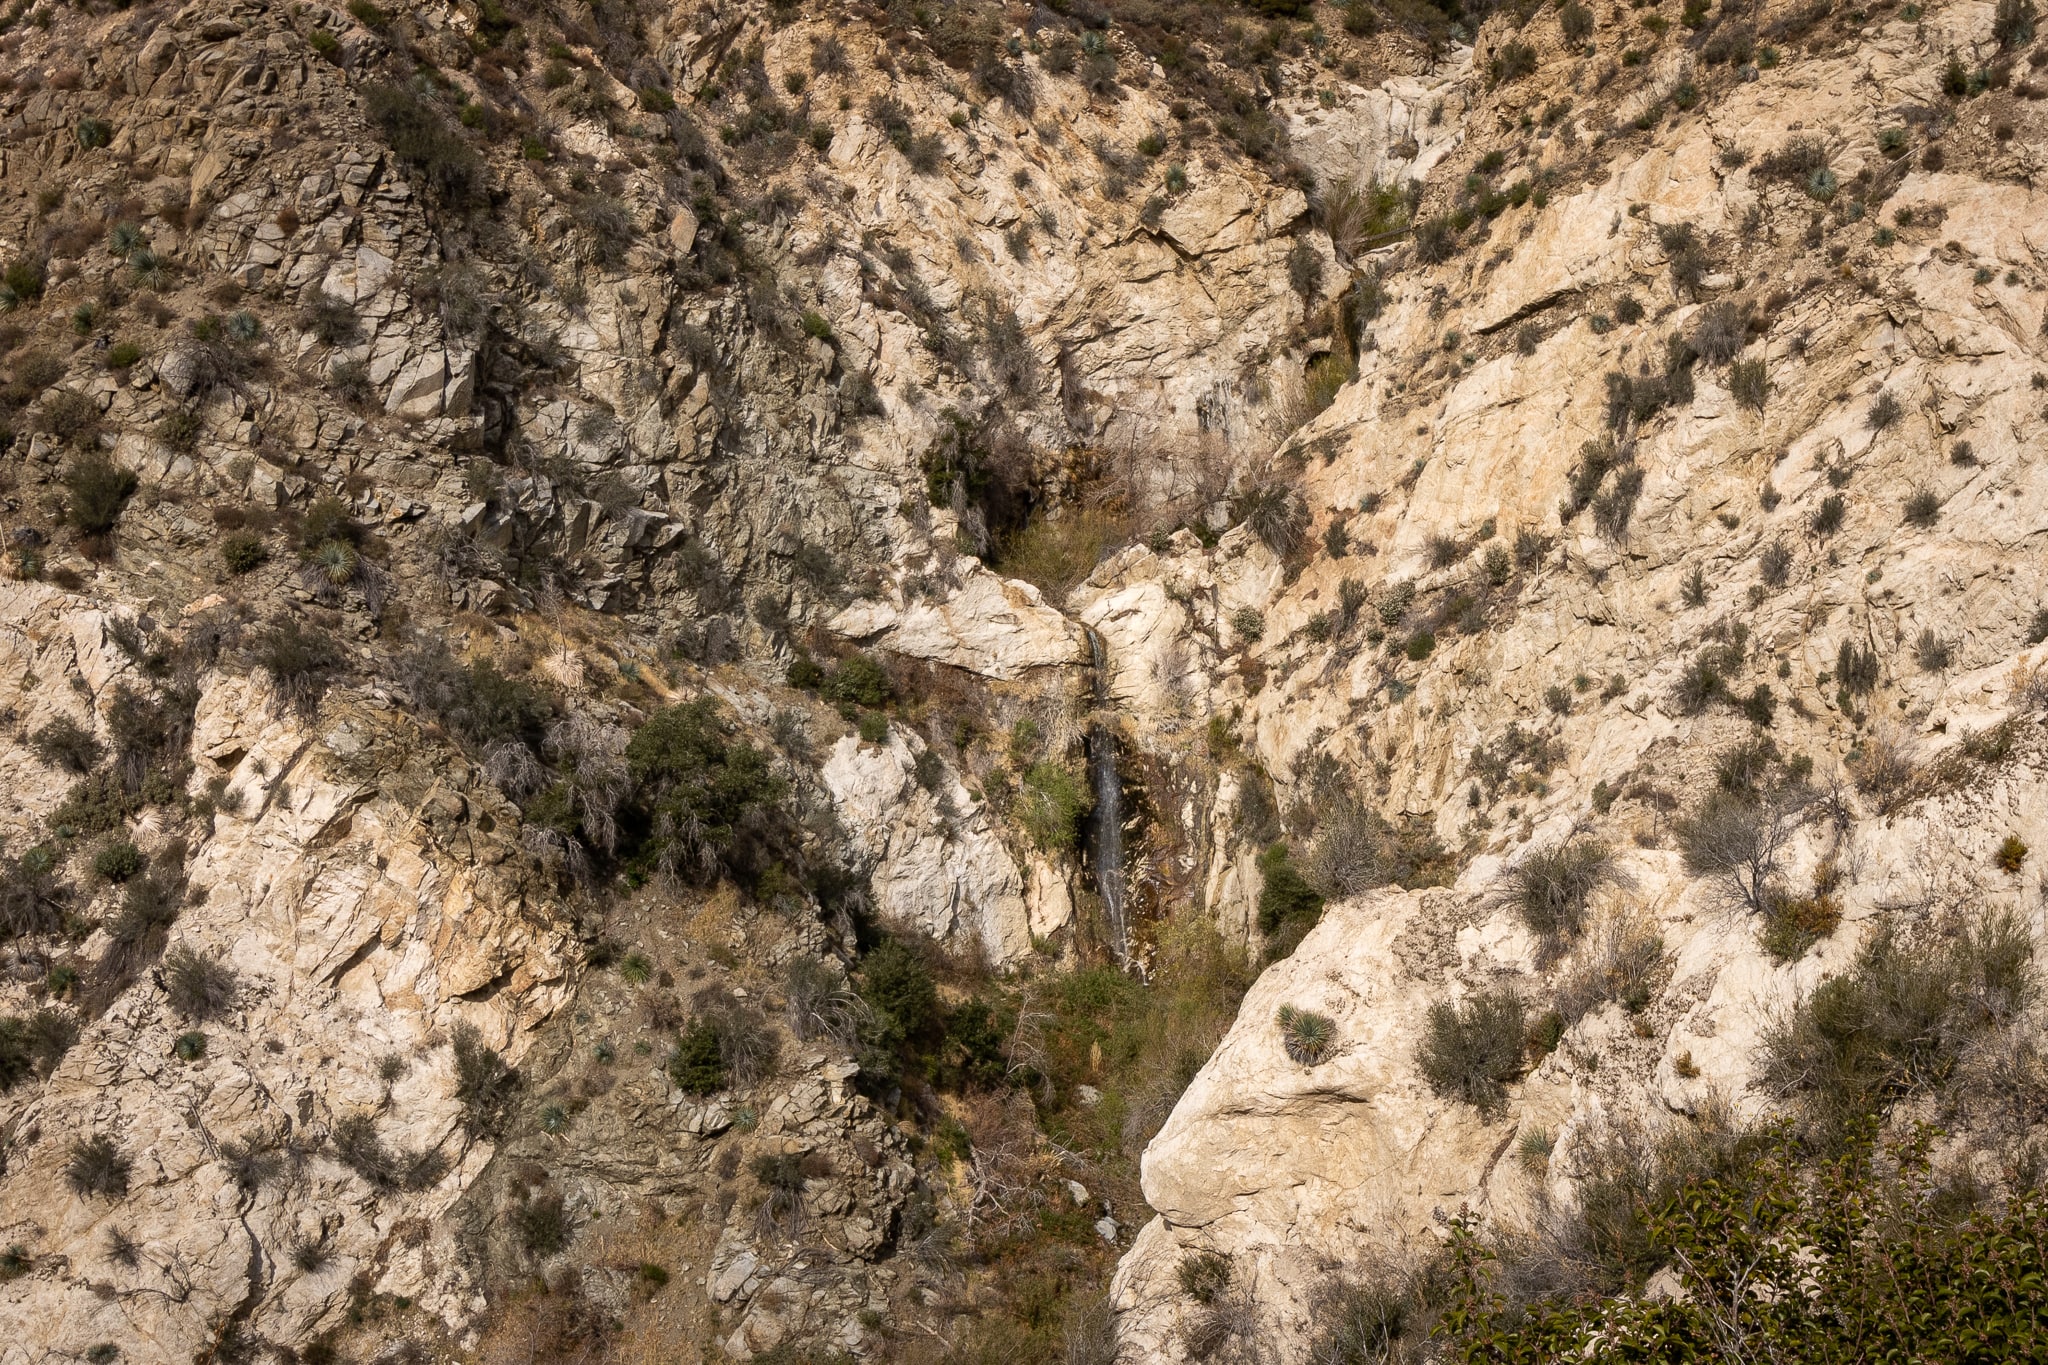
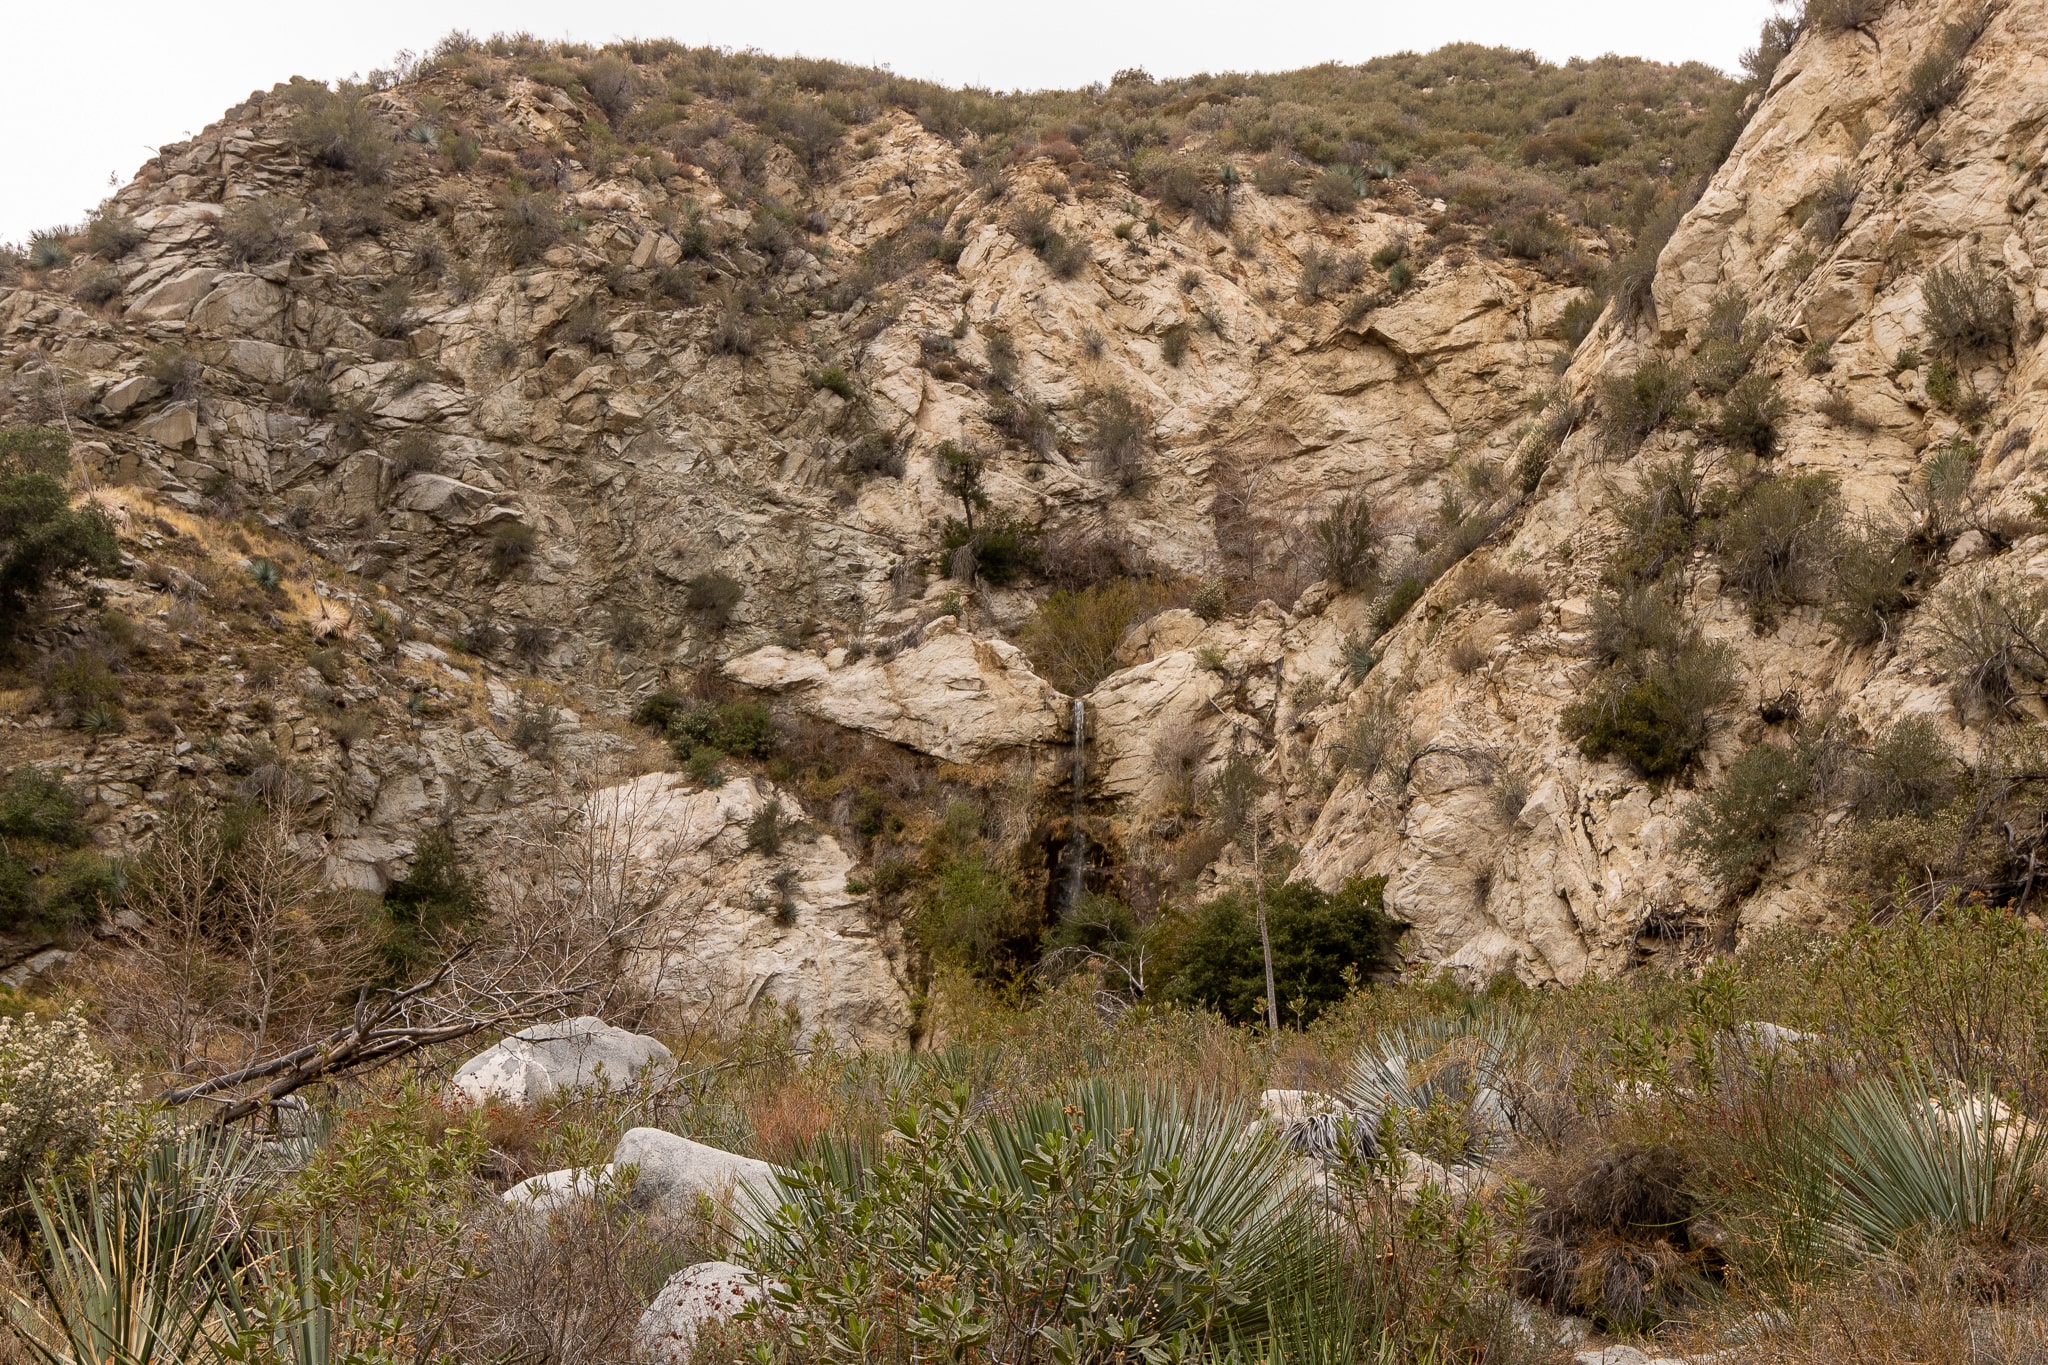
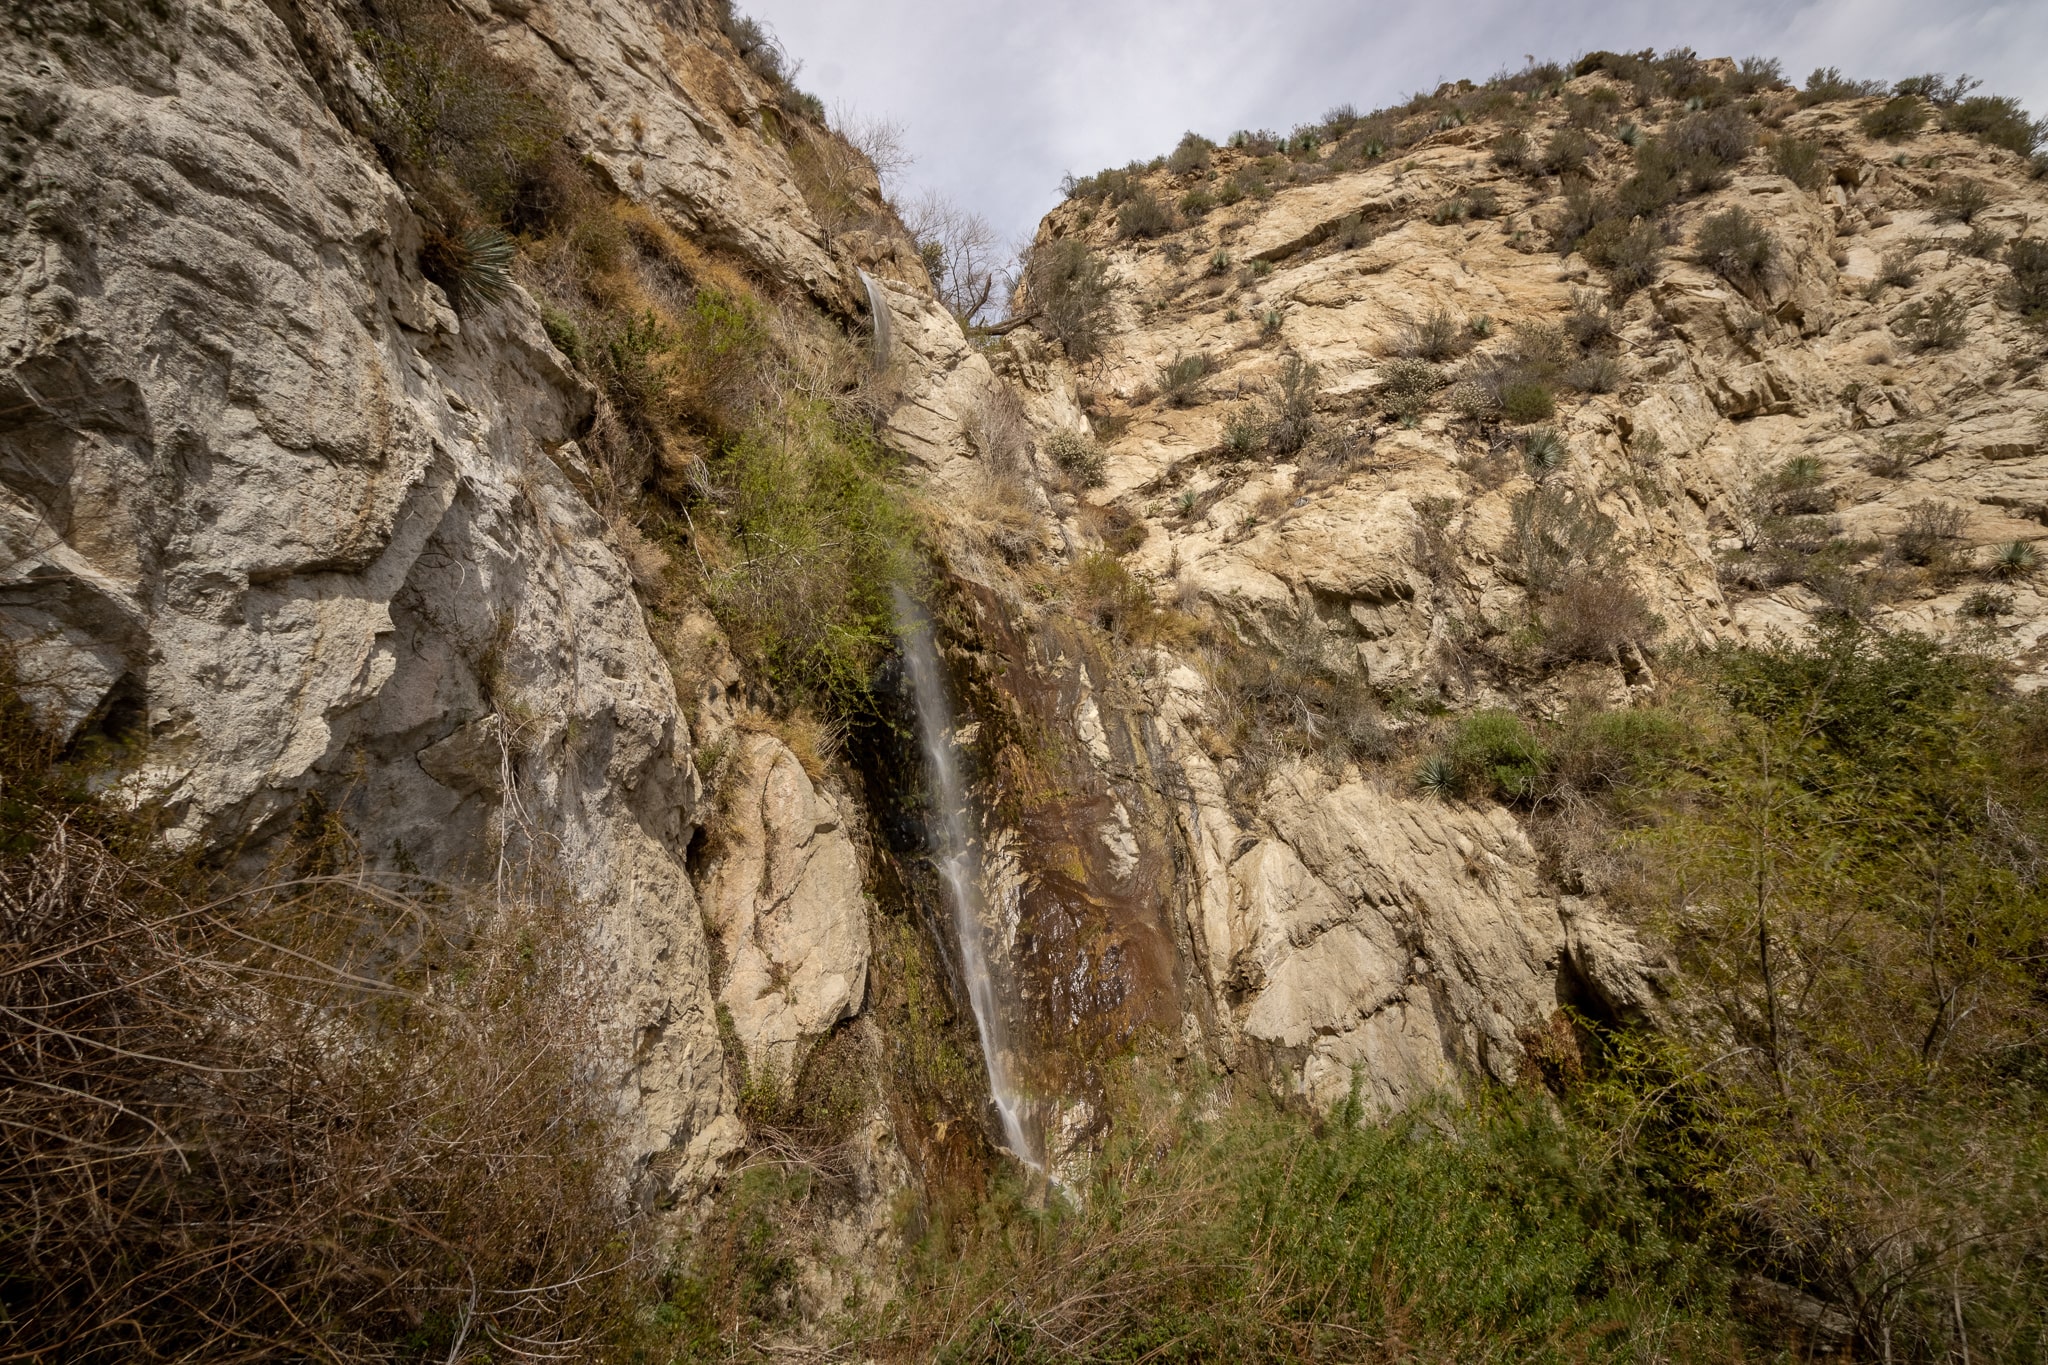
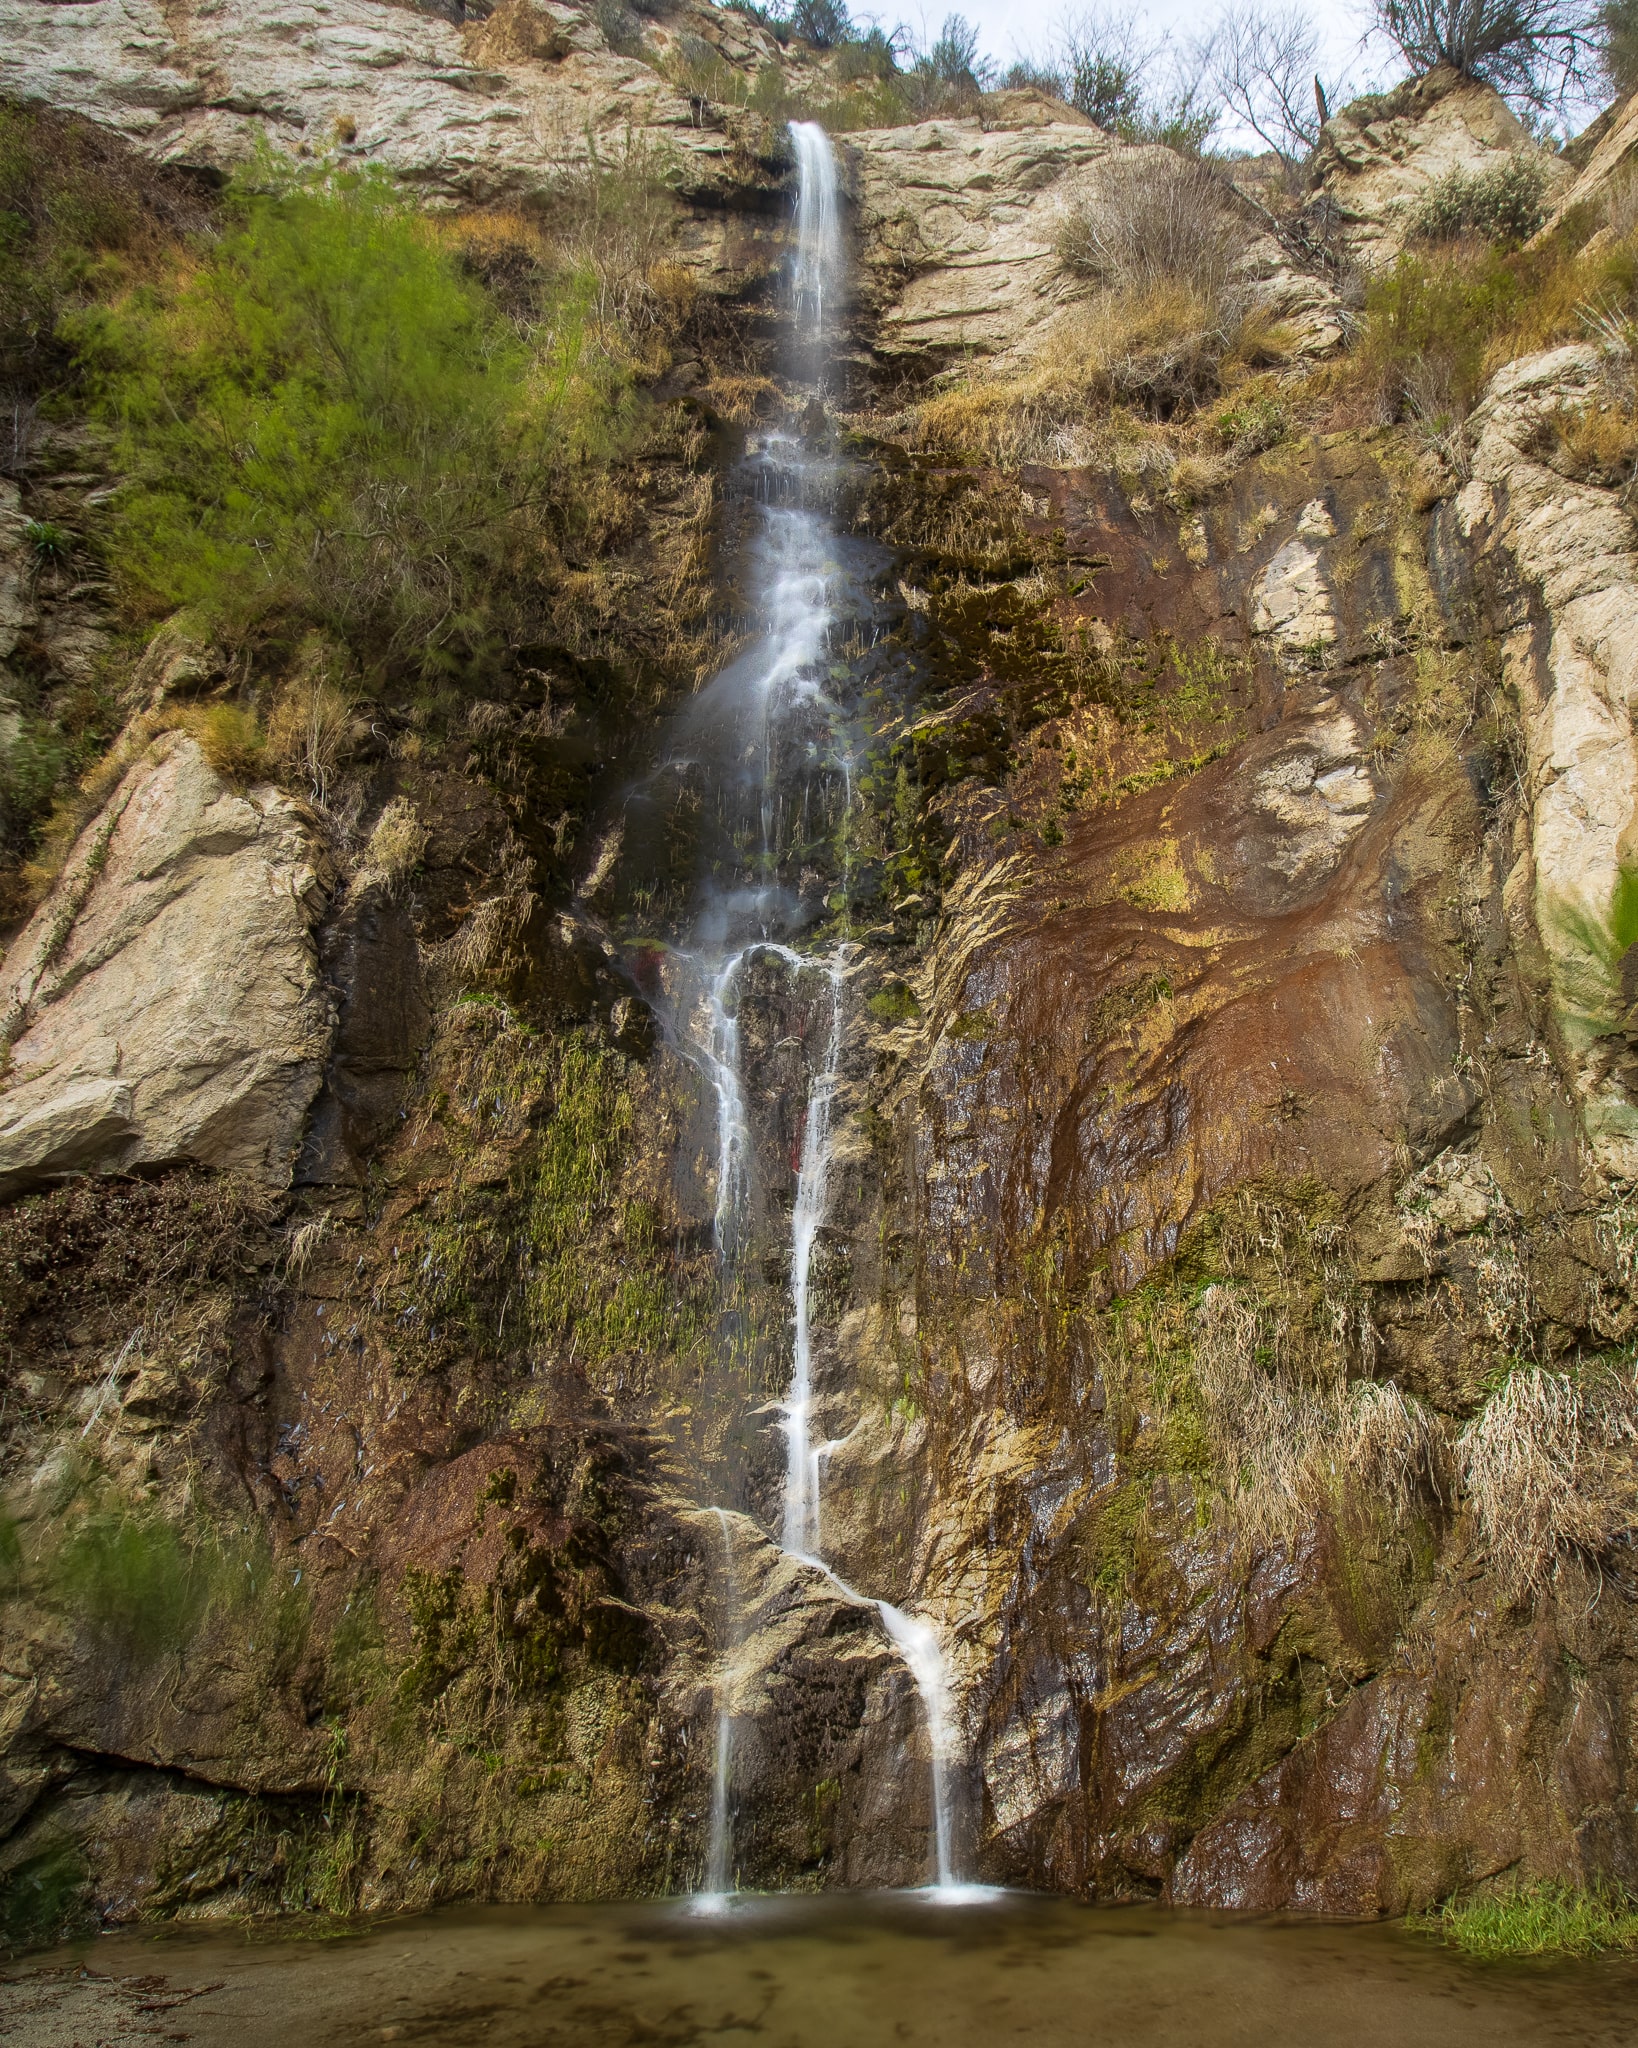
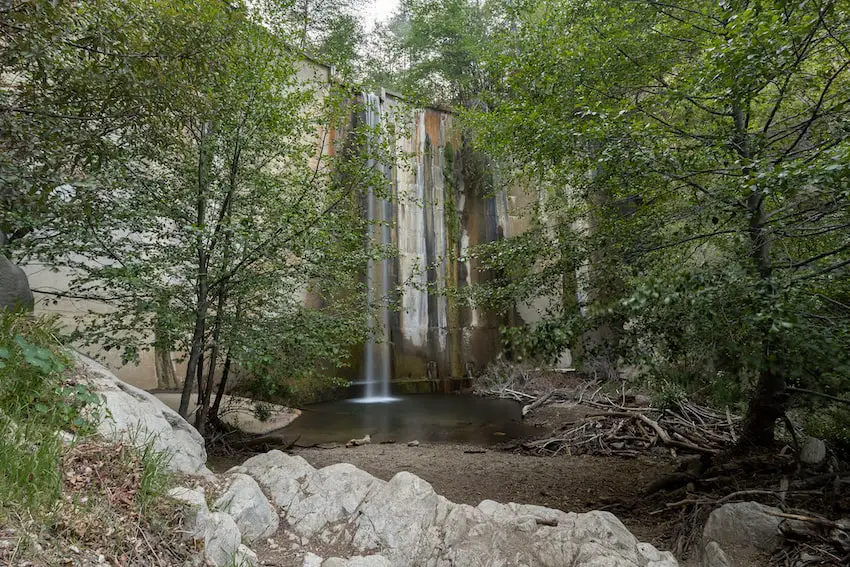
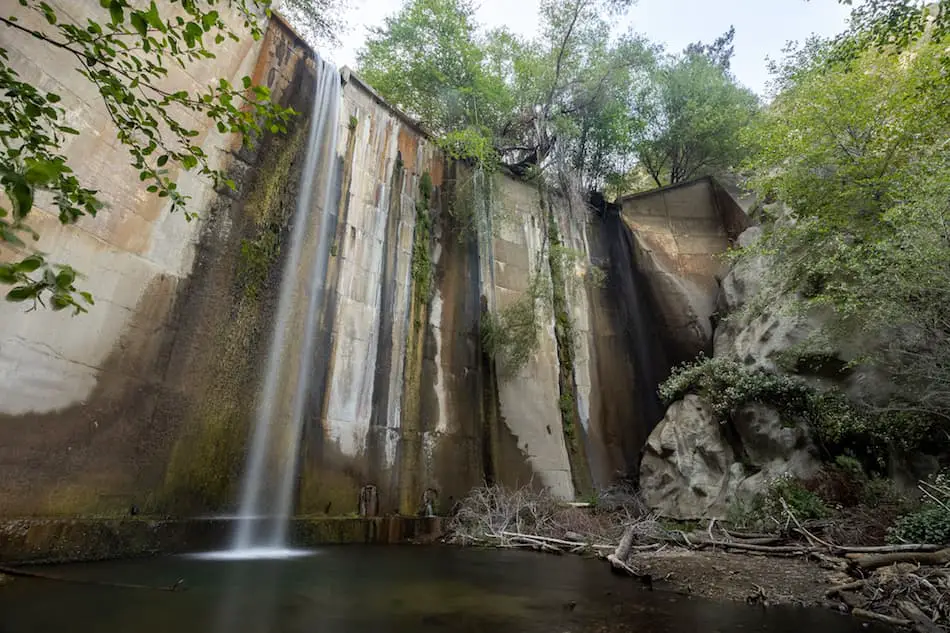
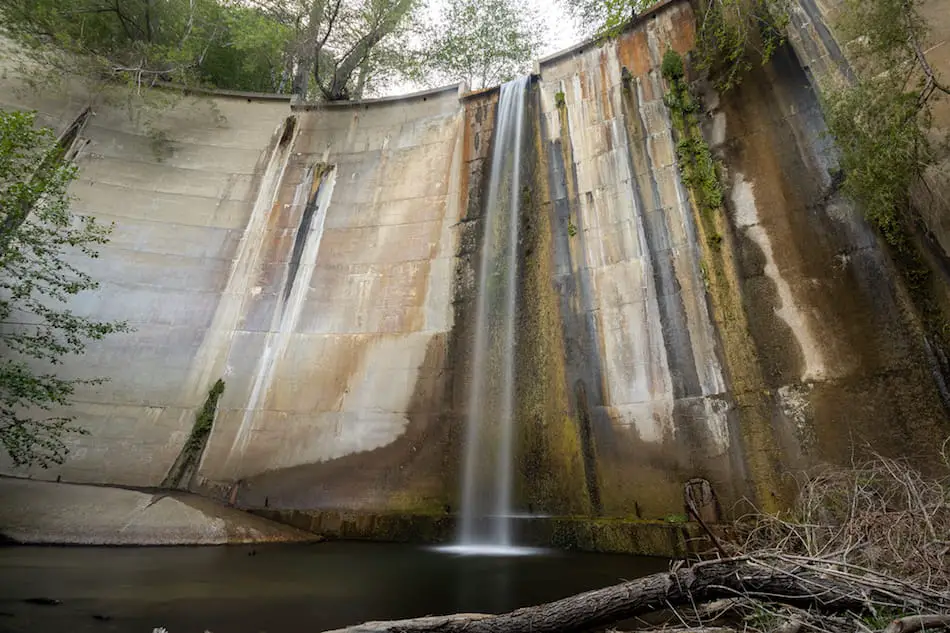
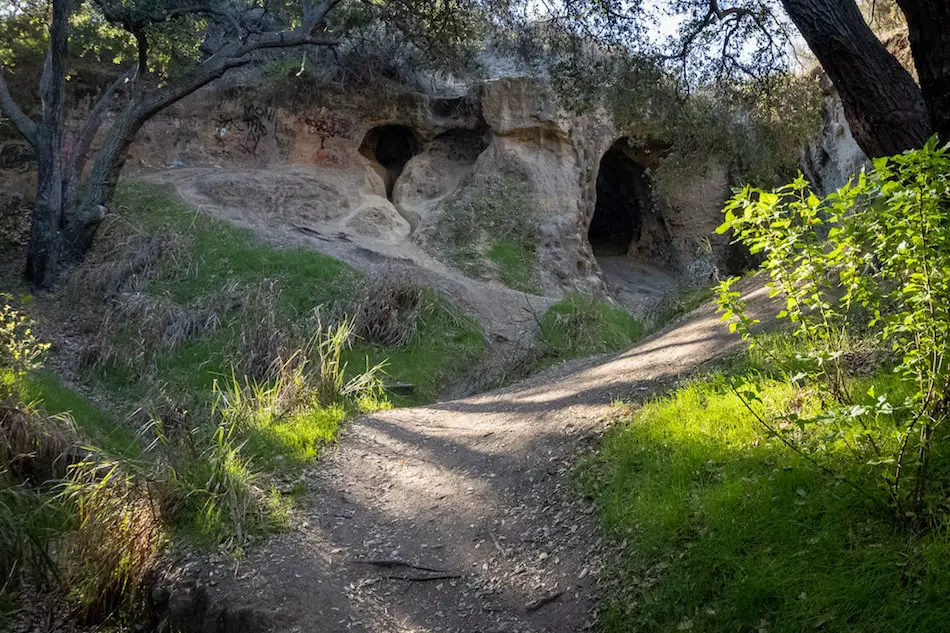
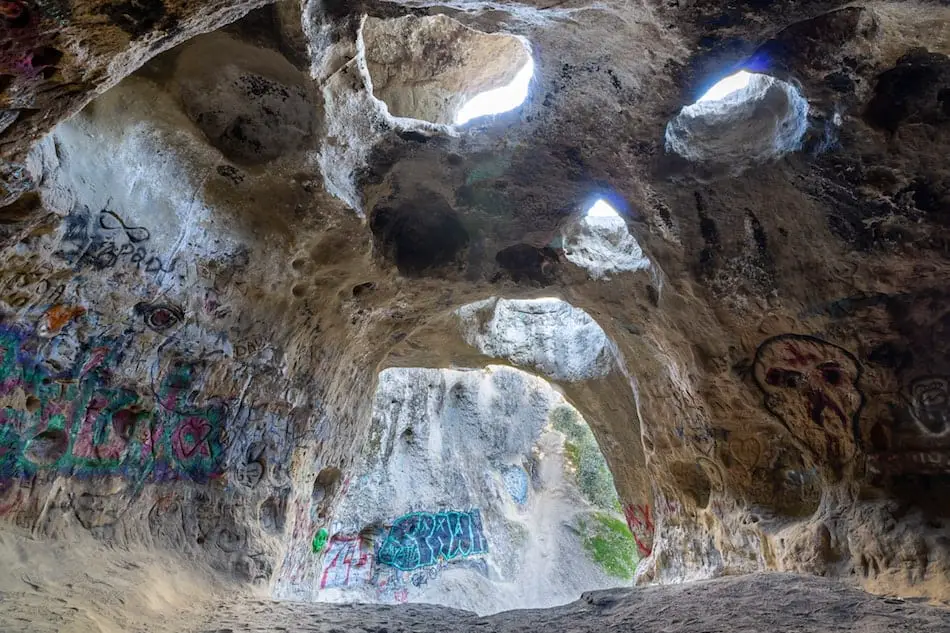
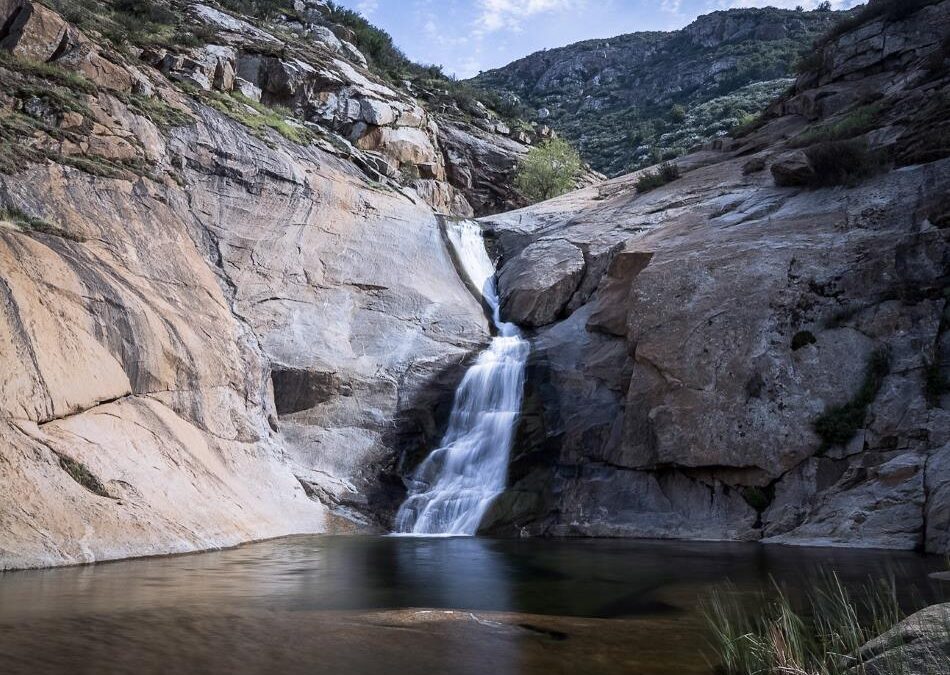
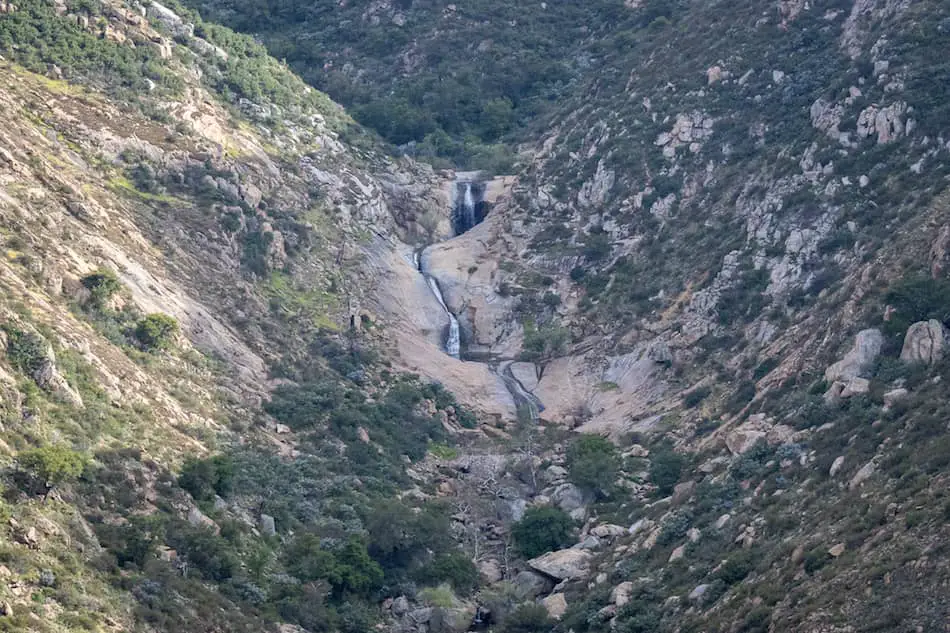
A few steps later and we were at the mine. There’s actually a dried-up waterfall right next to the mine (you’ll see it if you do this hike!).
Can you imagine how it was back then when Heaton and the other miners had a flowing waterfall right next to their worksite and cabins?
I hope to see it flow one day in the future.
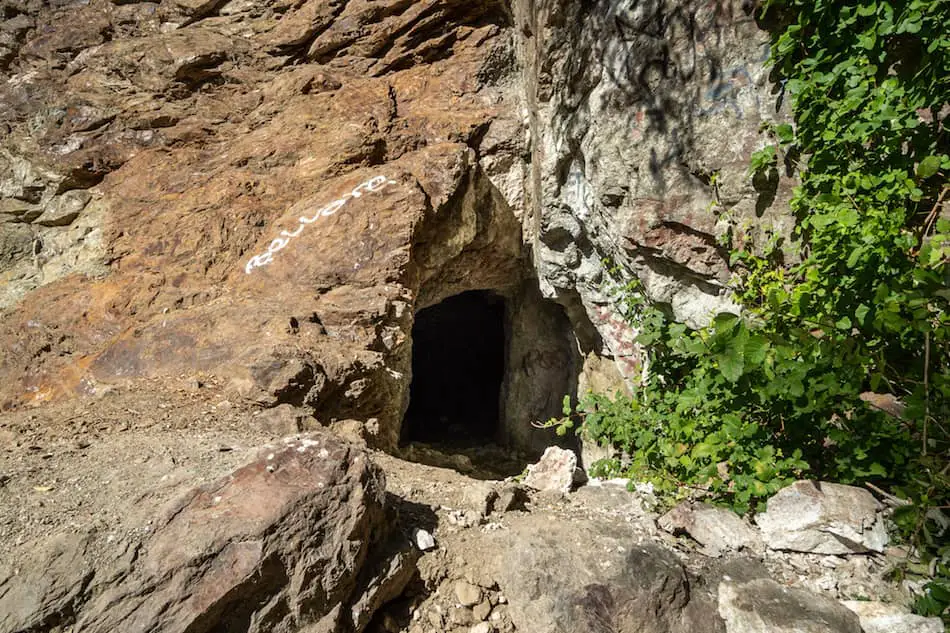
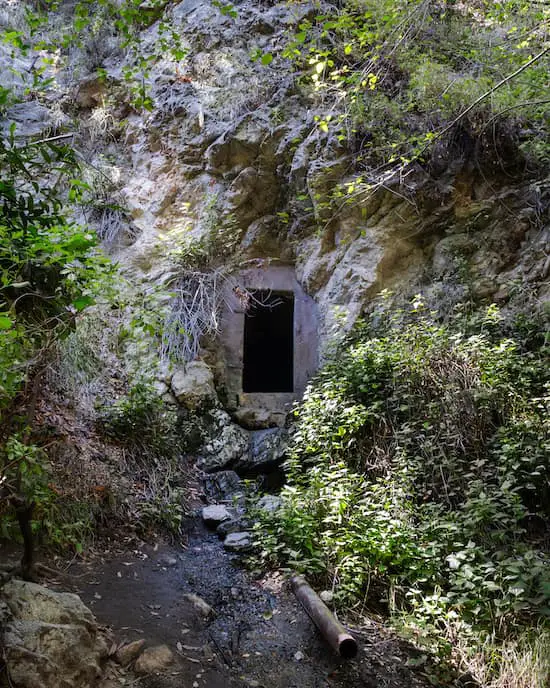
A graffitied sign on the mine says “beware”.
I grabbed my flashlight and made some noise, just in case there were any bears dwelling inside. (Bears like to hide in places like this, so be extremely careful)
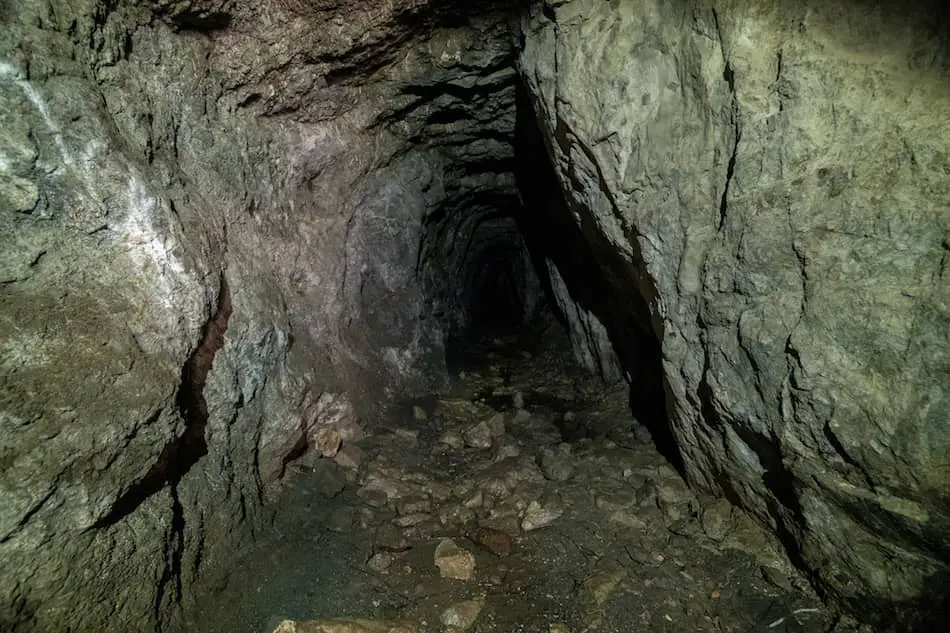
The tunnel goes in about 127 feet and abruptly ends after a right turn.
I think this is such an interesting, yet short hike. It’s doable for anyone and is far less traveled on because of the other popular hiking trails nearby.
There’s so much rich history here in the East Fork. If you’re interested in the history behind the mine and fun facts, we’ve included the info and old pictures down below!
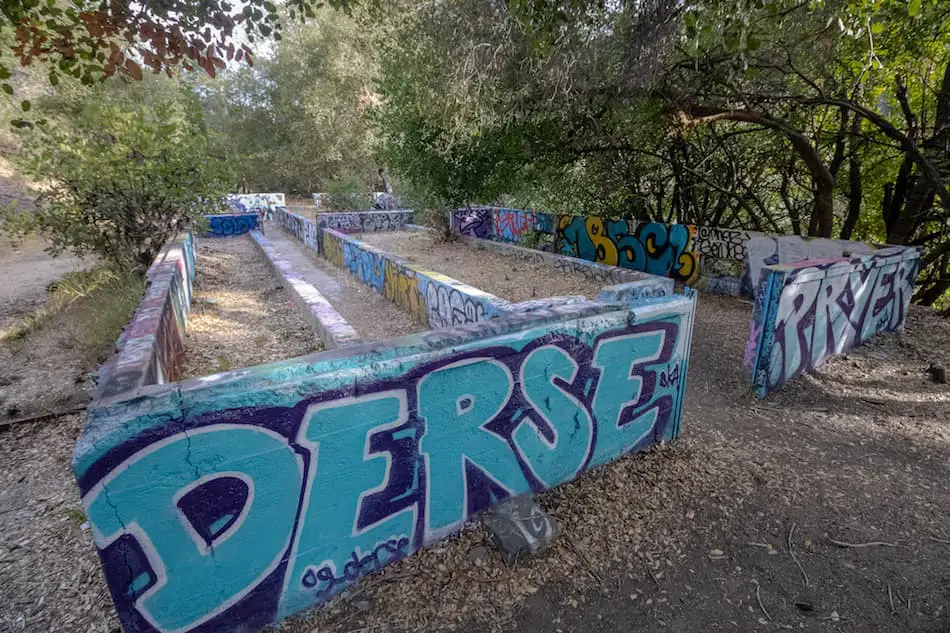
*** If you visit this hidden gem, please be responsible and leave it graffiti-free and trash-free. ***
Interesting History Behind the Heaton Mine
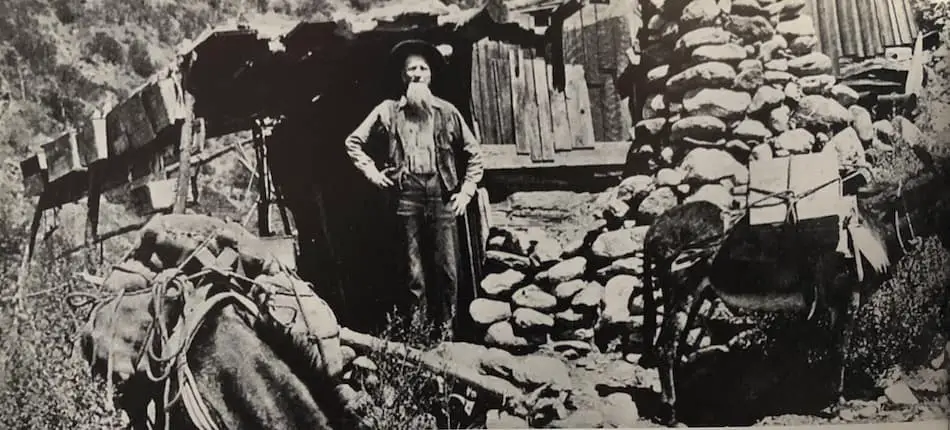
William T. Heaton at one of his stone buildings. Circa 1910. Photo courtesy of “The San Gabriels” by John W. Robinson.
Heaton Flat and Heaton Mine are actually named after a prospector named William Tecumseh Heaton.
Mr.Heaton, also referred to as “Billy”, came into the East Fork in 1891 after jumping around different mining prospects, one being Cattle Canyon, also located in the east fork. He then decided to settle down at Peachtree Flat, which is now called Heaton Flat.
He filed a claim right by the Heaton Flat Campground. He also built two stone buildings (these are the ruins we saw at the hike), which were either used as cabins or shacks. The Heaton Mine operated from 1904-1924.
Billy Heaton, being the dedicated miner that he was, worked there until the day he died.
Fun Fact: William Heaton’s daughter, Jennie Heaton, married Ralph Follows. They created a booming resort known as Follows Camp. It was so popular that Follows came up with the famous four-horse stage, where he’d pick up visitors to bring to the resort.