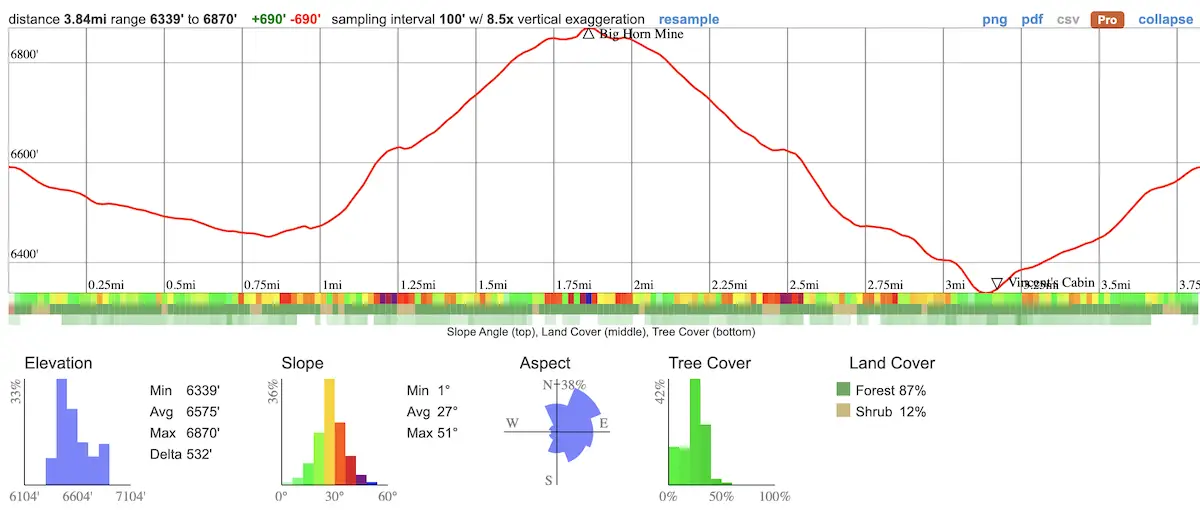
Big Horn Mine Trail: Map, Directions, & Bonus Cabin Ruins
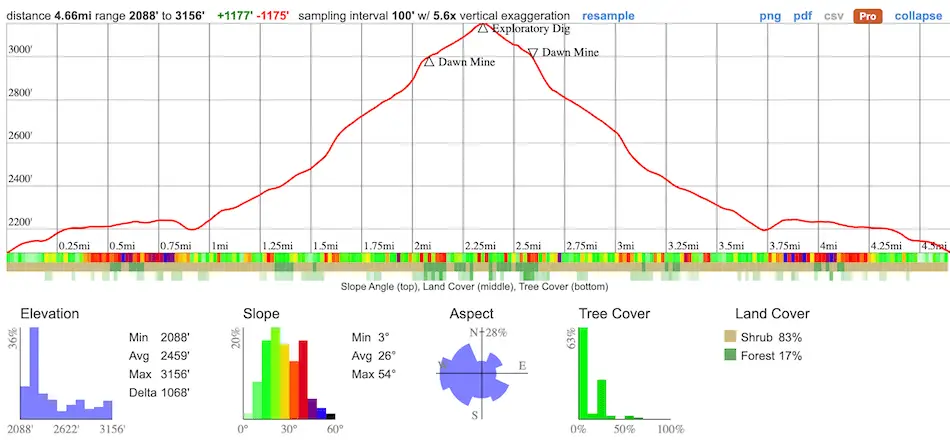
- Total Miles: 3.84
- Time: 2.5 Hrs
- Difficulty: Easy
- Best Season: All Year
- Elevation Gain: 983 ft
- Max Elevation: 6894 ft
- Type of Trail: Out & Back
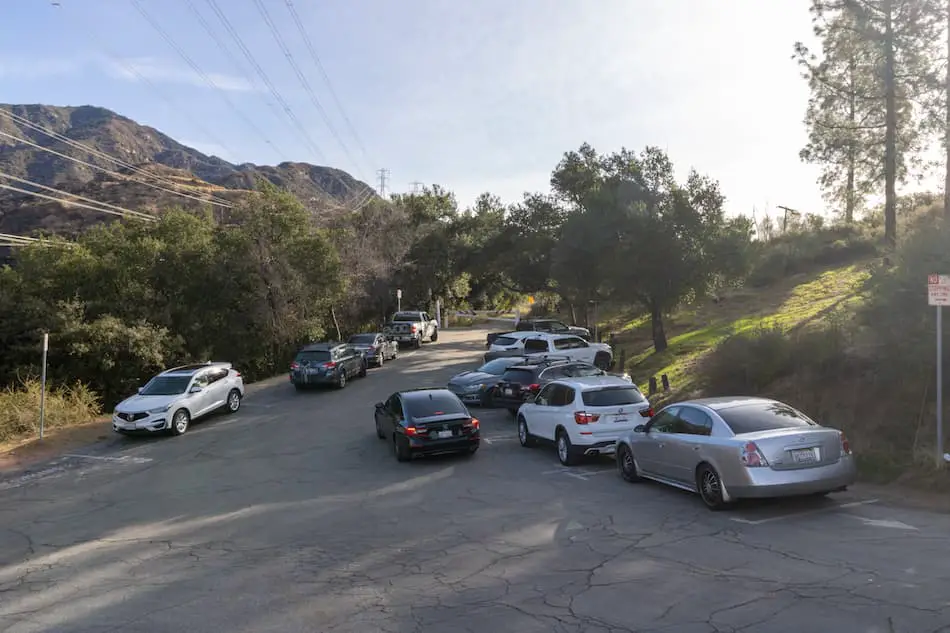
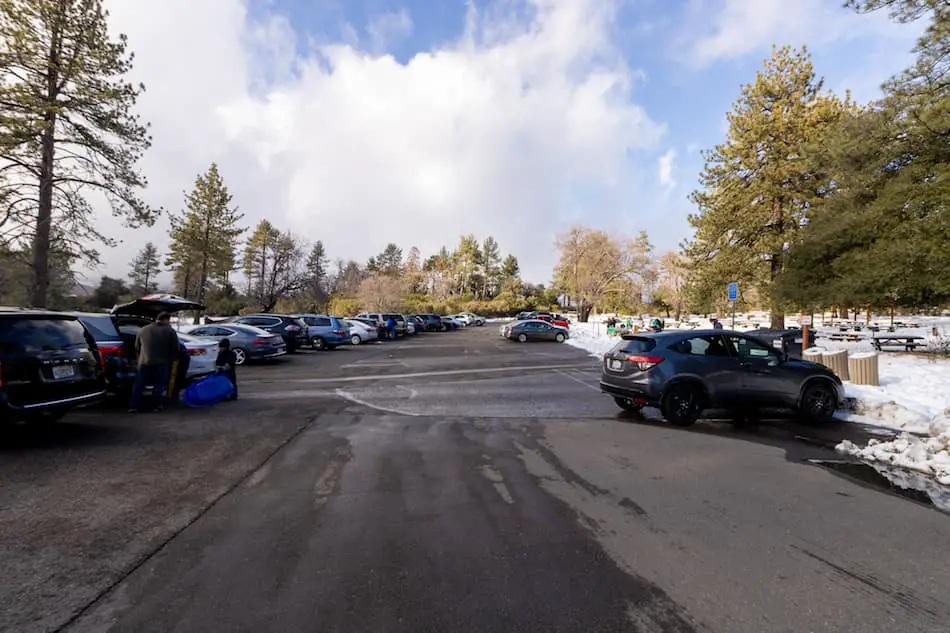
- Parking Lot: Fits ≈ 30 cars
- Dogs: Allowed On A Leash
- Restrooms: Available At The Parking Lot
- Trail Popularity: Very High
- Pics Taken On: Apr 3, 2021
Deep in the San Gabriel Mountains, a 128 year old abandoned mine is still accessible if you dare to venture inside. But that’s not all. The founder, Charles, built a cabin about a mile away from the mine, which is still standing and can also be explored.
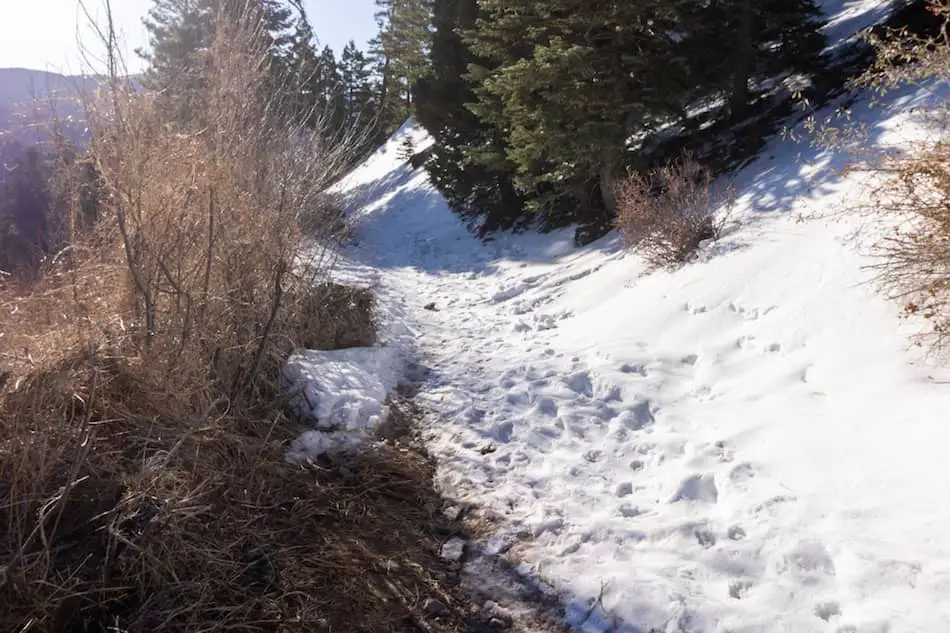
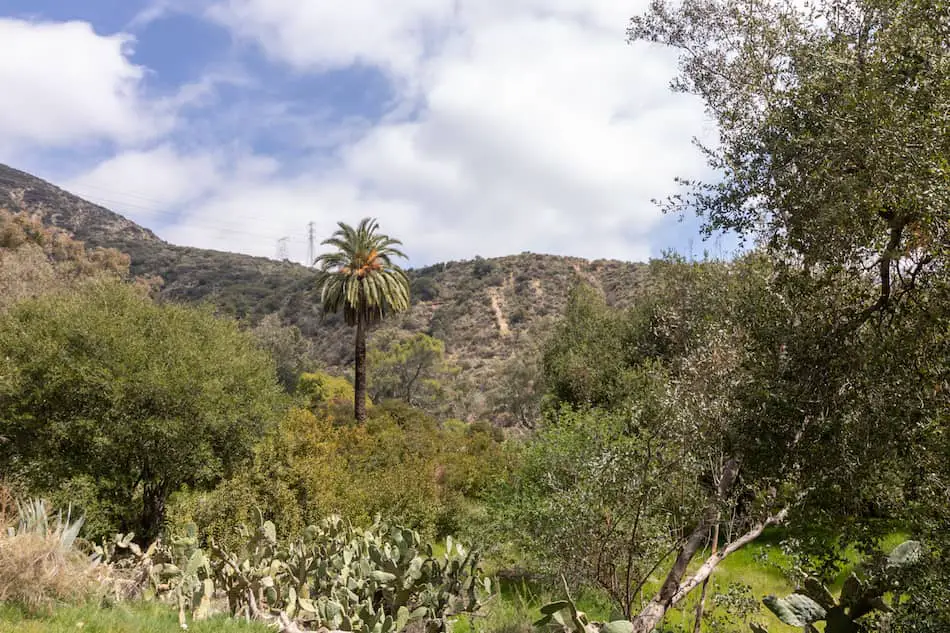
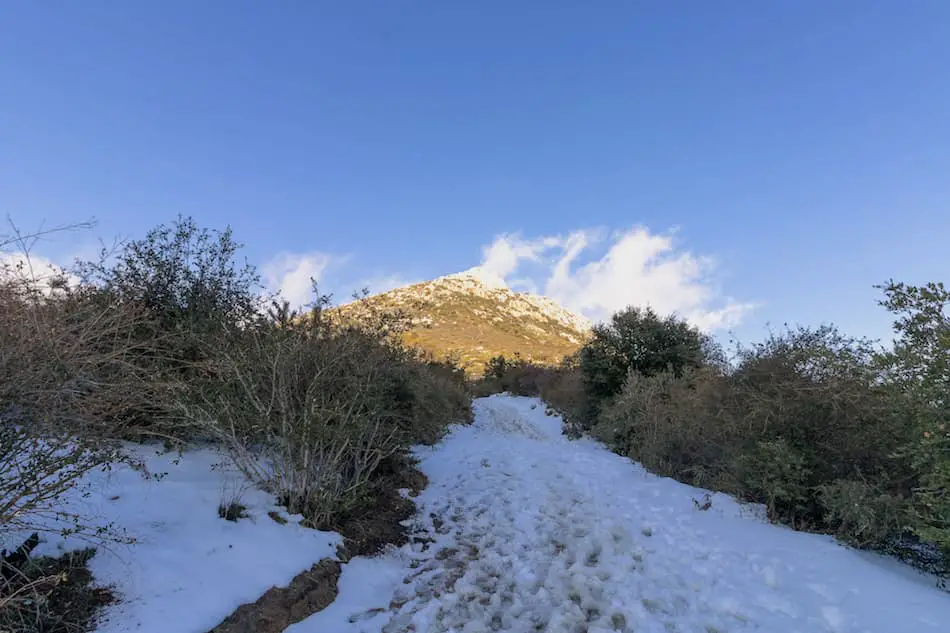
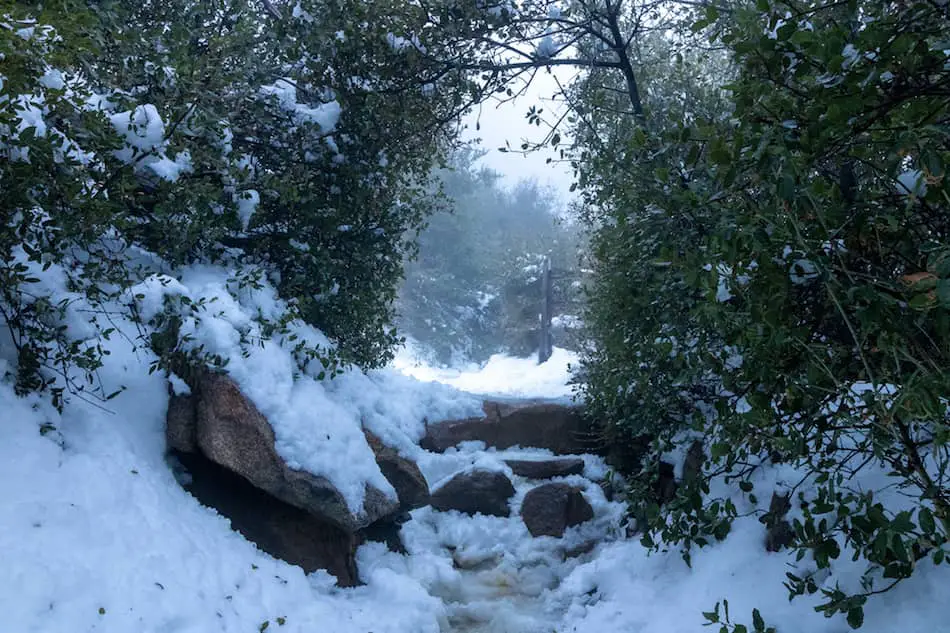
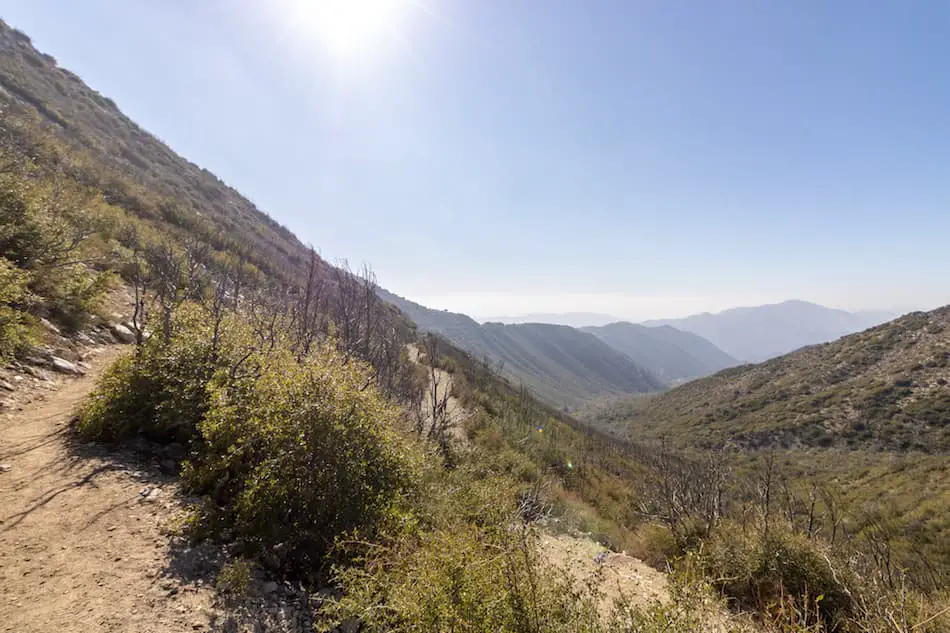
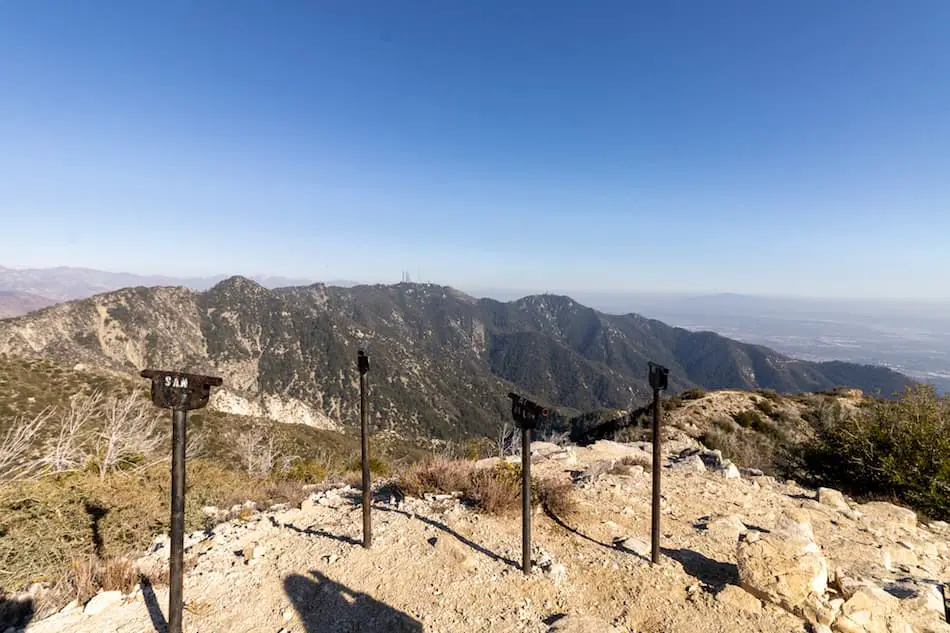
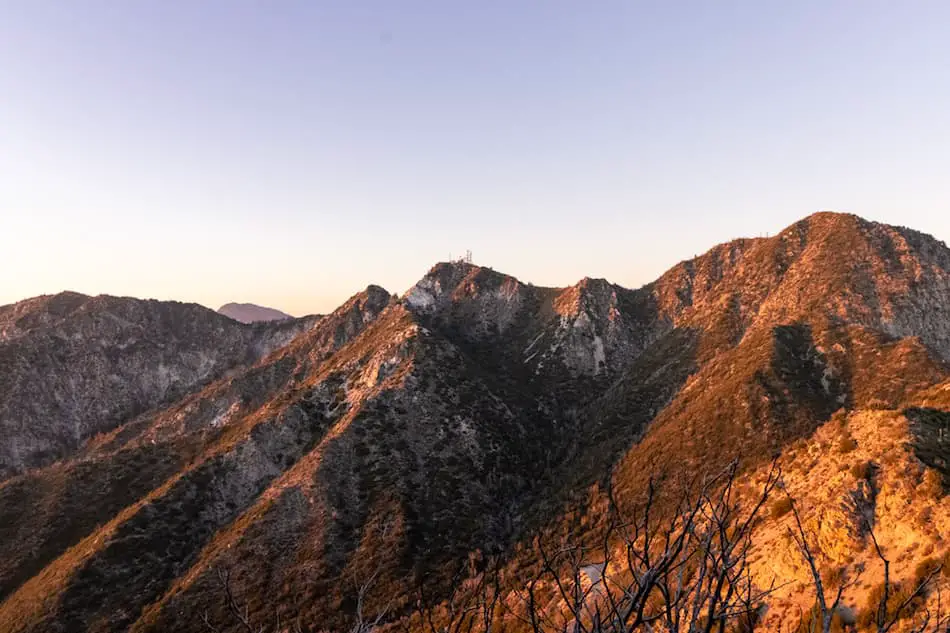
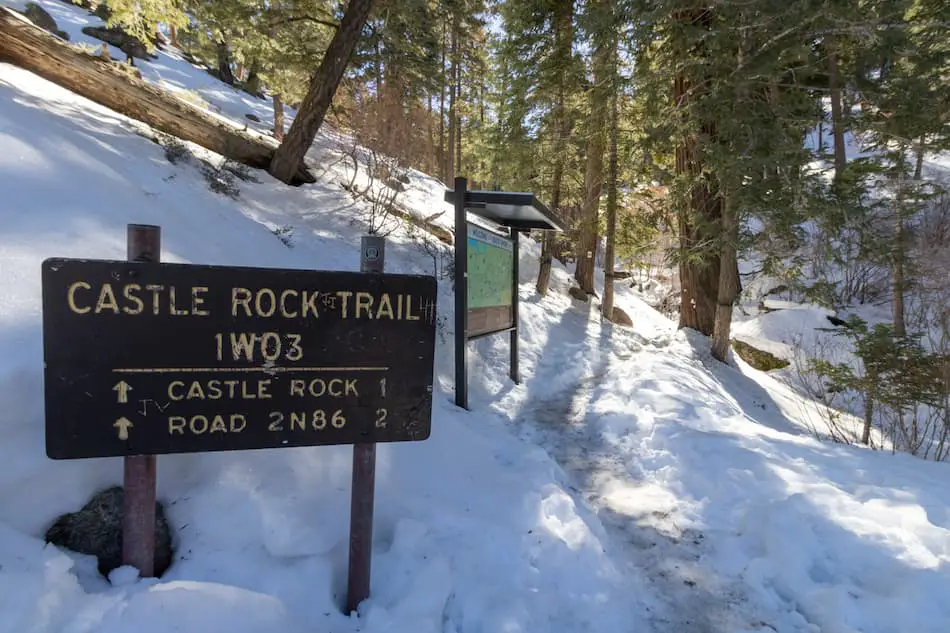
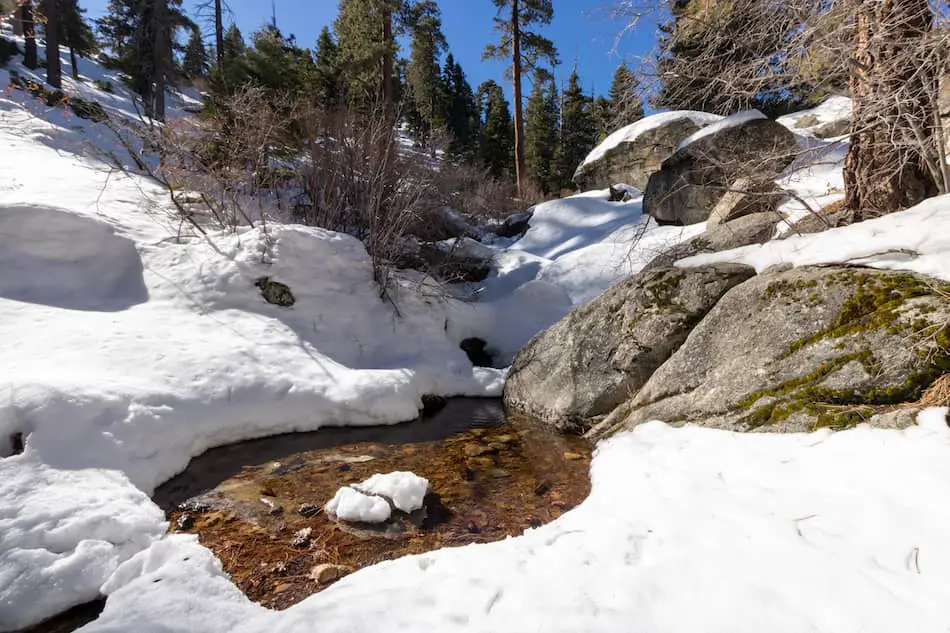
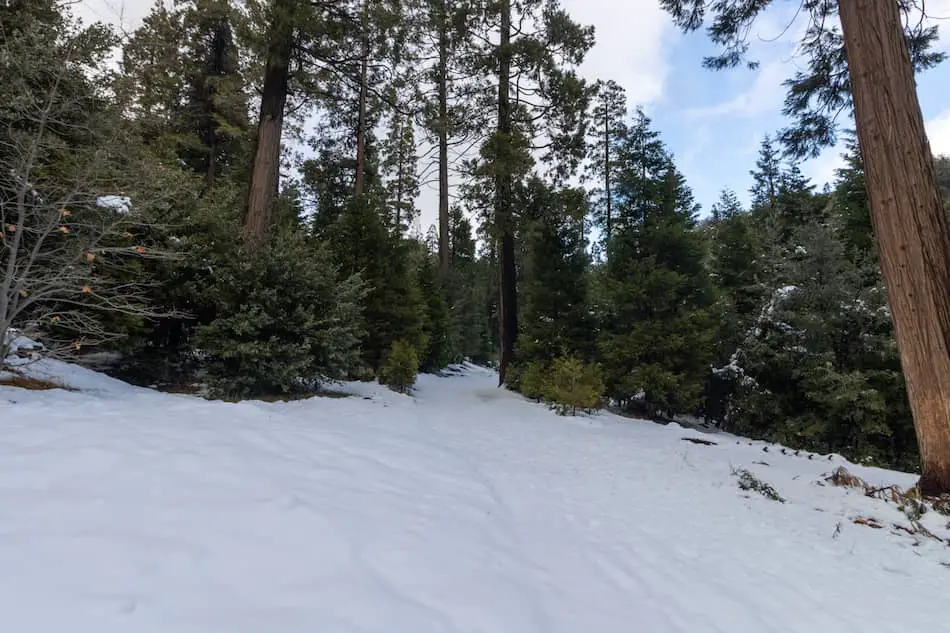
Big Horn Mine trail is a 4 mile, relatively easy hike in the Angeles National Forest. The trail begins at Vincent’s Gap, boasts beautiful pine trees, and amazing views of various peaks, including San Antonio. Snow can be expected during the winter months.
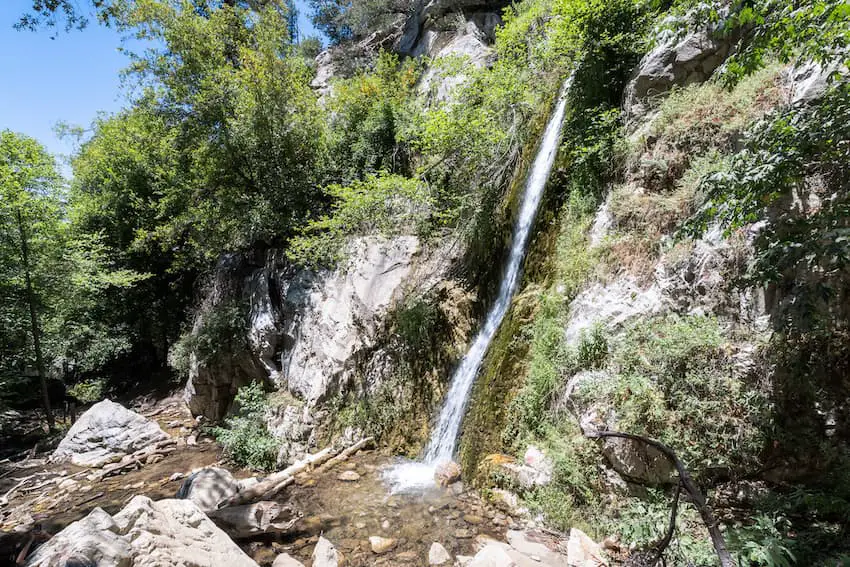
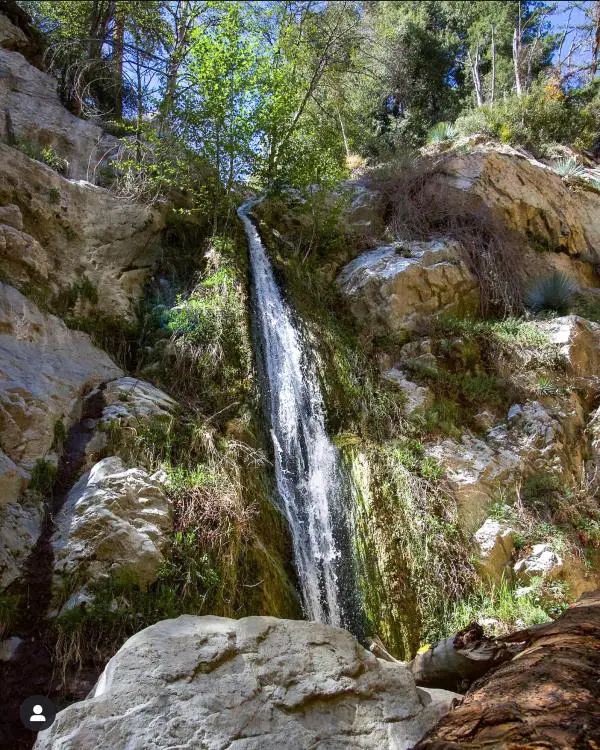
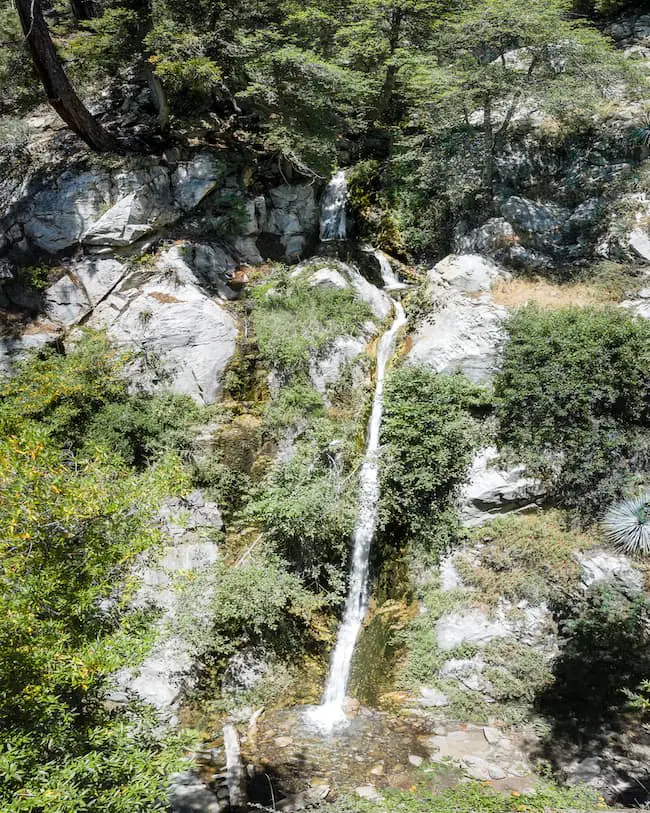
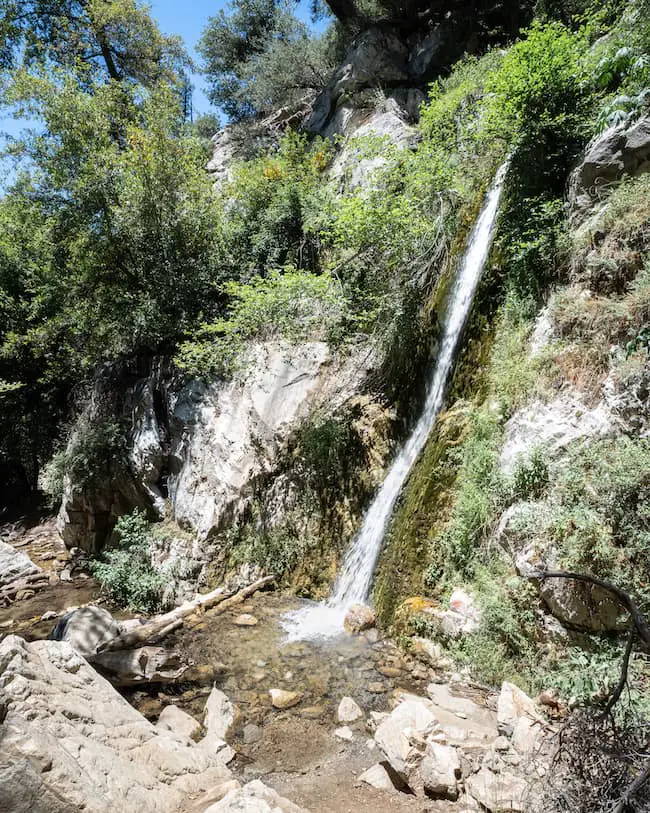
The Big Horn Mine made it to my list of best hikes in SoCal AND Los Angeles because it’s so unique. The other hikes on those lists include Nazi ruins, 500 foot waterfalls, and the most jaw dropping views you can imagine. Click the links to view them all:
Best Hikes In Southern California
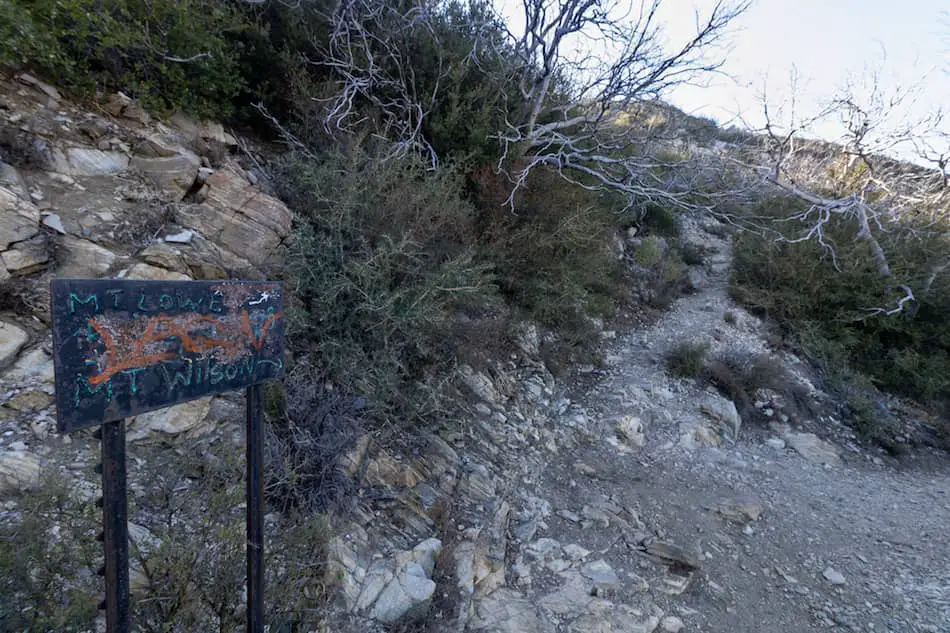
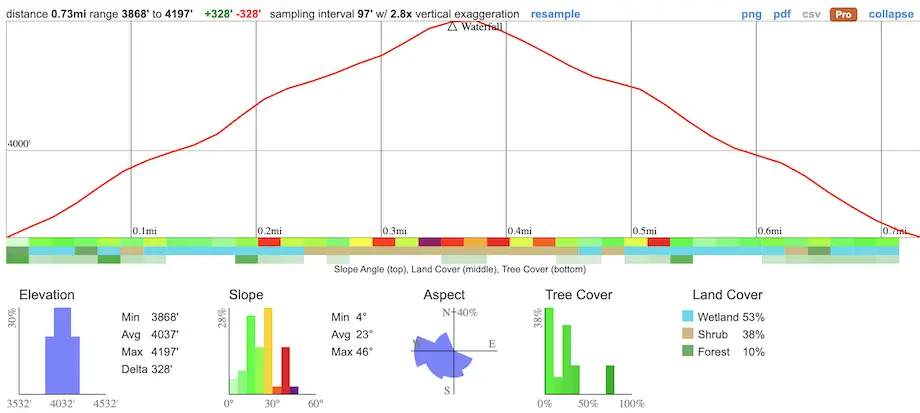
Big Horn Mine Trail Map
Directions
Click the following link to be redirected to Vincent’s Gulch Divide (Big Horn Mine Trailhead) via Google Maps: Pacific Crest Trail, Azusa, CA 91702
Helpful Links
SoCal Adventure Pass (required to park in SoCal mountains)
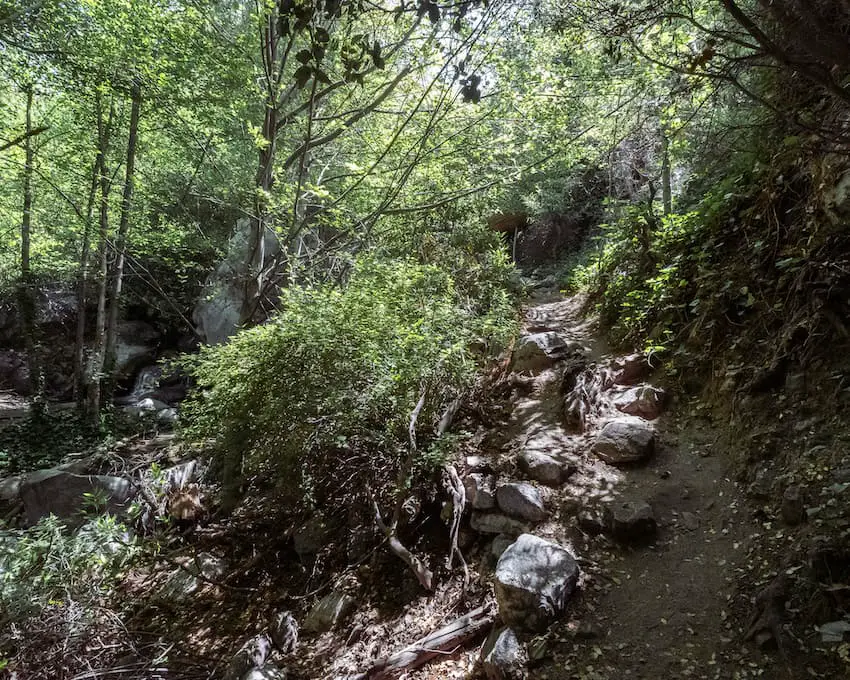
Big Horn Mine Hike
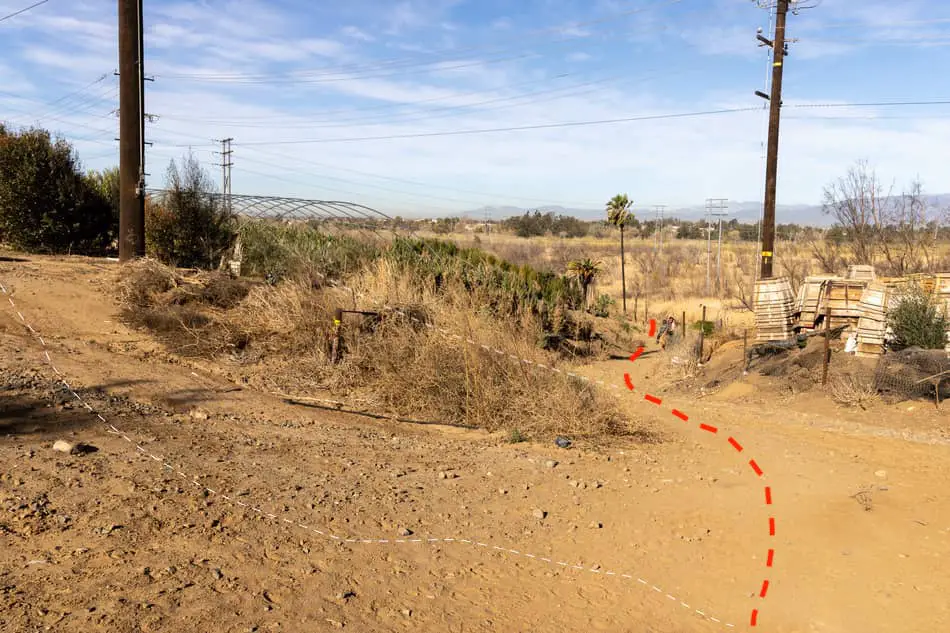
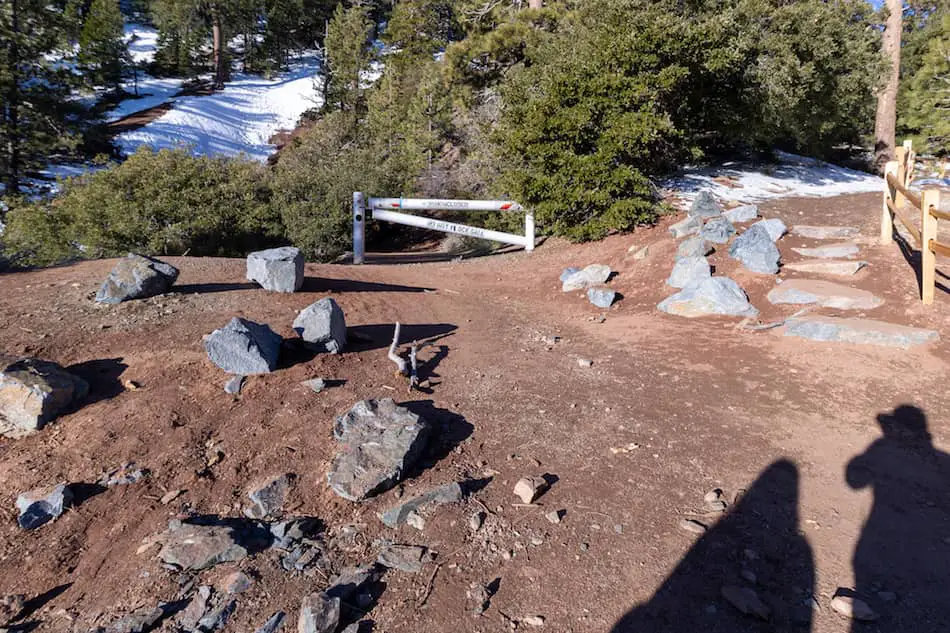
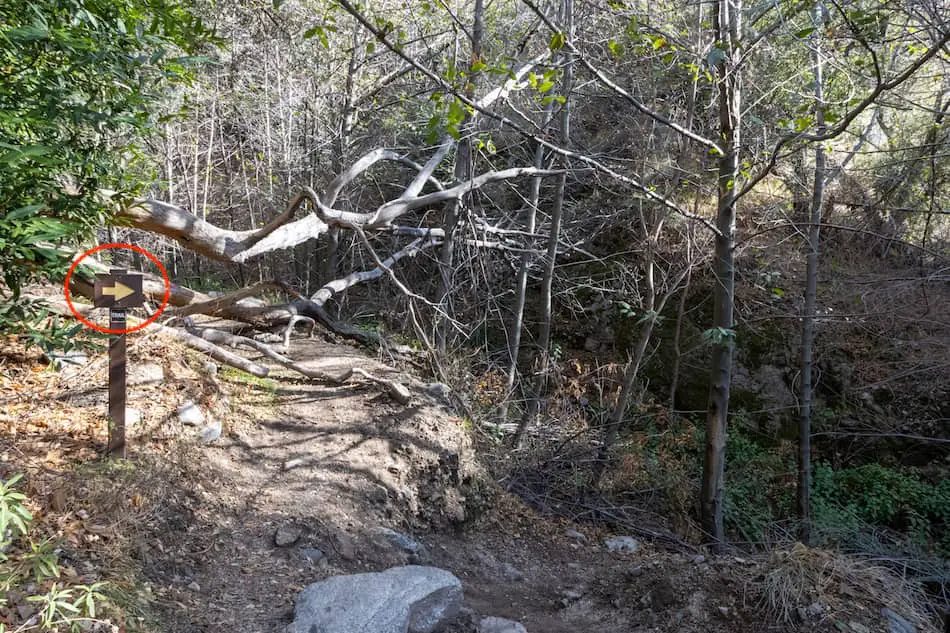
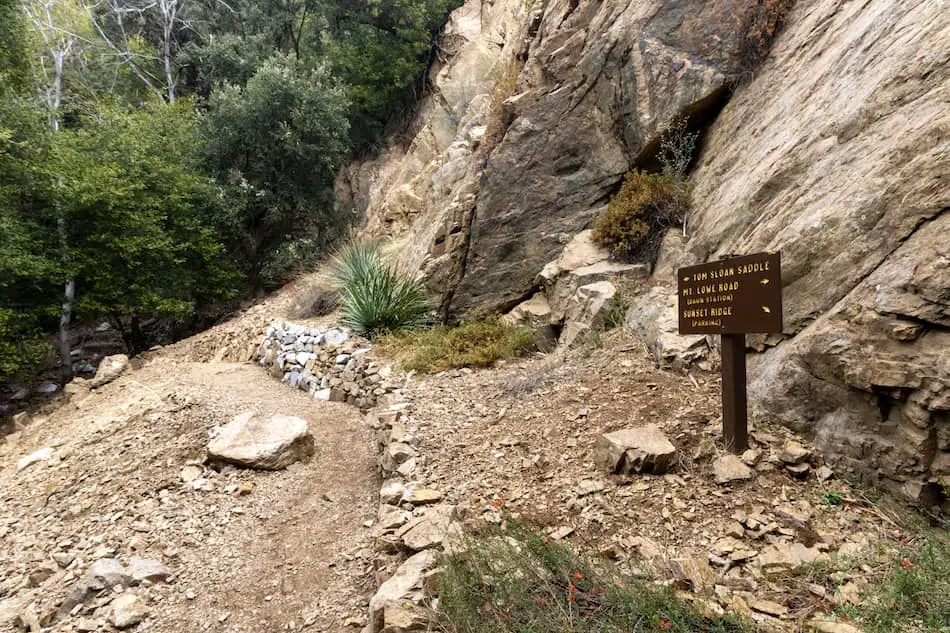
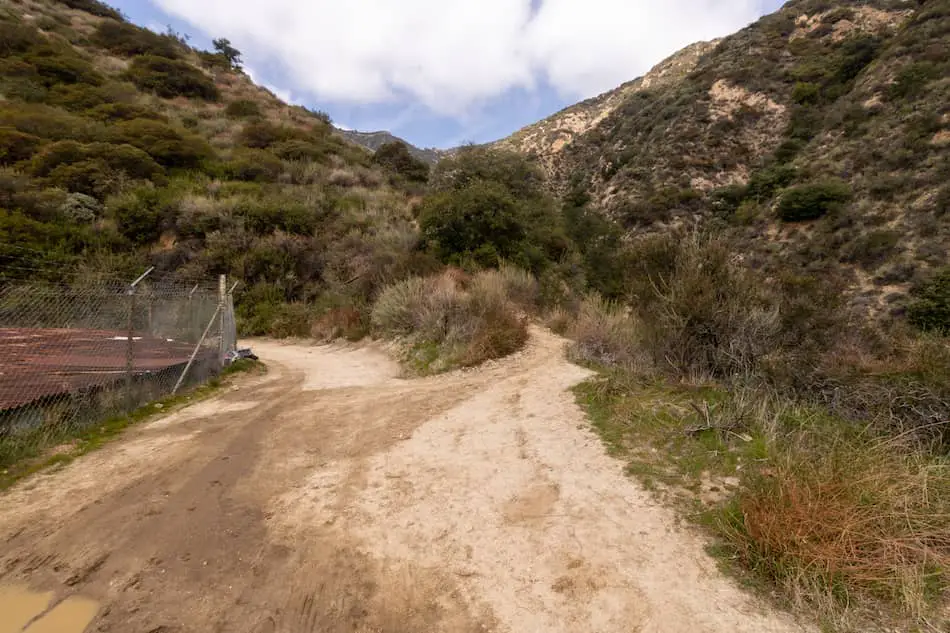
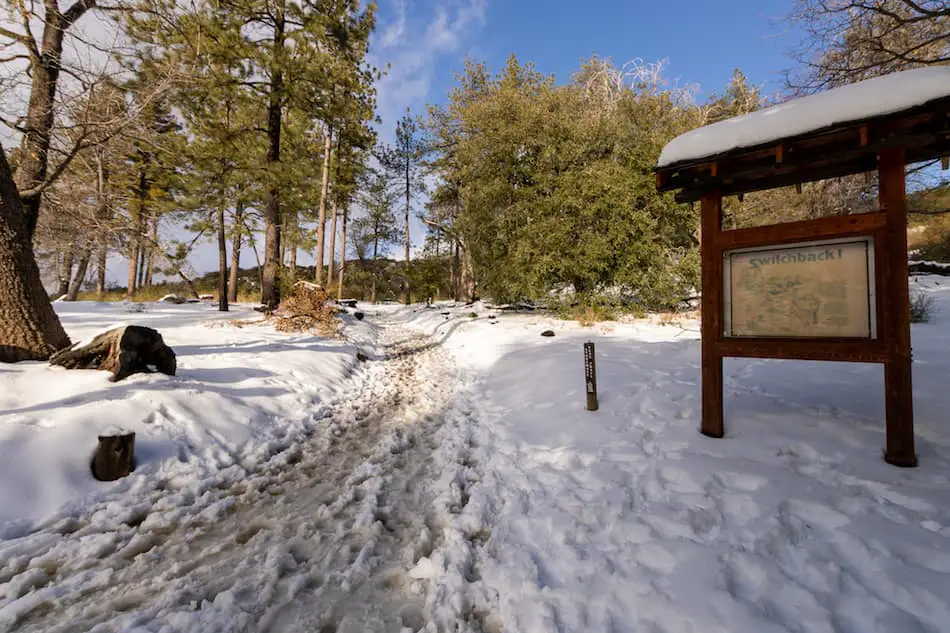
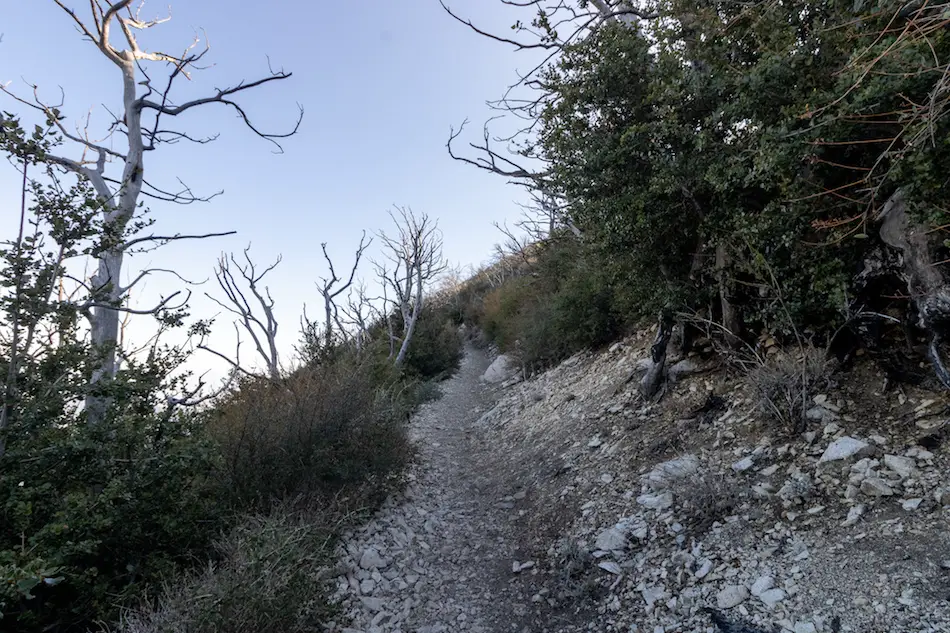
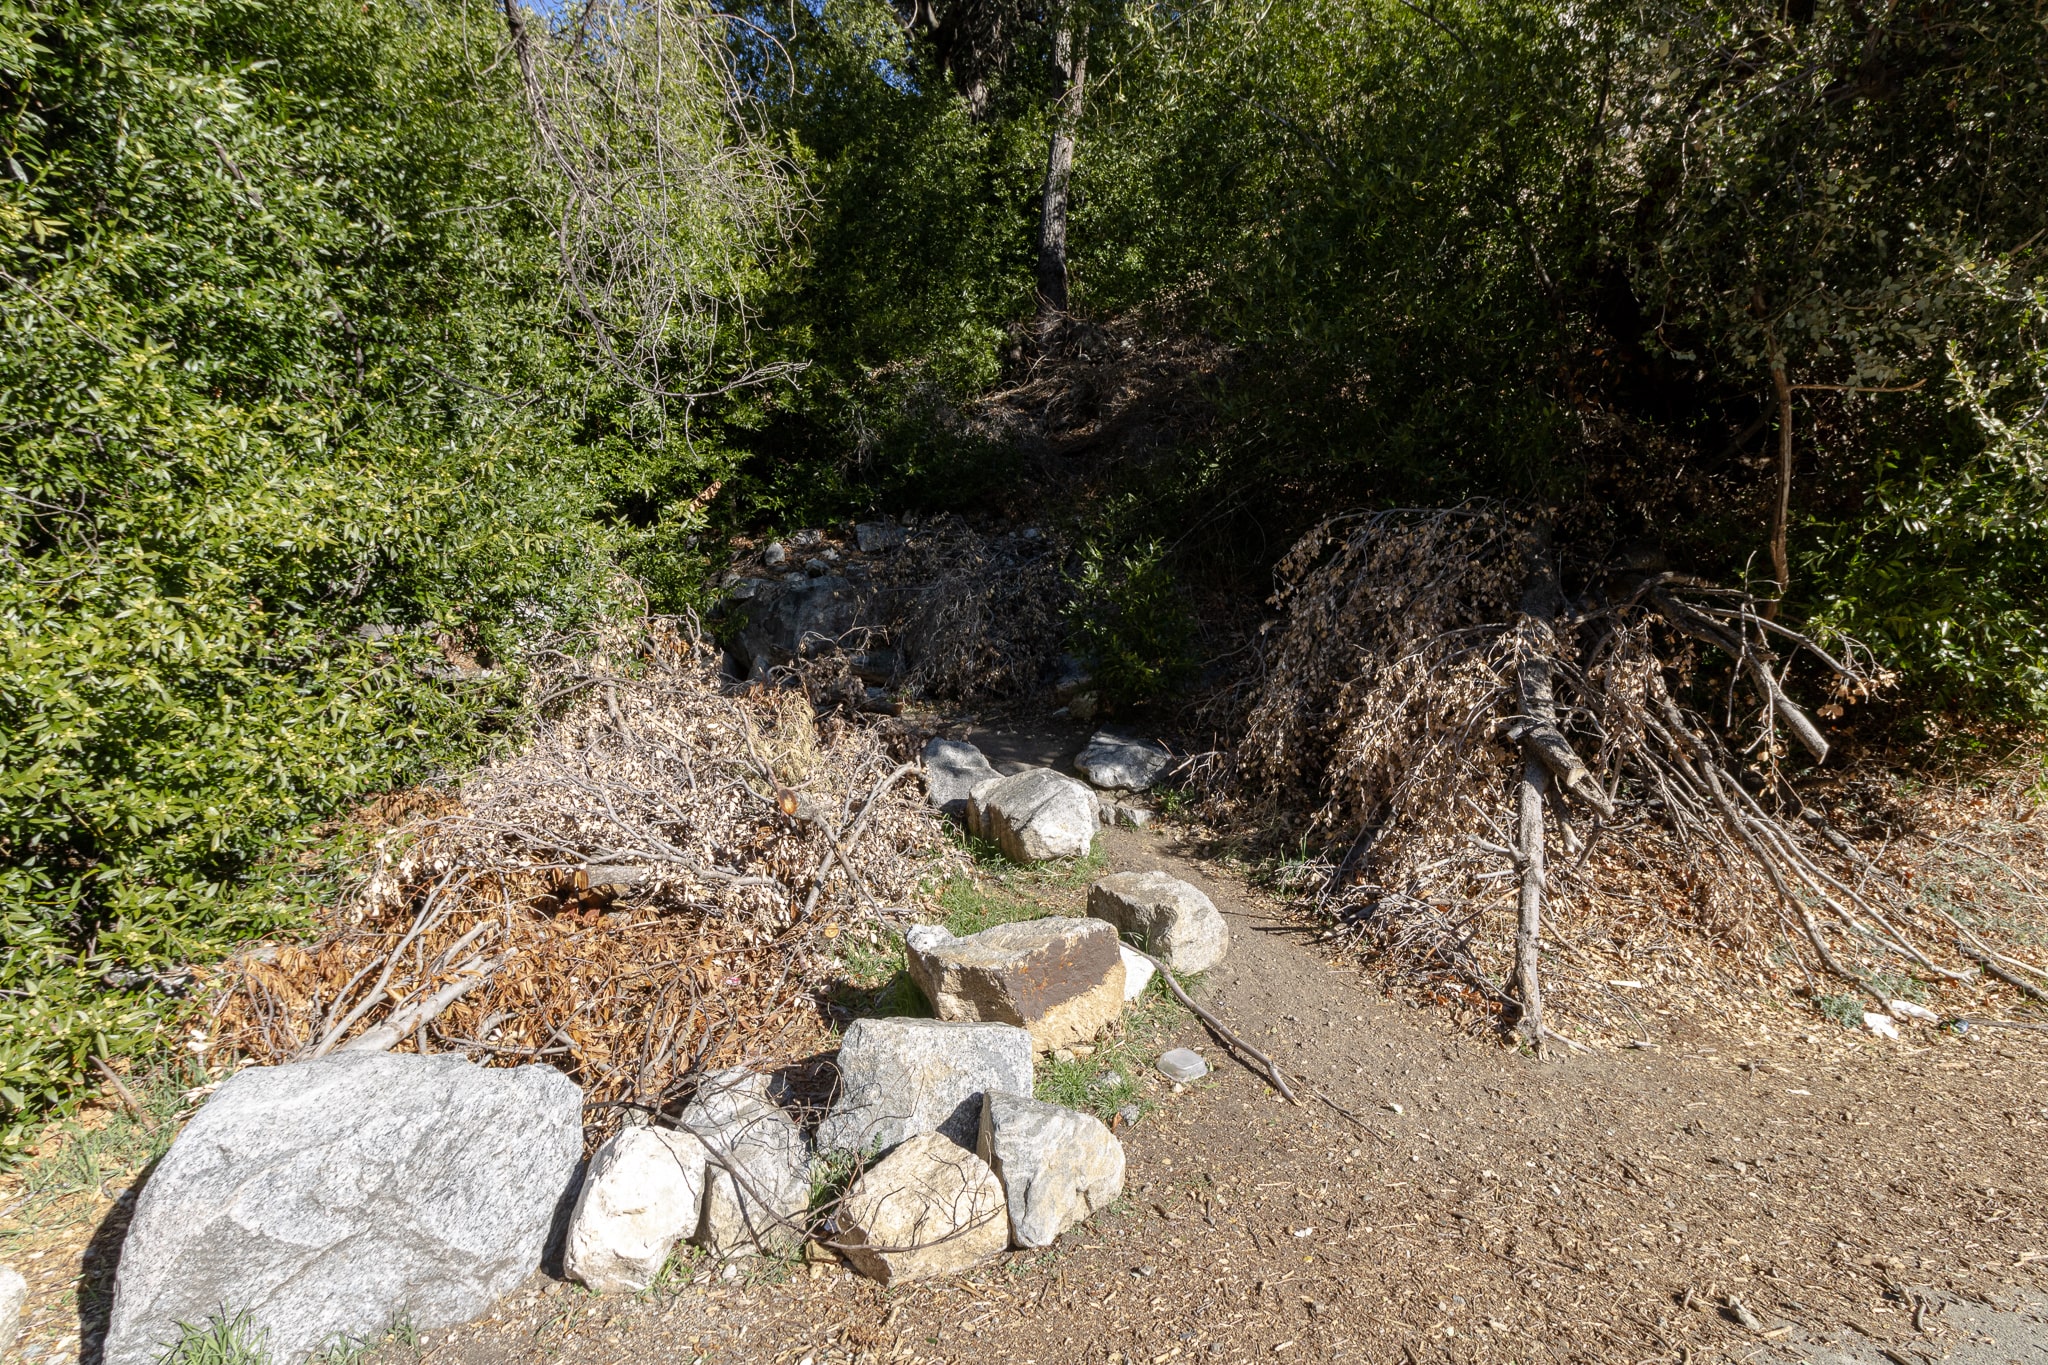
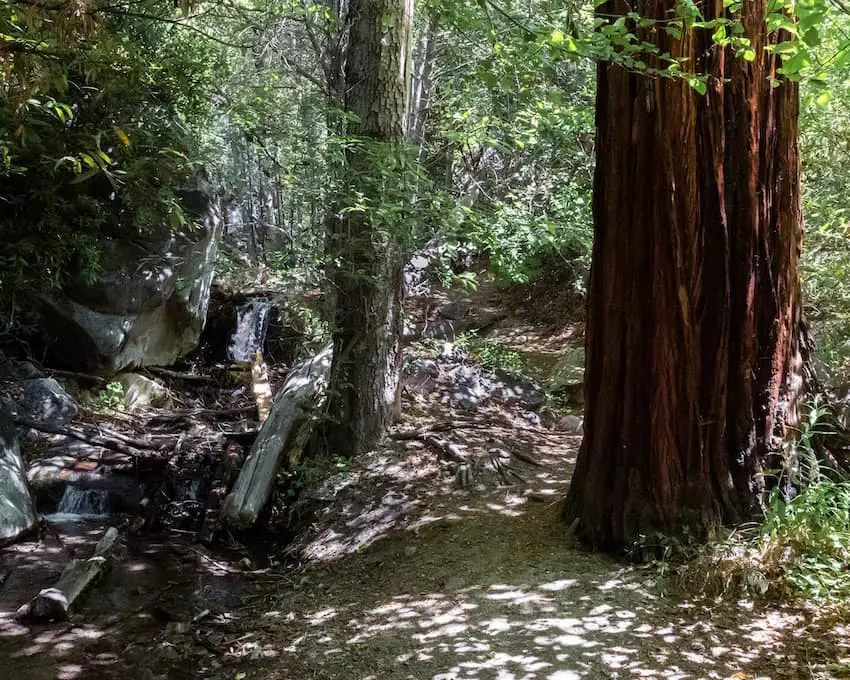
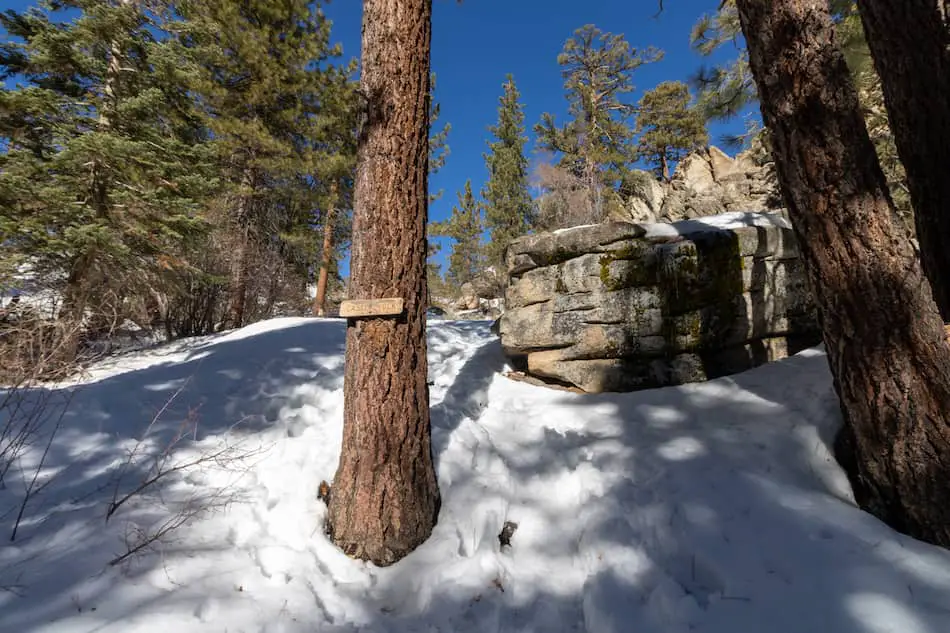
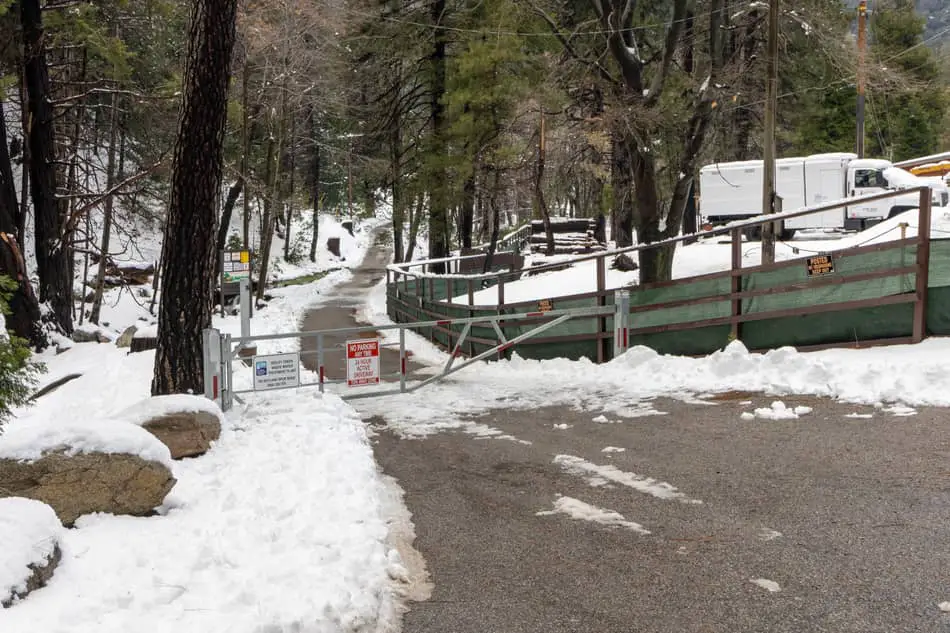
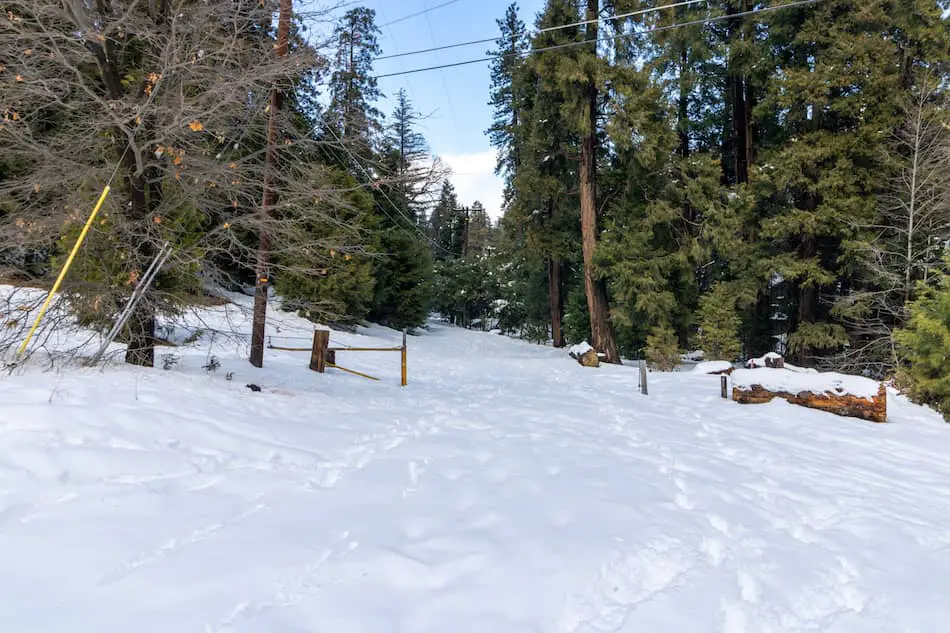
The trailhead is located at the Vincent Gulch Divide. Walk past the white gate to begin your adventure.
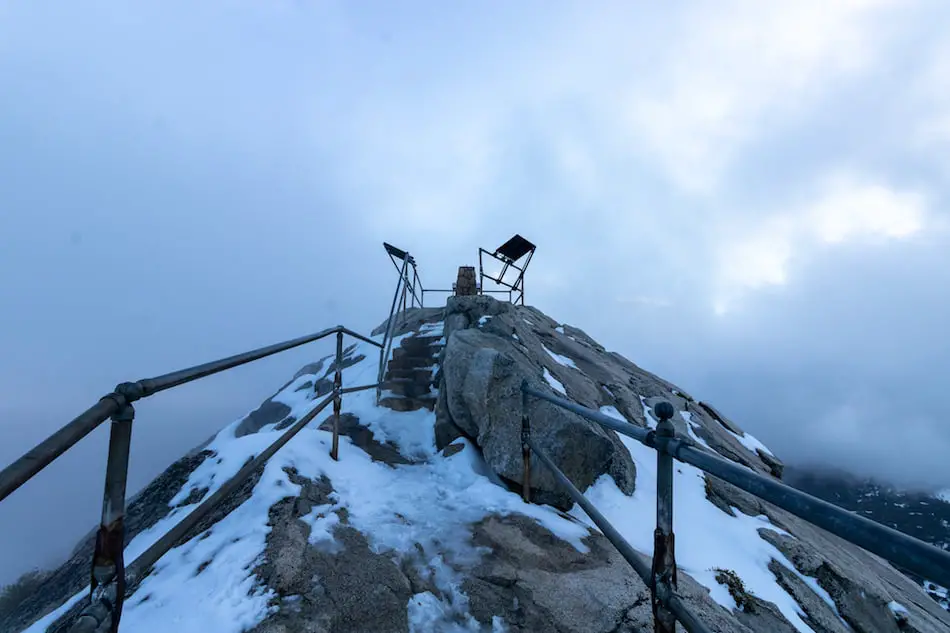
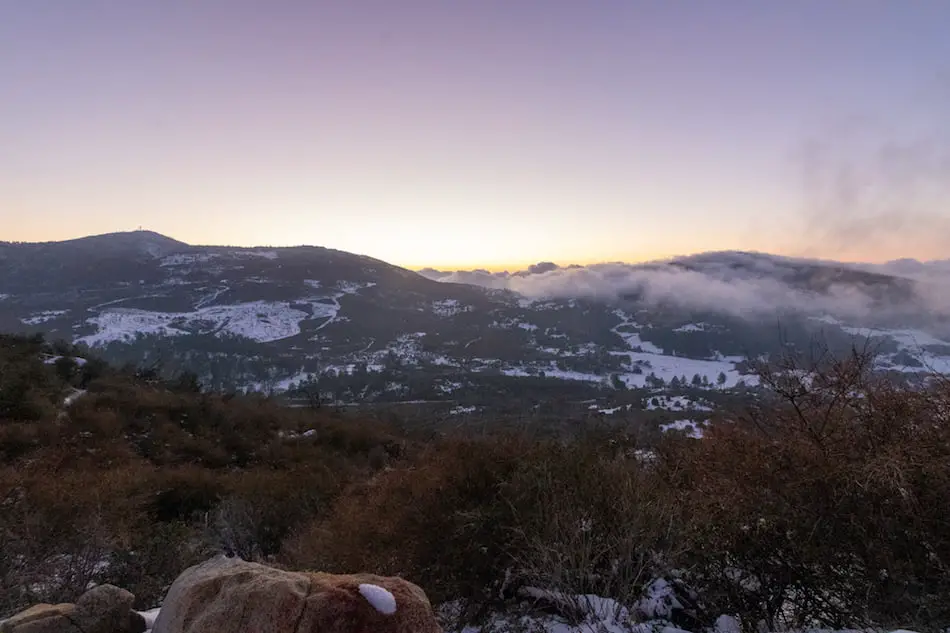
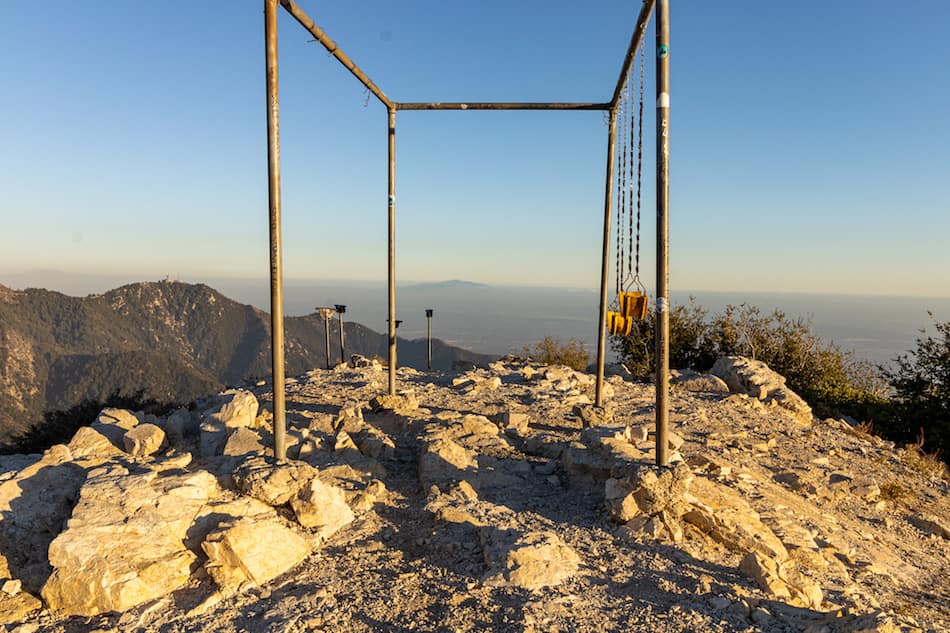
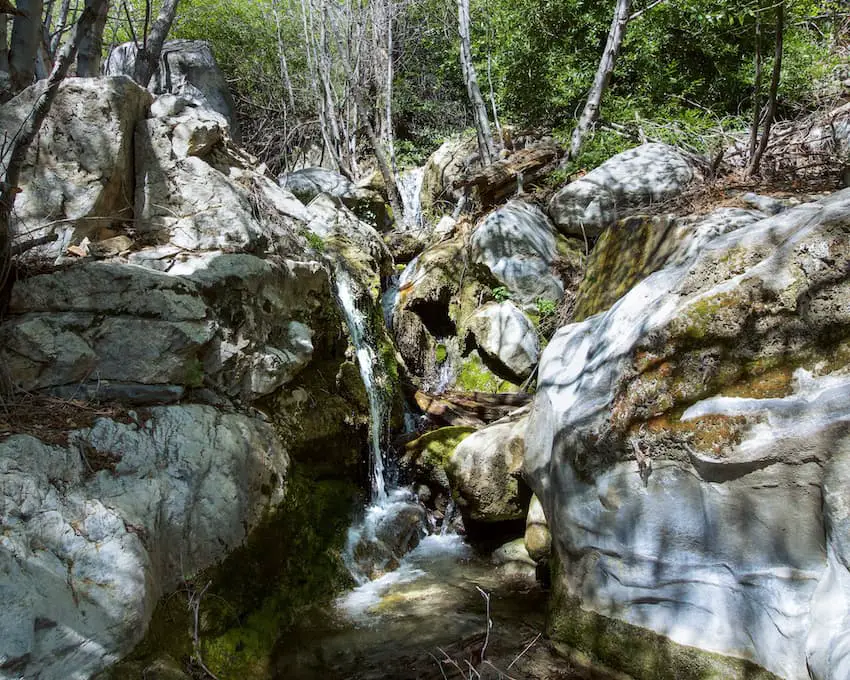
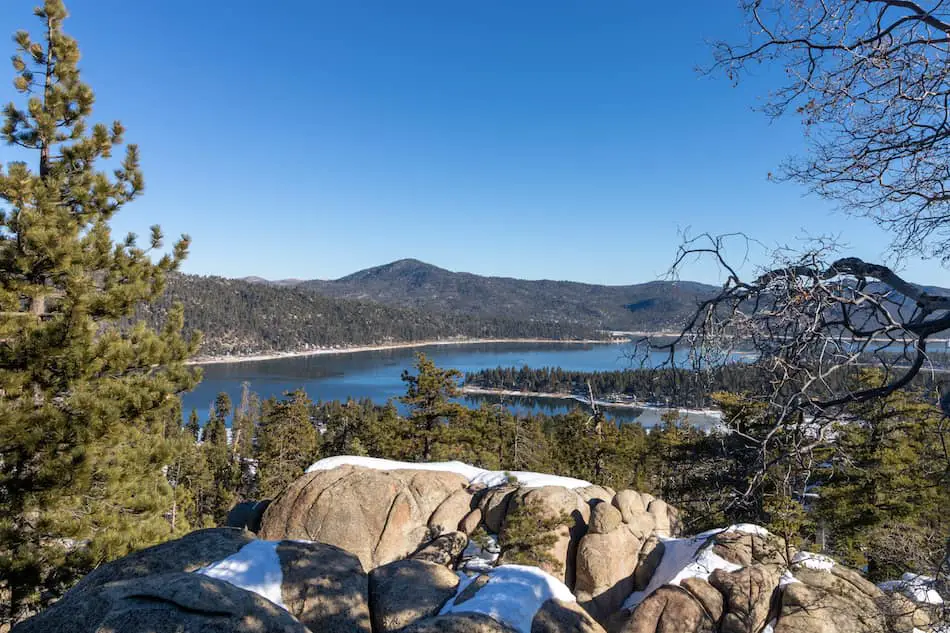
The views are spectacular regardless of where you look.

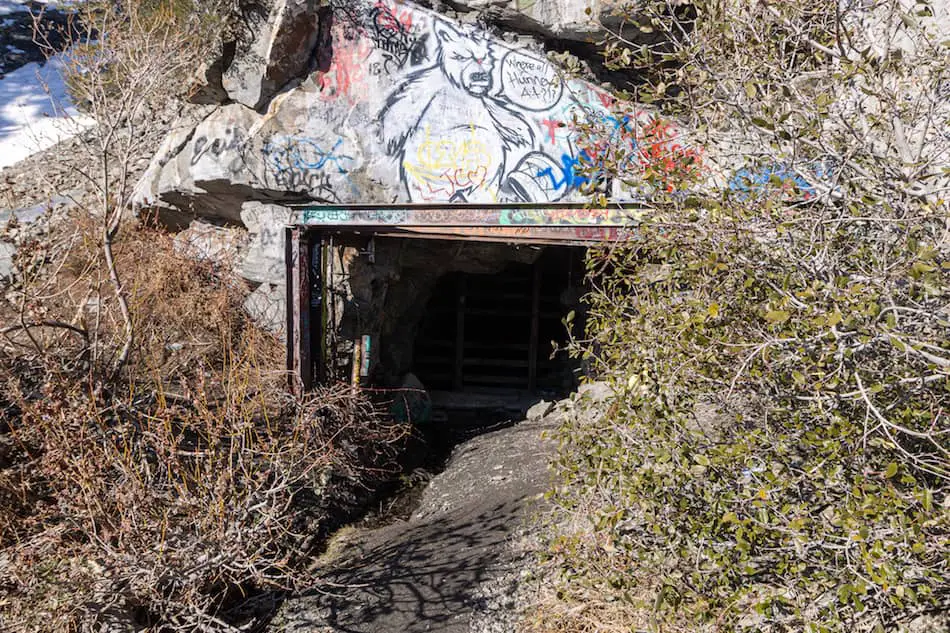
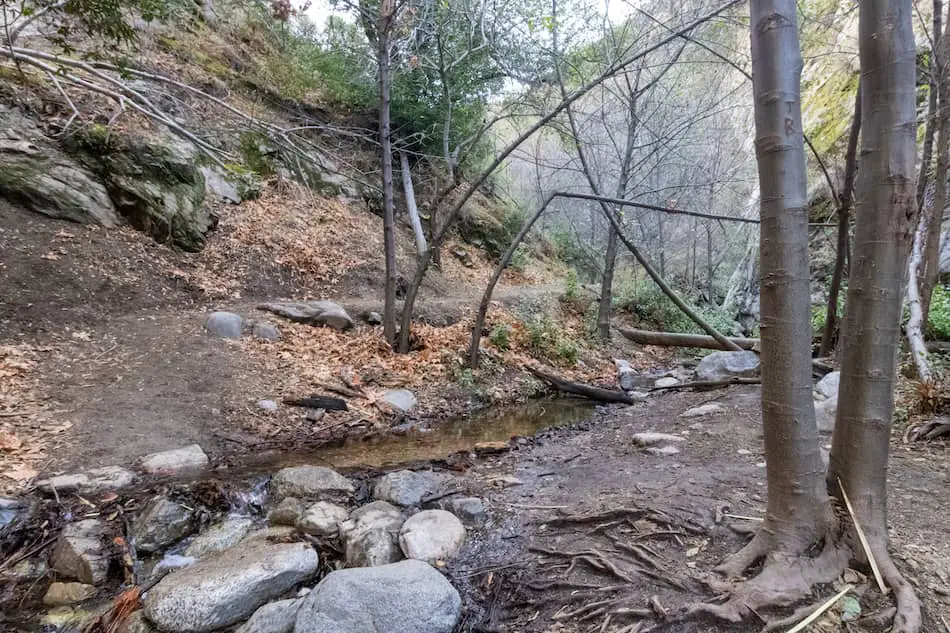
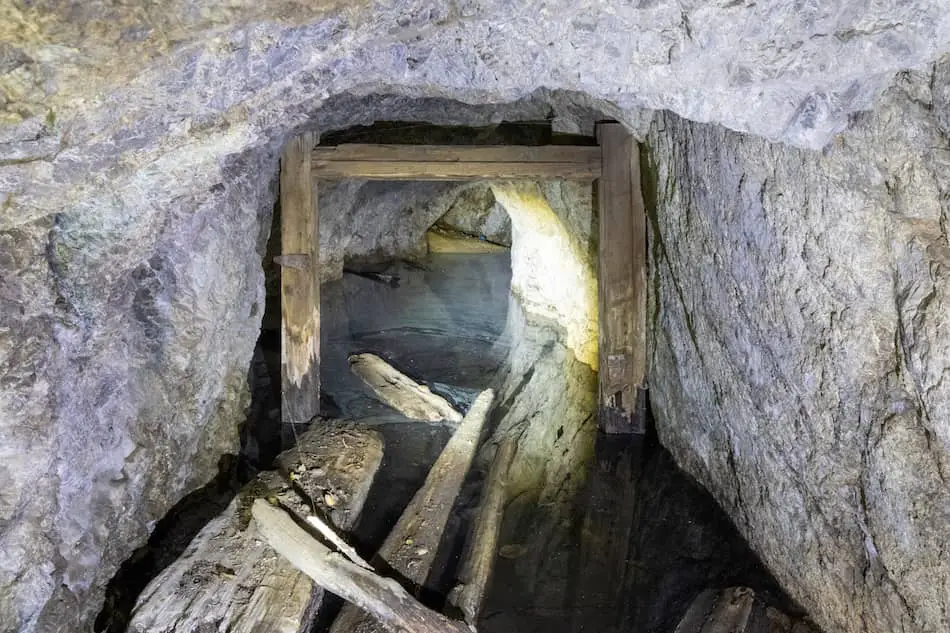
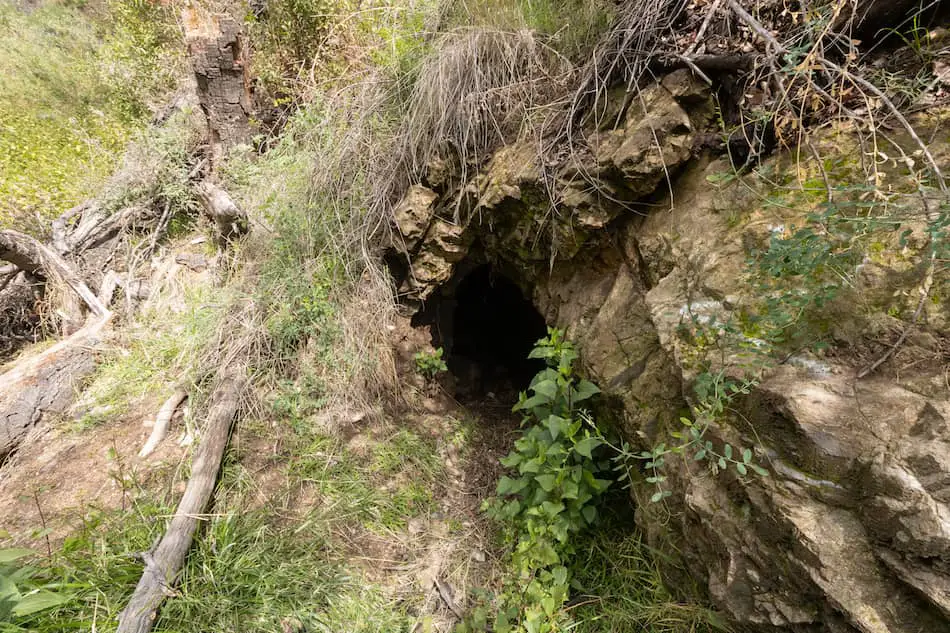
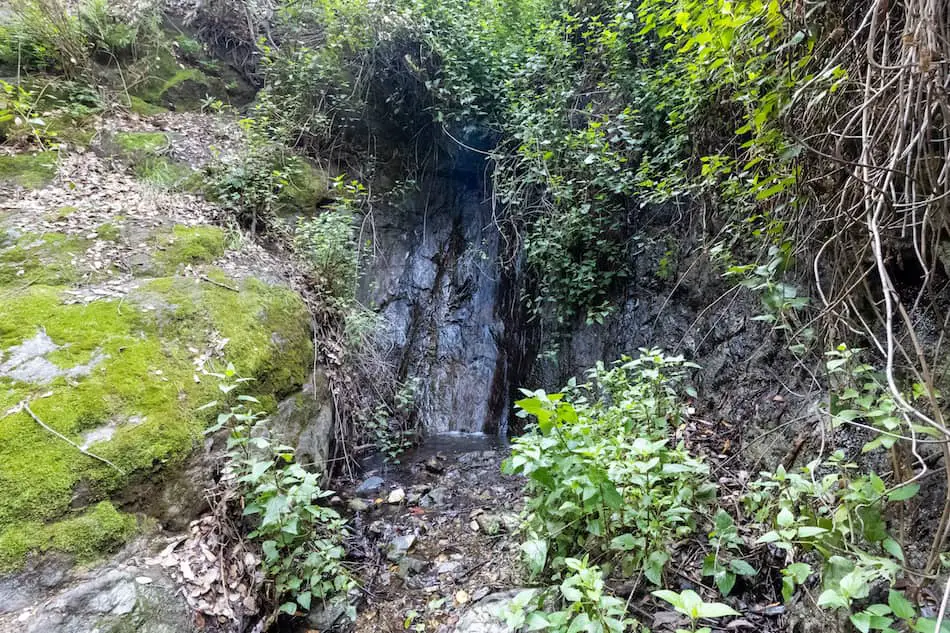
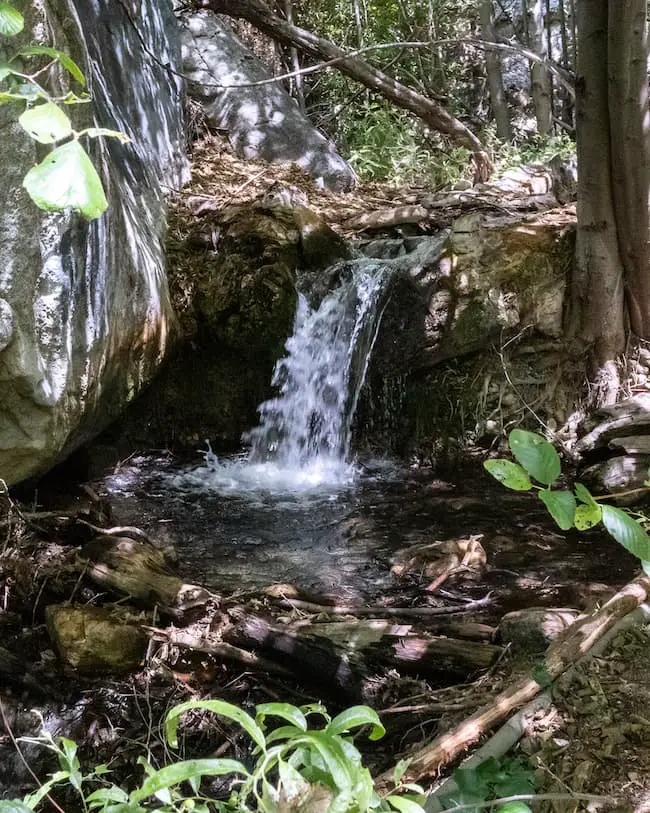
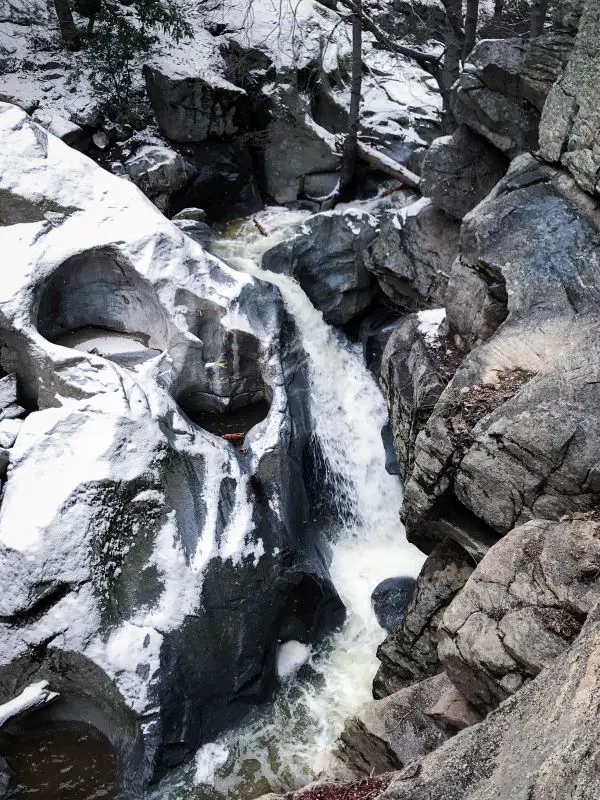
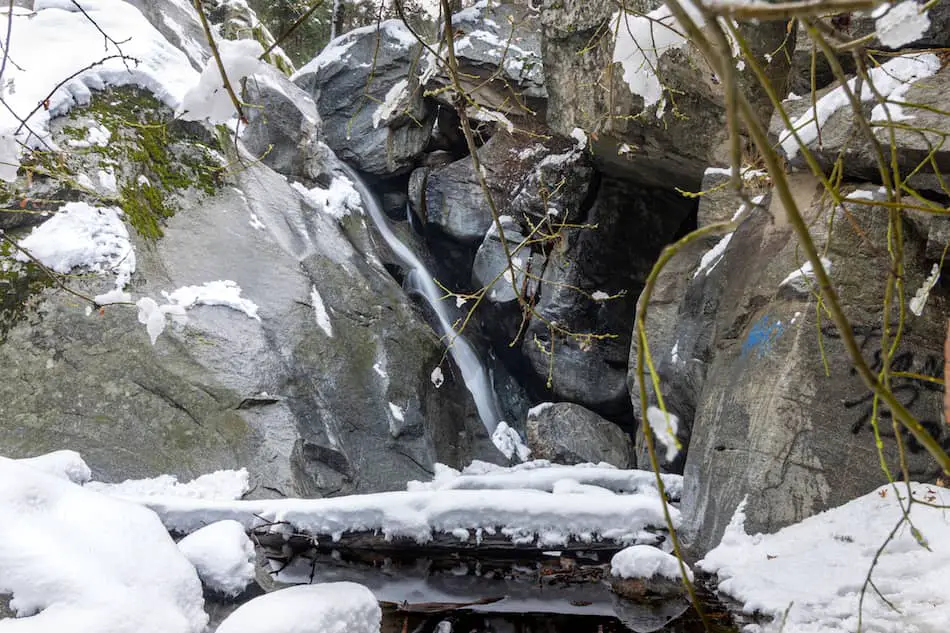
After trekking for roughly a mile, you’ll see a mine shaft with water flowing through it.
If you were to enter through here, you’d probably reconnect with one of the adits from the main entrance. Unfortunately, this portal is blocked off.
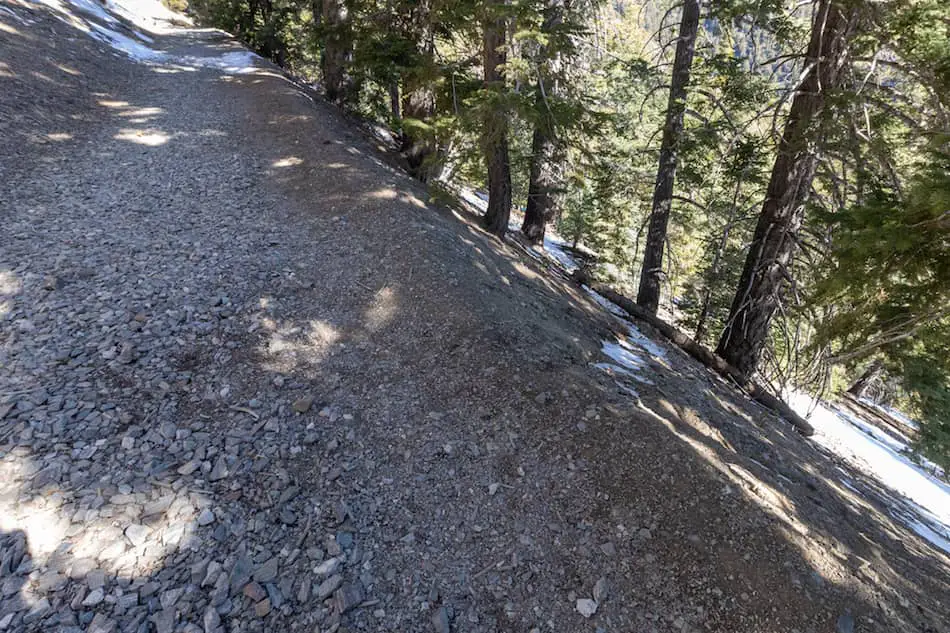
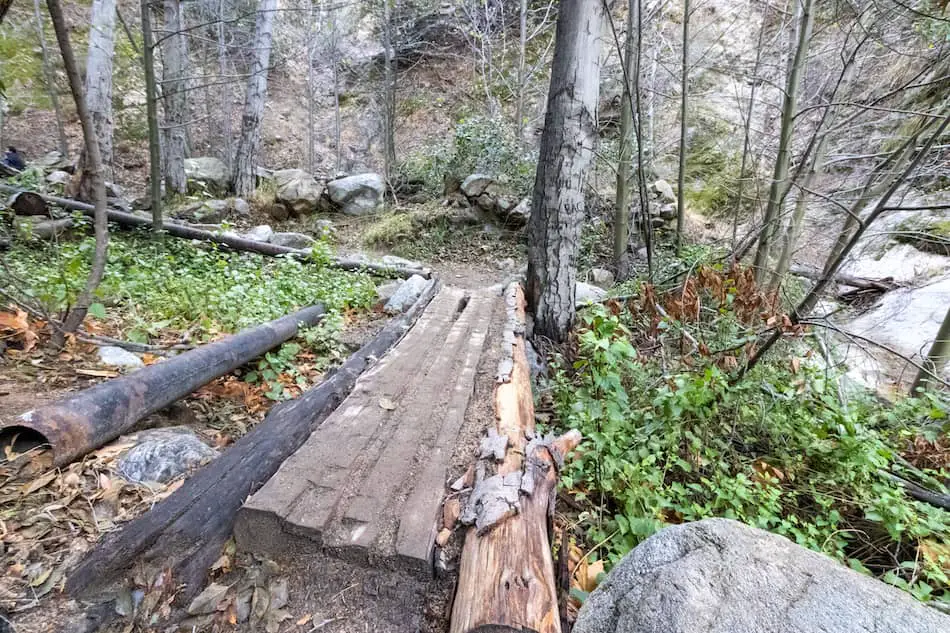
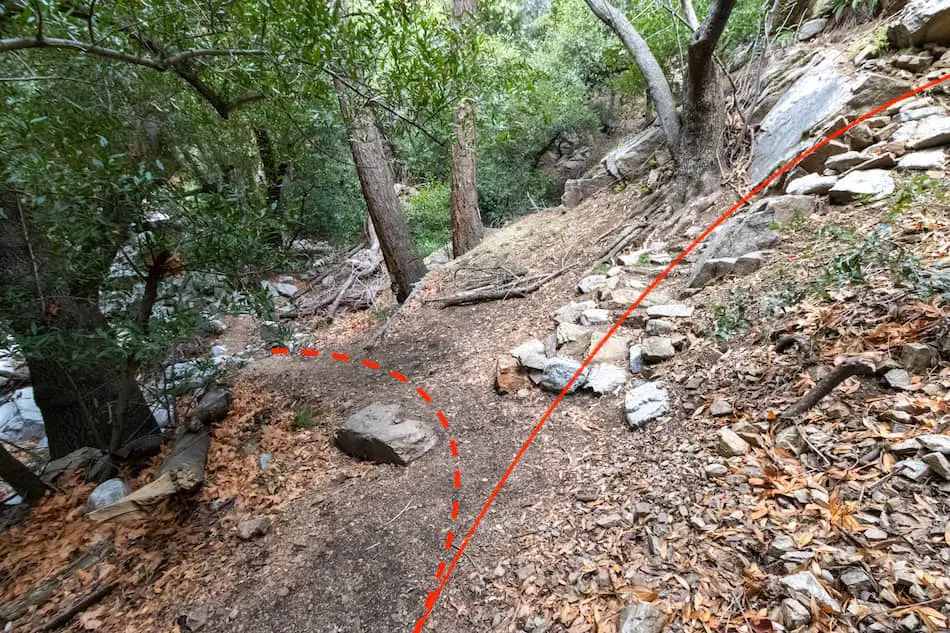
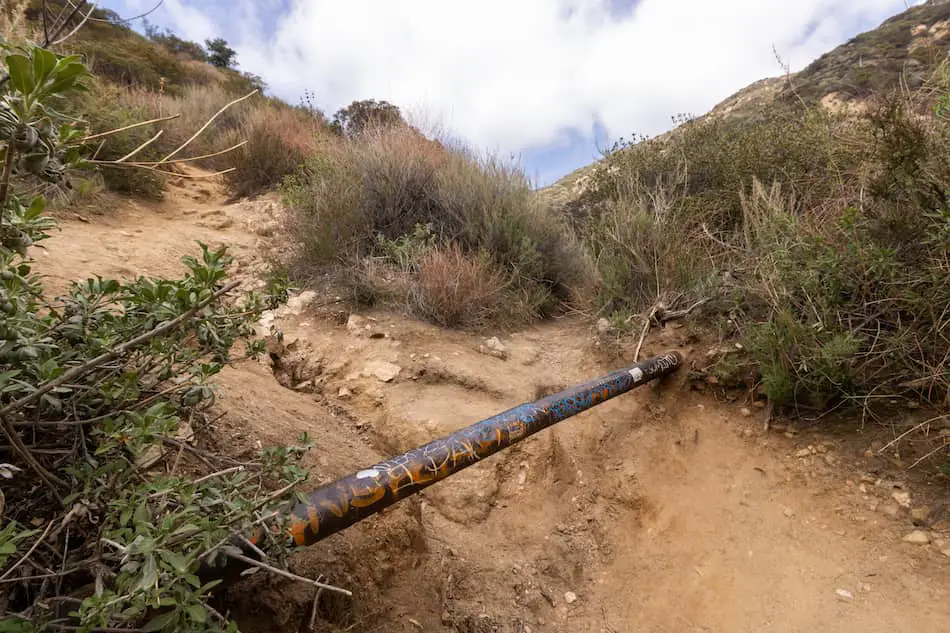
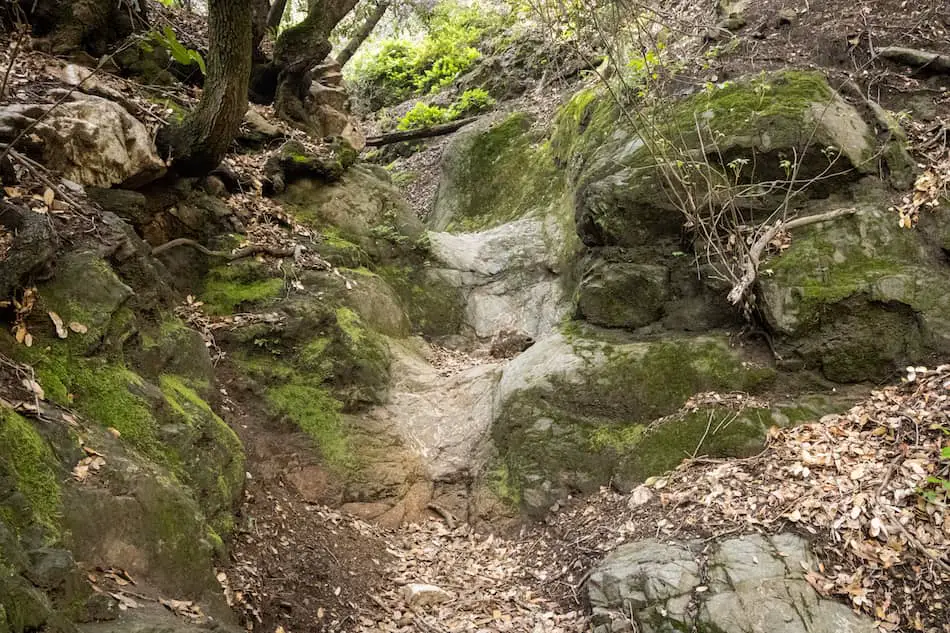
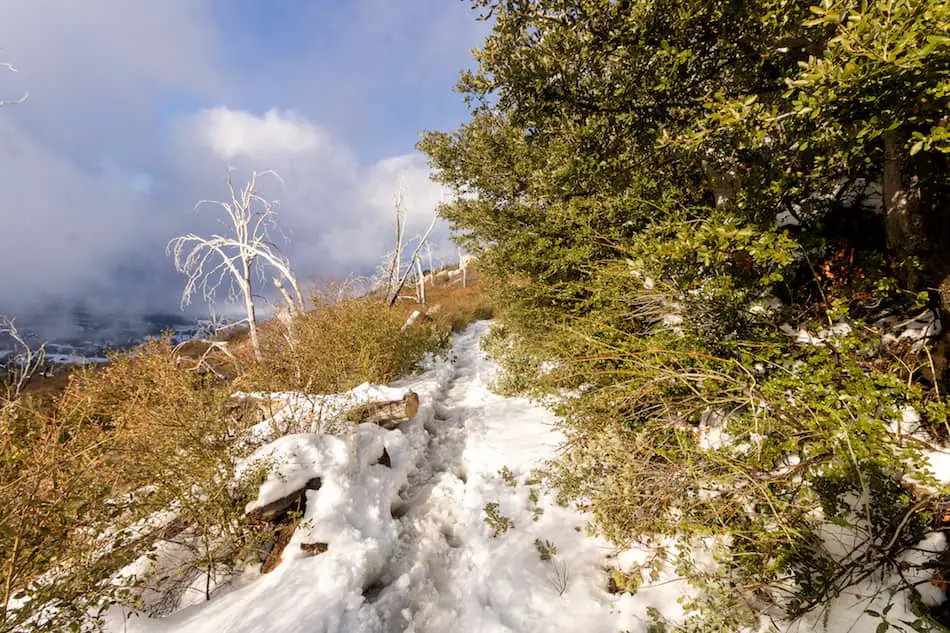
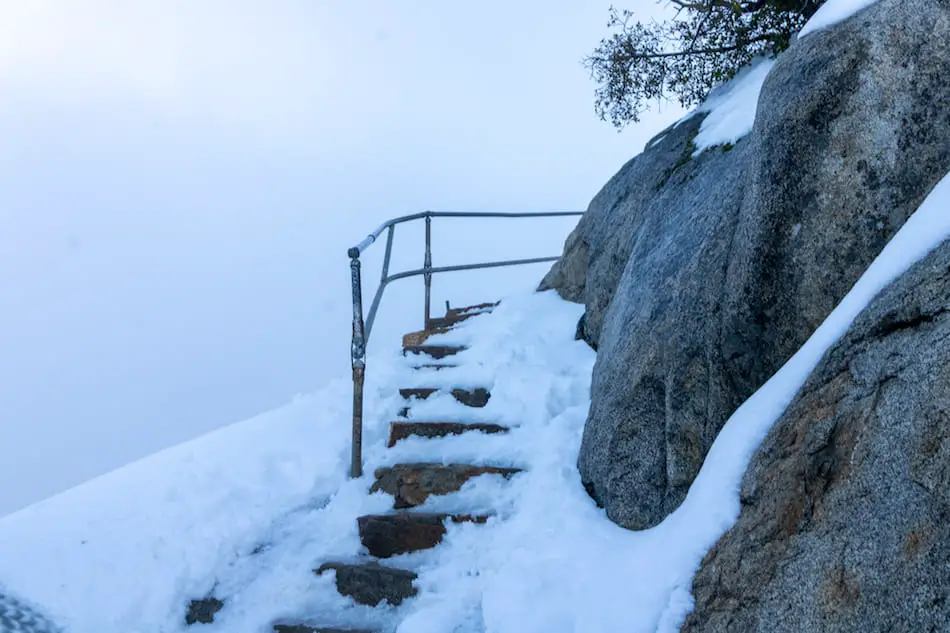
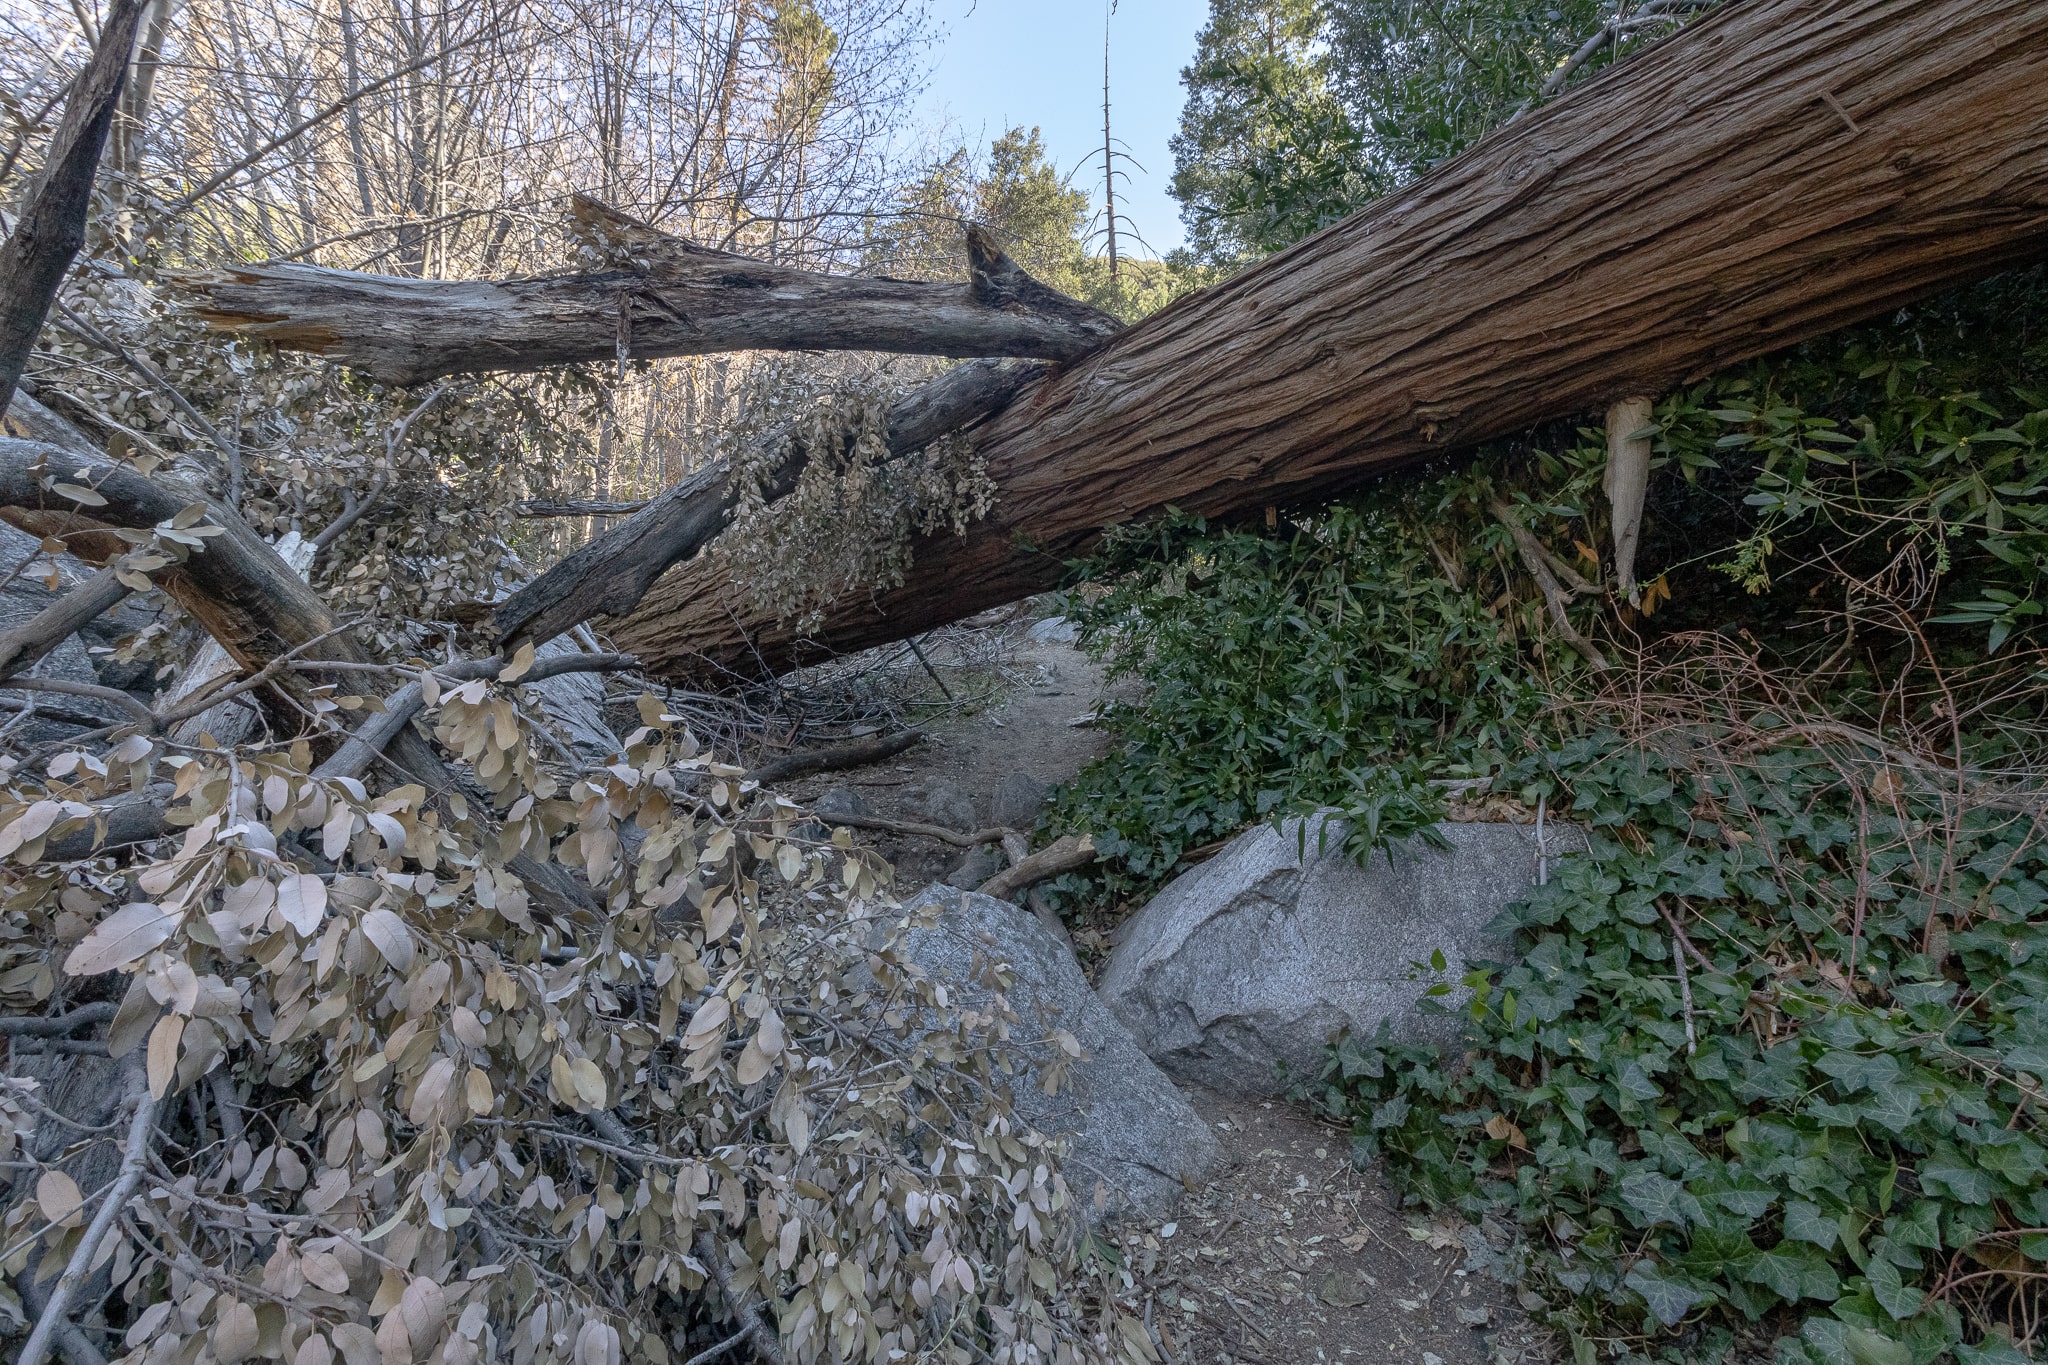
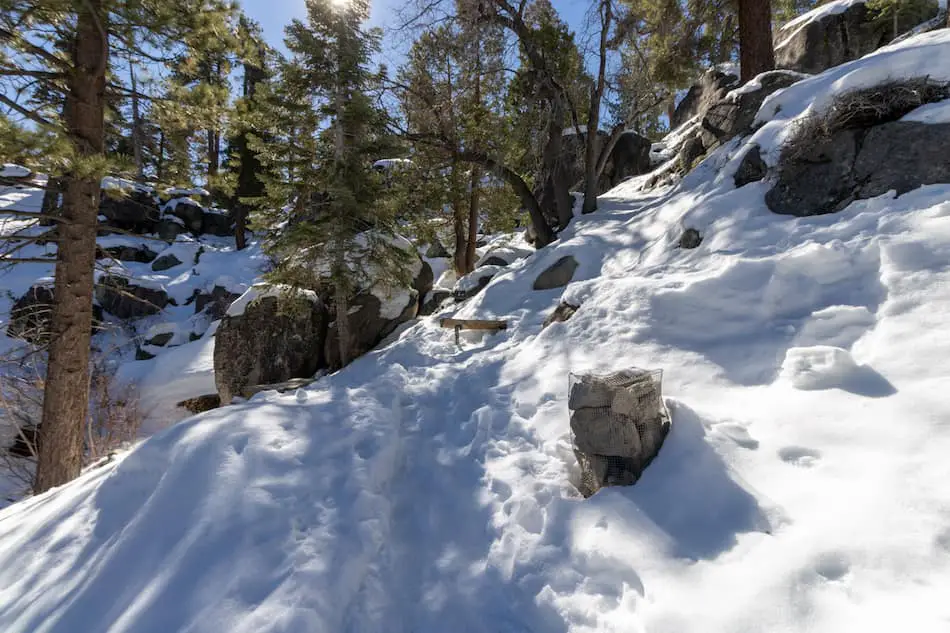
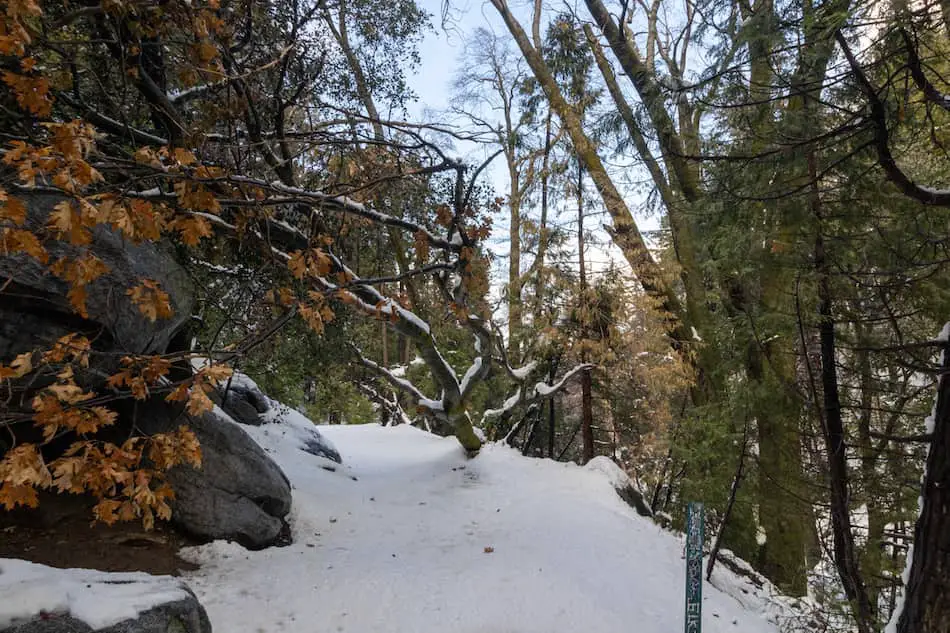
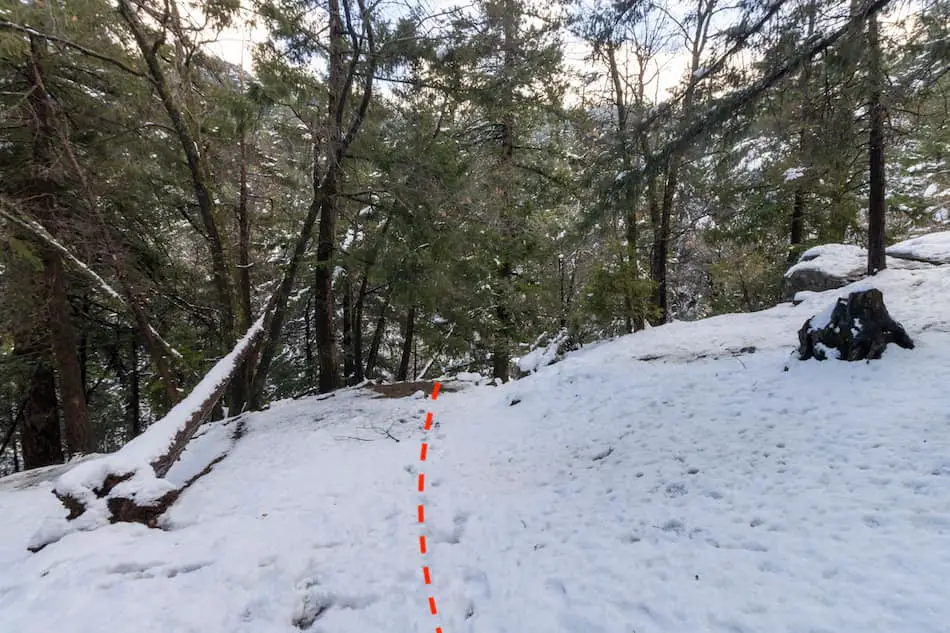
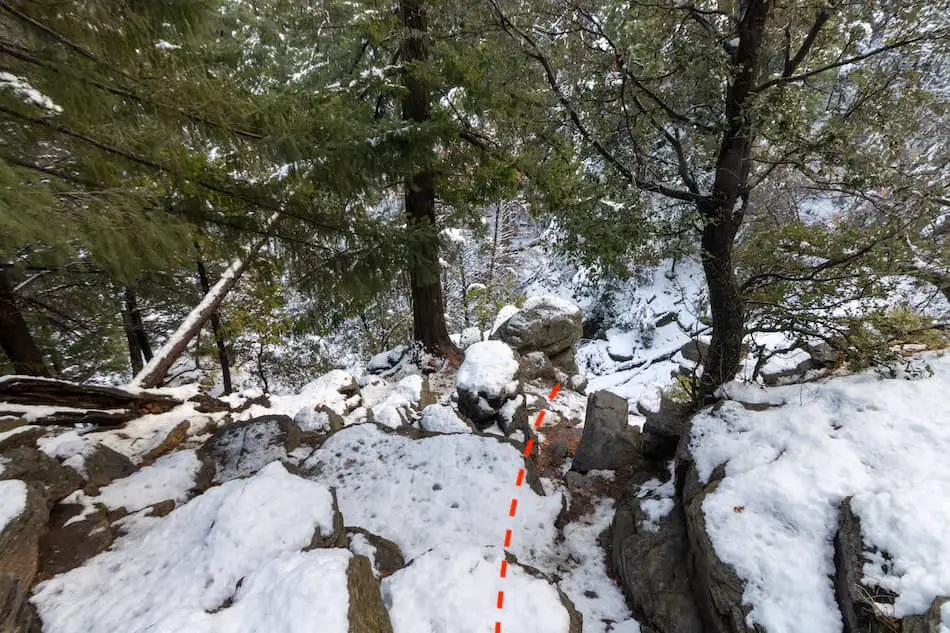
After passing the shaft, you’ll come across a very narrow section of the trail. Be very careful if the trail has snow because one wrong step can have you sliding down 300 feet.
If you visit while there’s snow, I highly recommend taking trekking poles and microspikes as there are 3 narrow sections. Better safe than sorry!

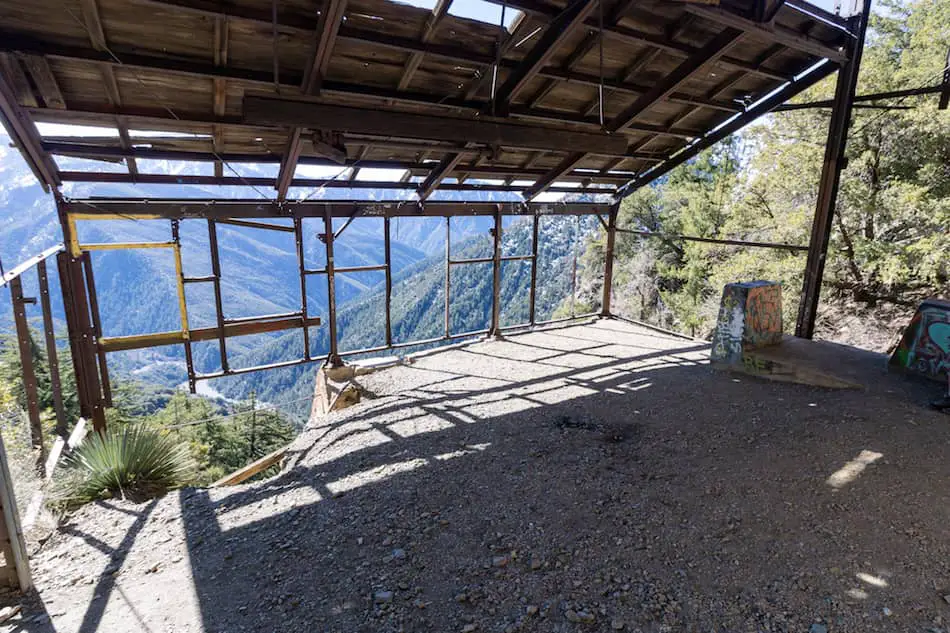
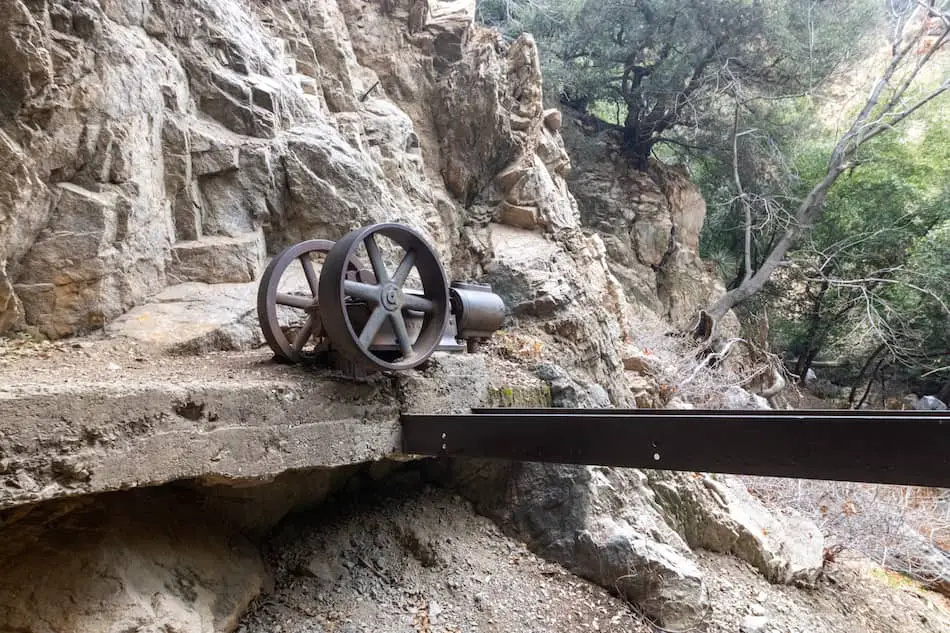
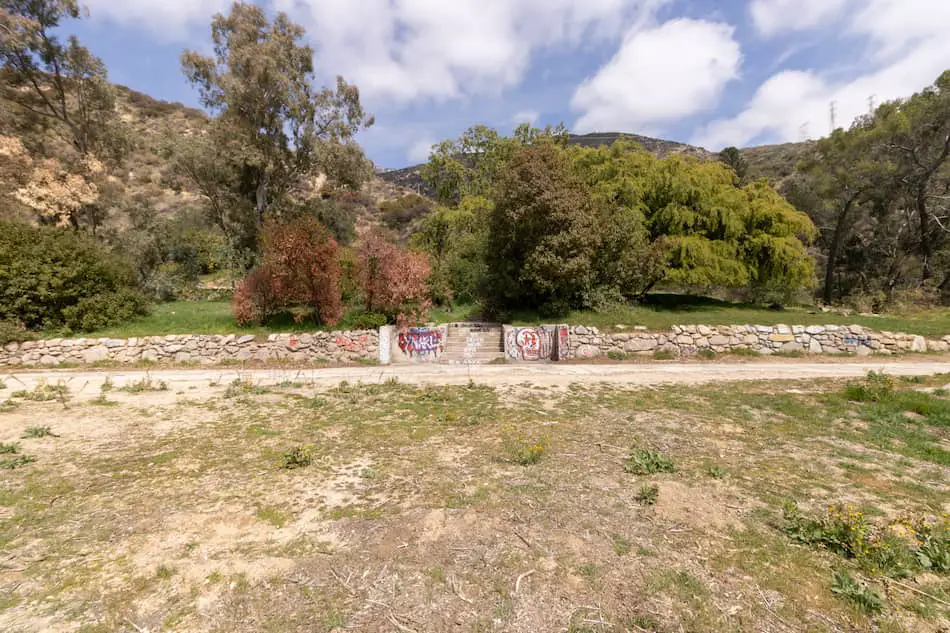
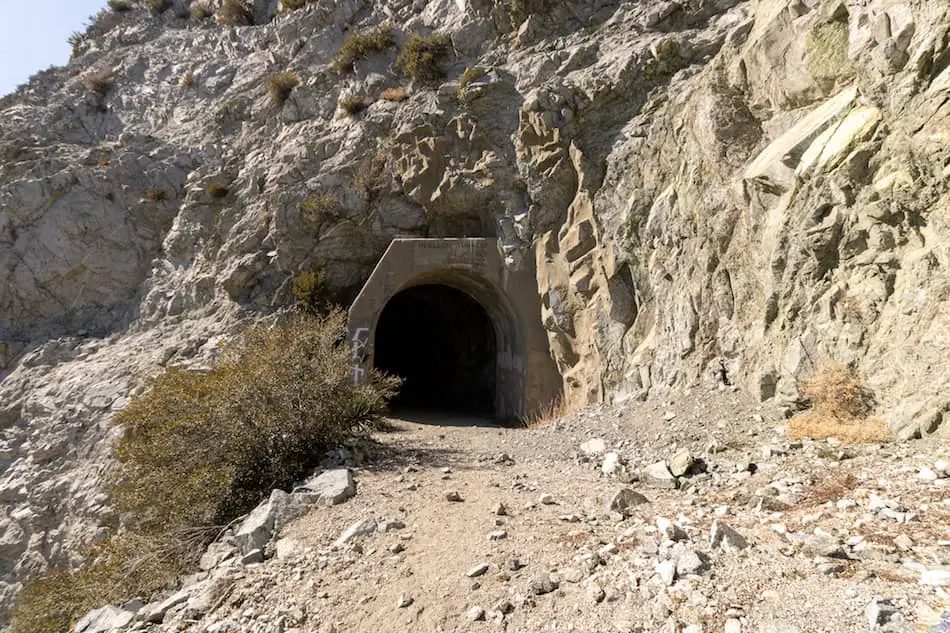
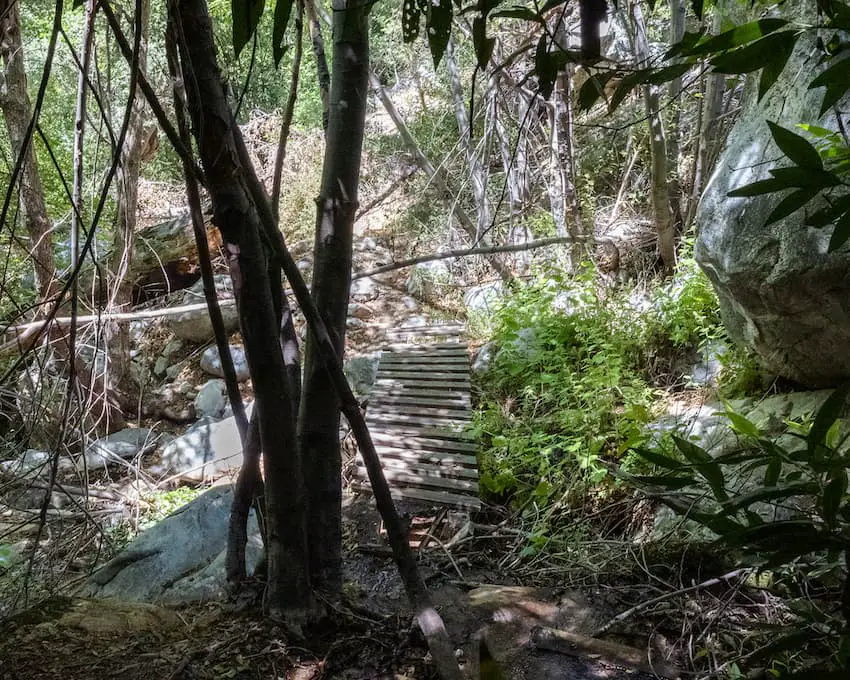
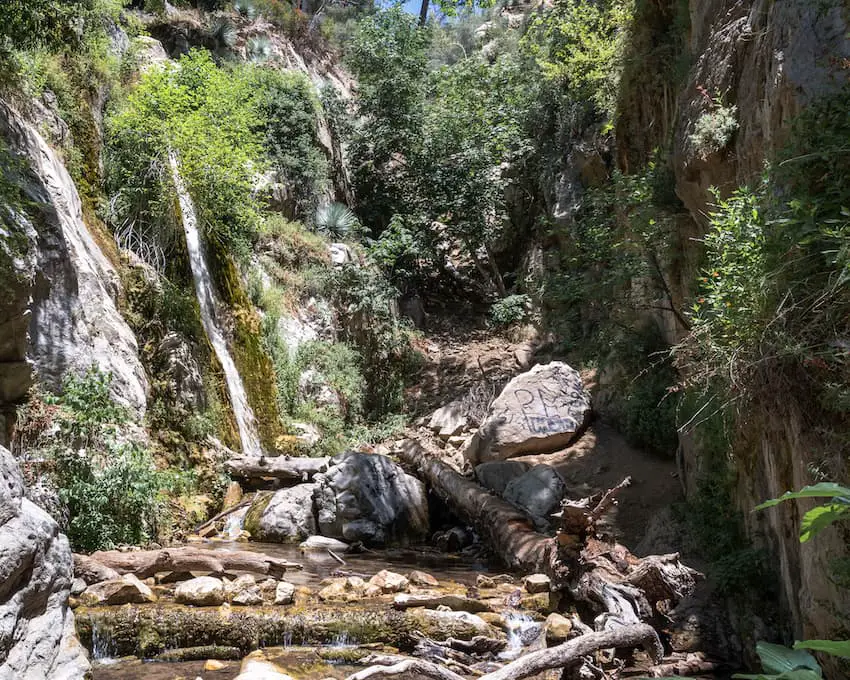
After crossing the narrow sections, you will arrive at your destination.
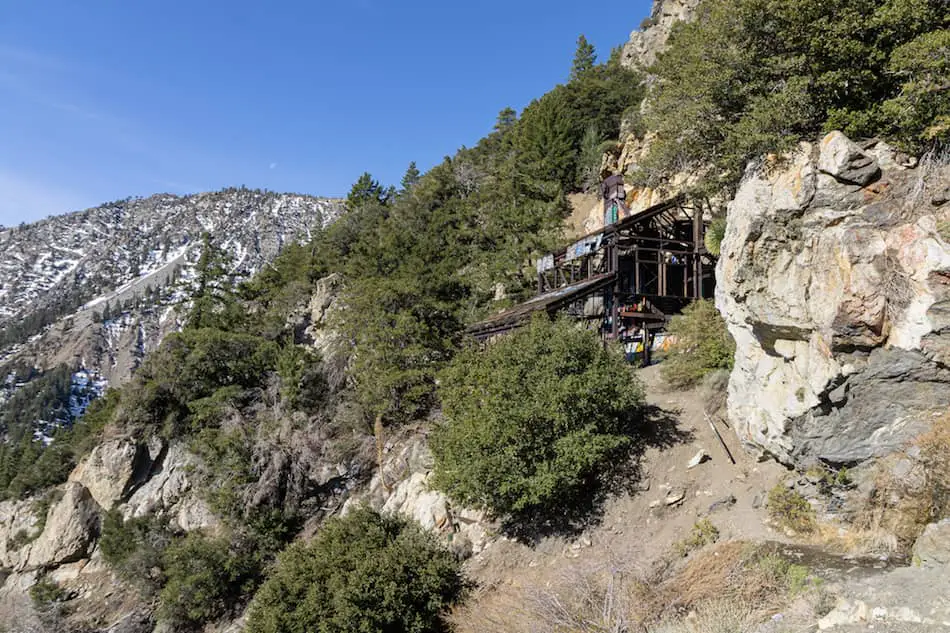
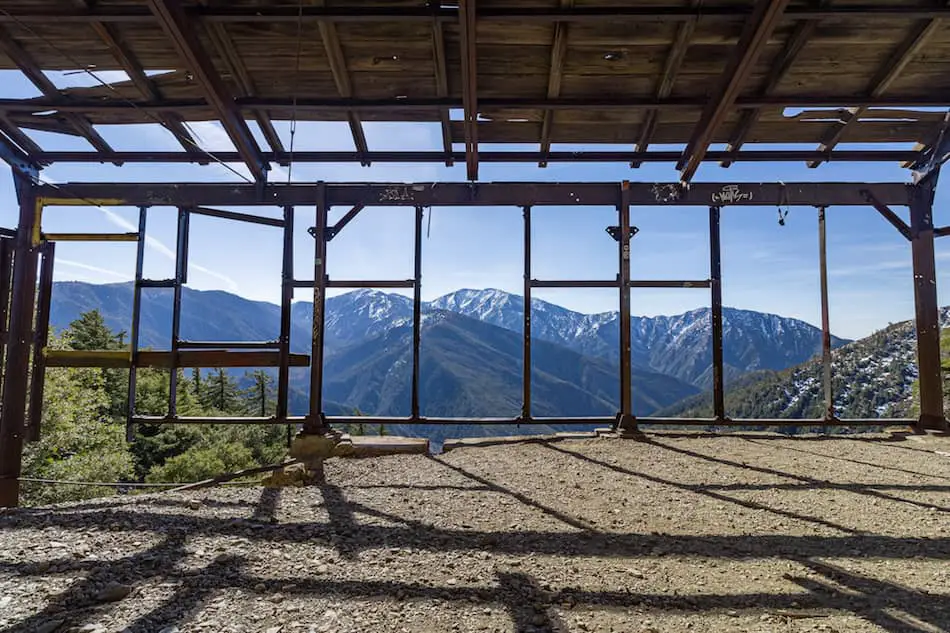
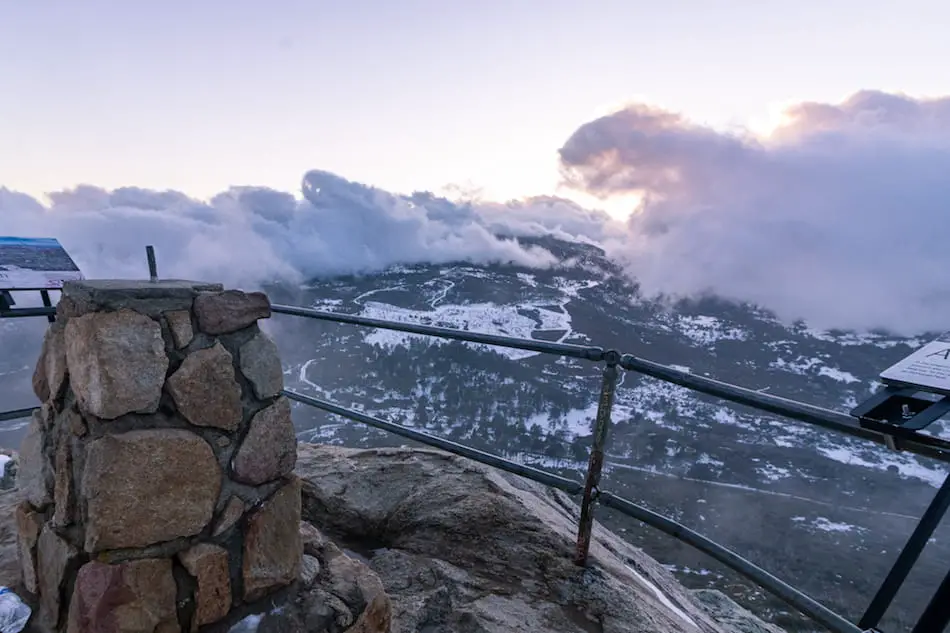
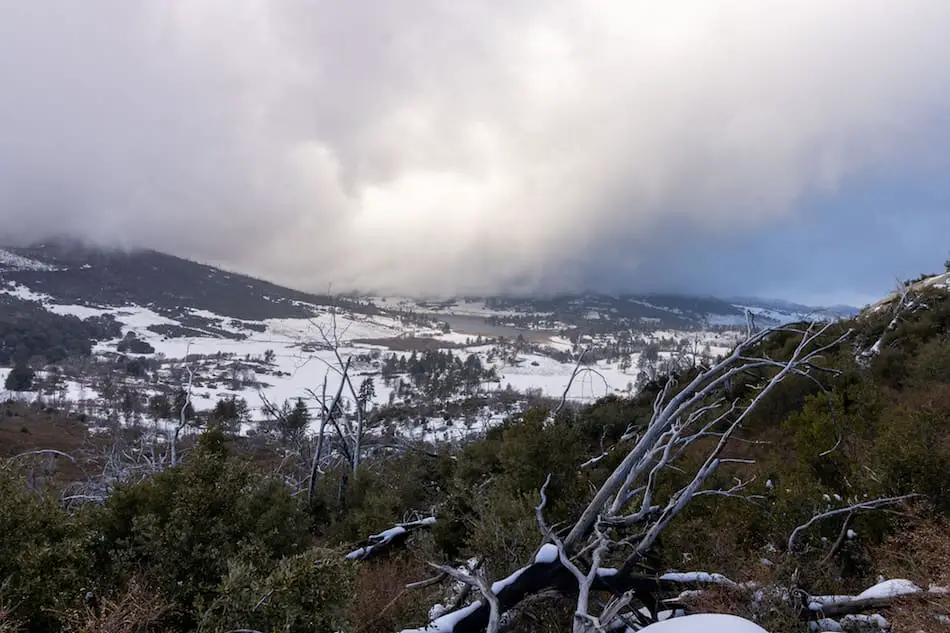
It’s safe to walk inside the remains of the building, and when you do, you’ll enjoy some of the best views of San Antonio Peak, Pine Mountain, and West Baldy.
The canyon below you is the start of the East Fork, which leads to the popular hikes, Bridge to Nowhere and Shoemaker Canyon Rd.
Did you know LA has an old abandoned zoo? It’s located in Griffith Park, and you can check it out by clicking the link here: Old LA Zoo.
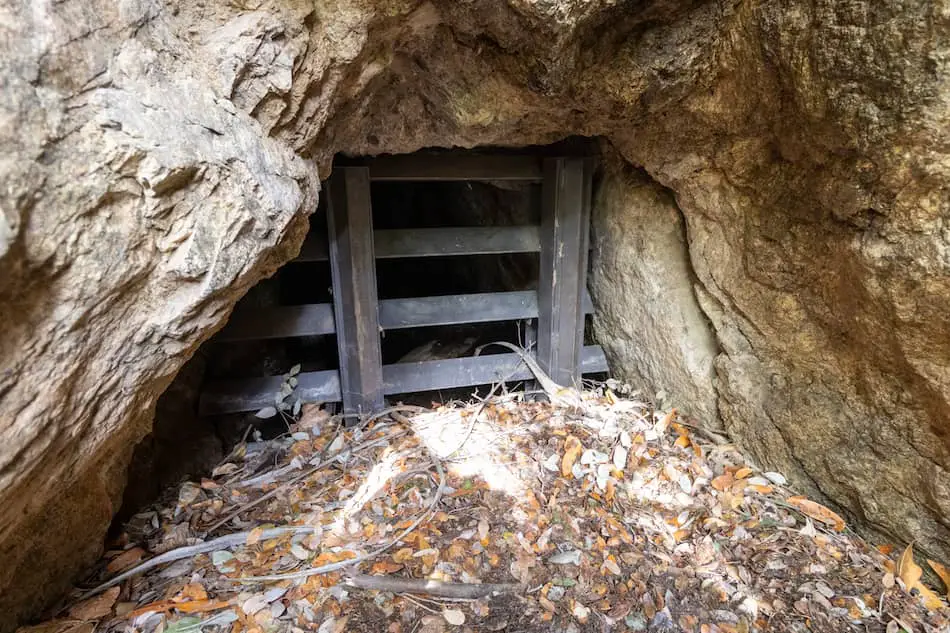
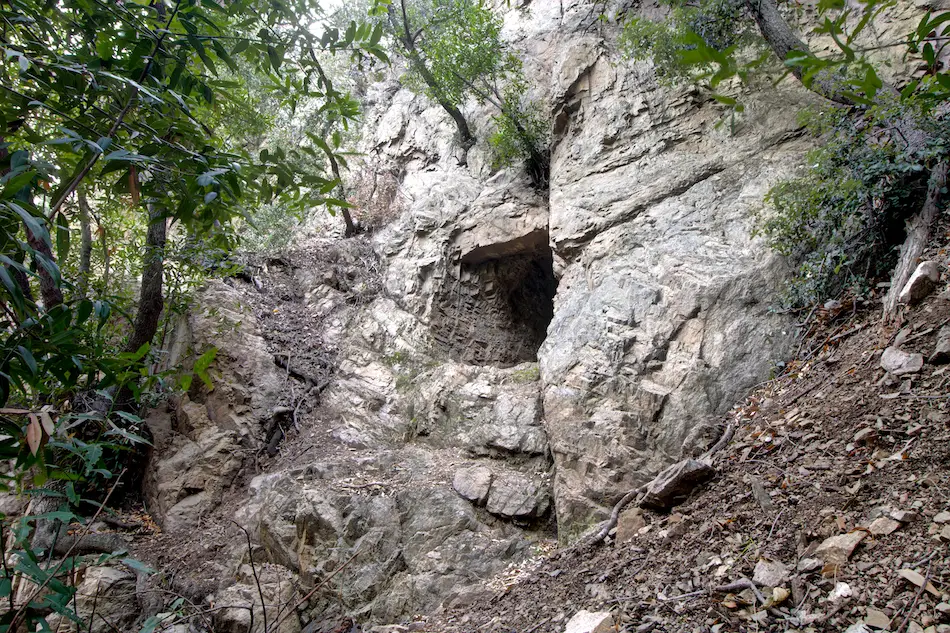
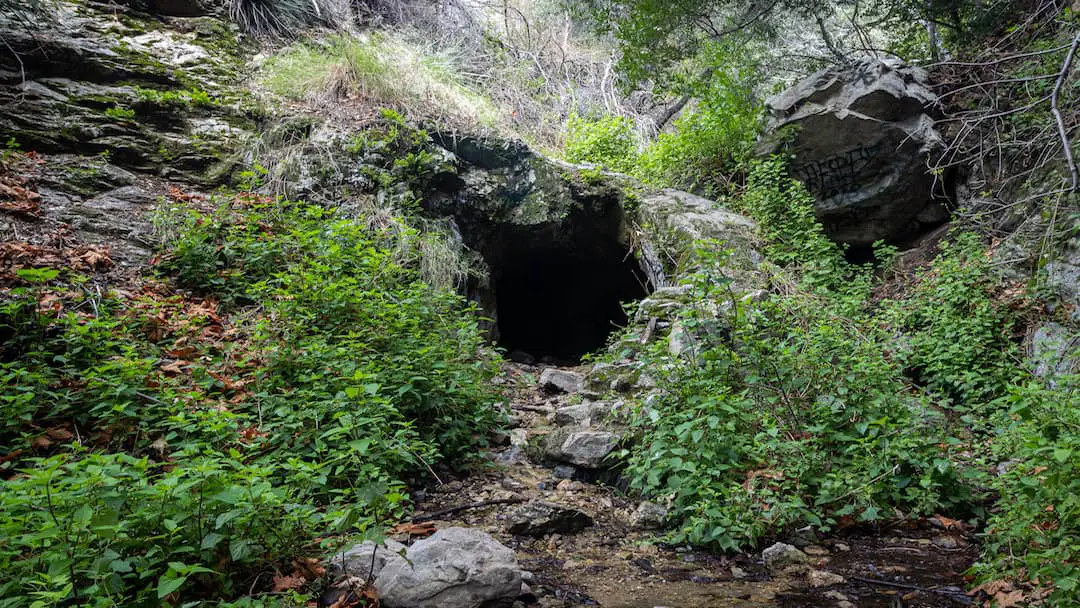
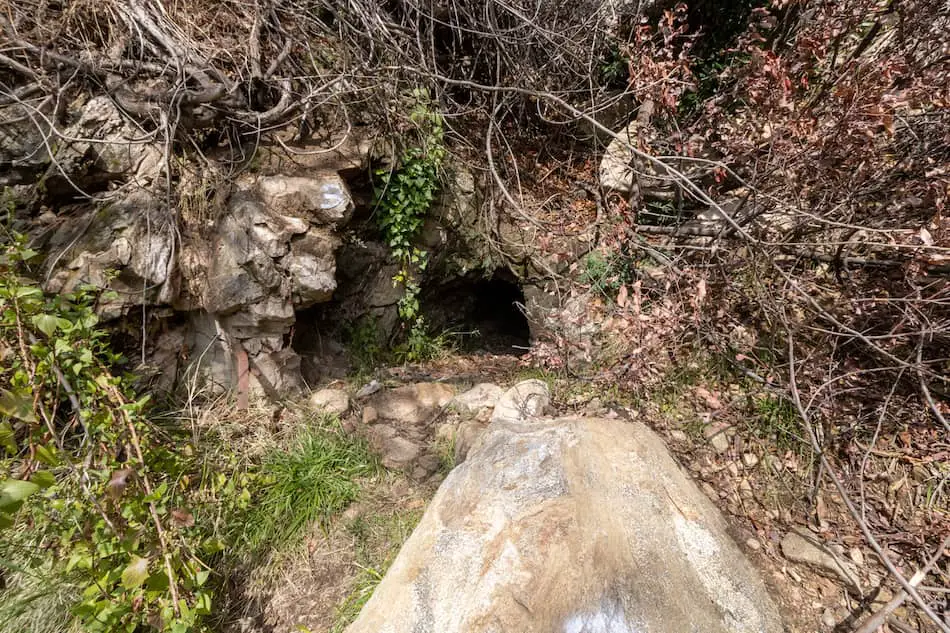
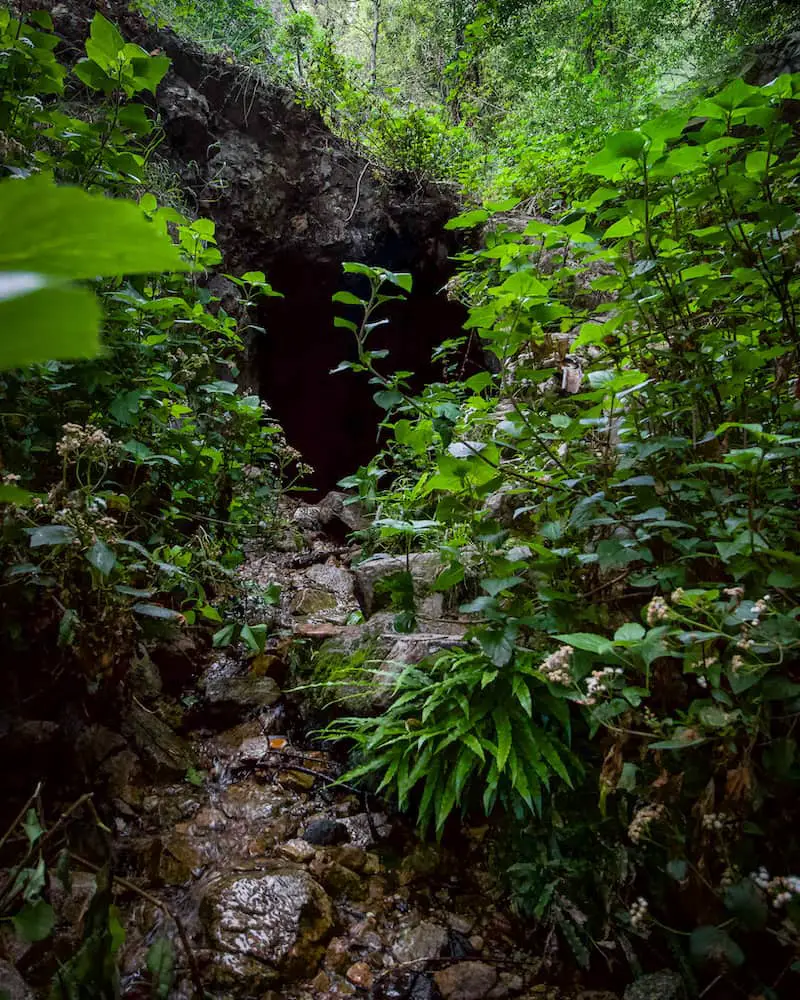
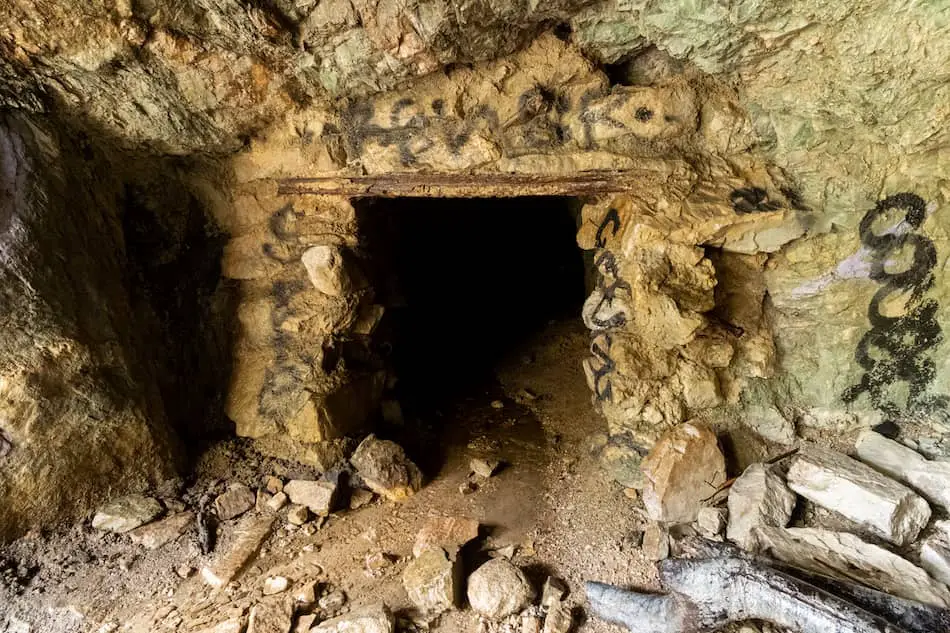
To enter the mine, make your way through the back lefthand corner of the building where part of it has collapsed.
The rubble on the left side of the structure used to be a part of the building, but was washed away by Mother Nature.
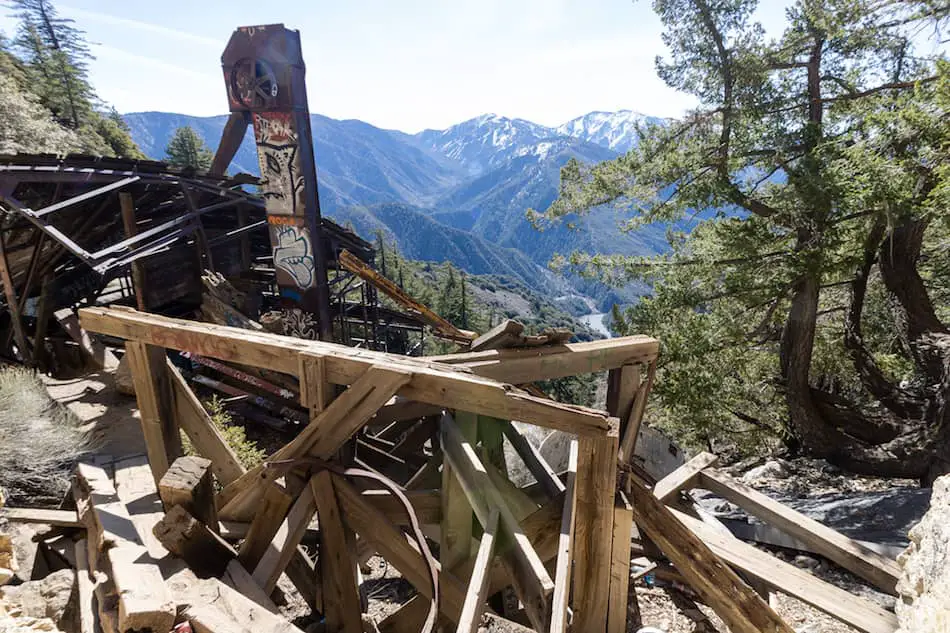
The portal is guarded by an old rusted door that gives the mine a very spooky vibe.
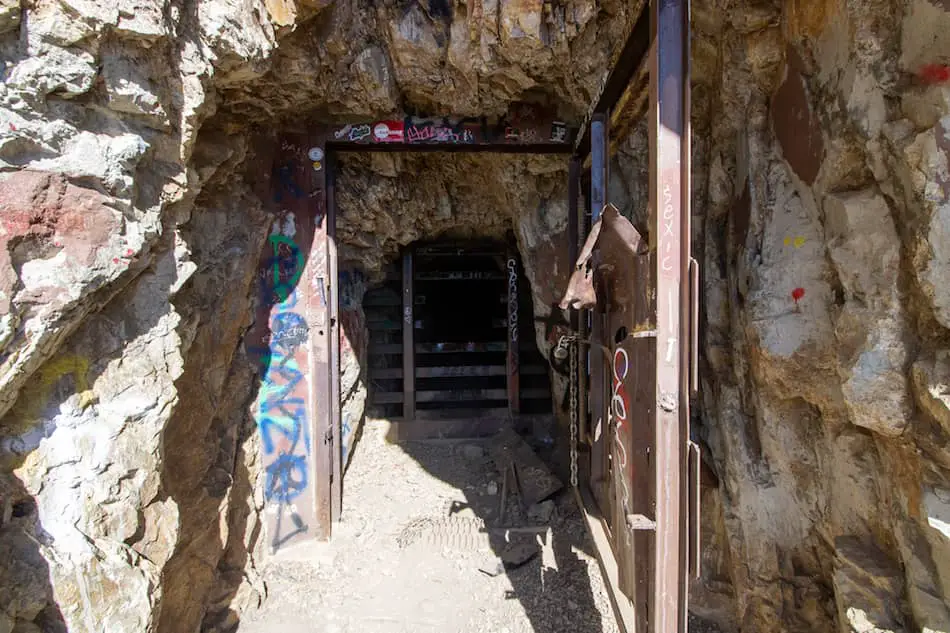
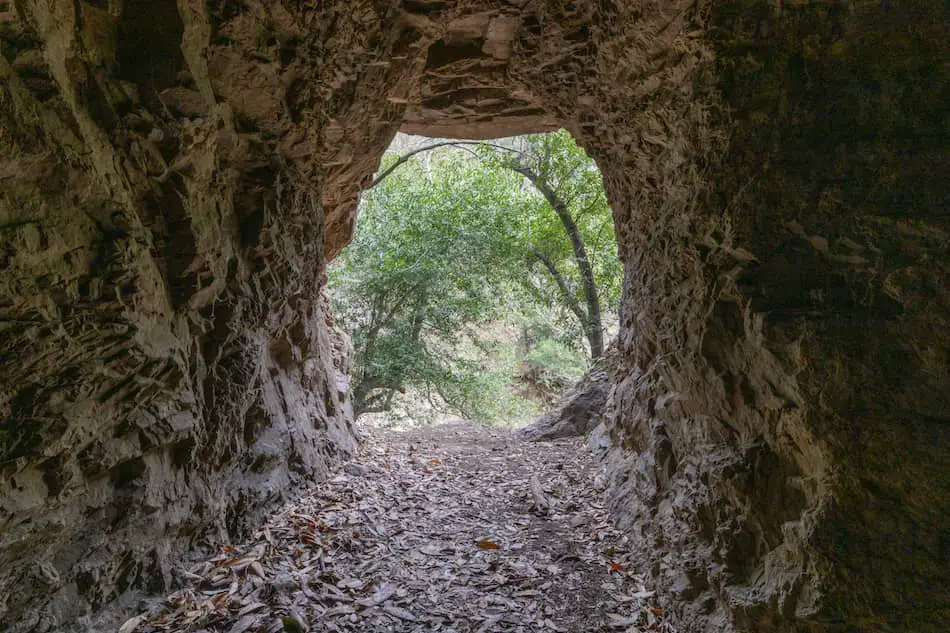
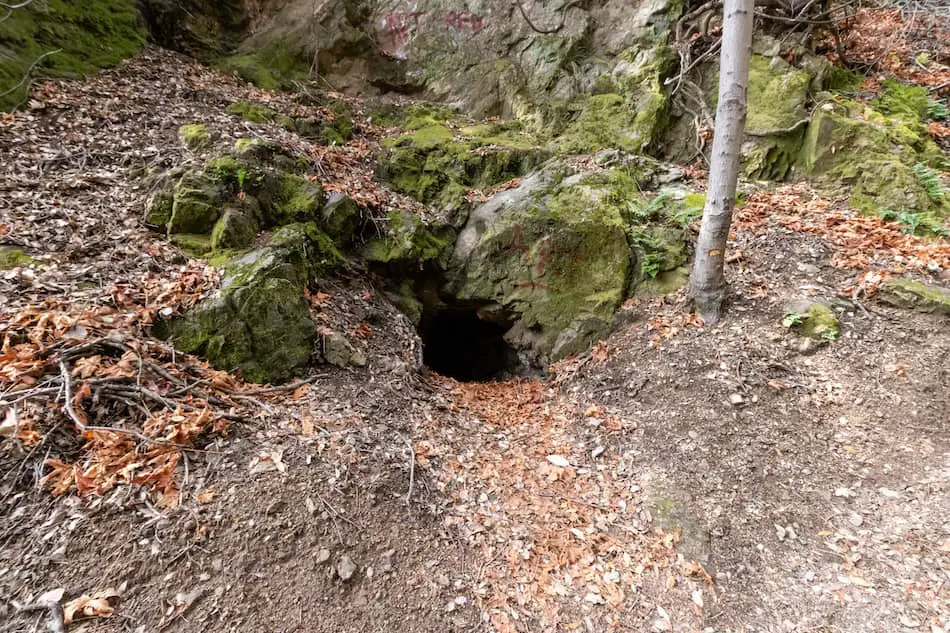
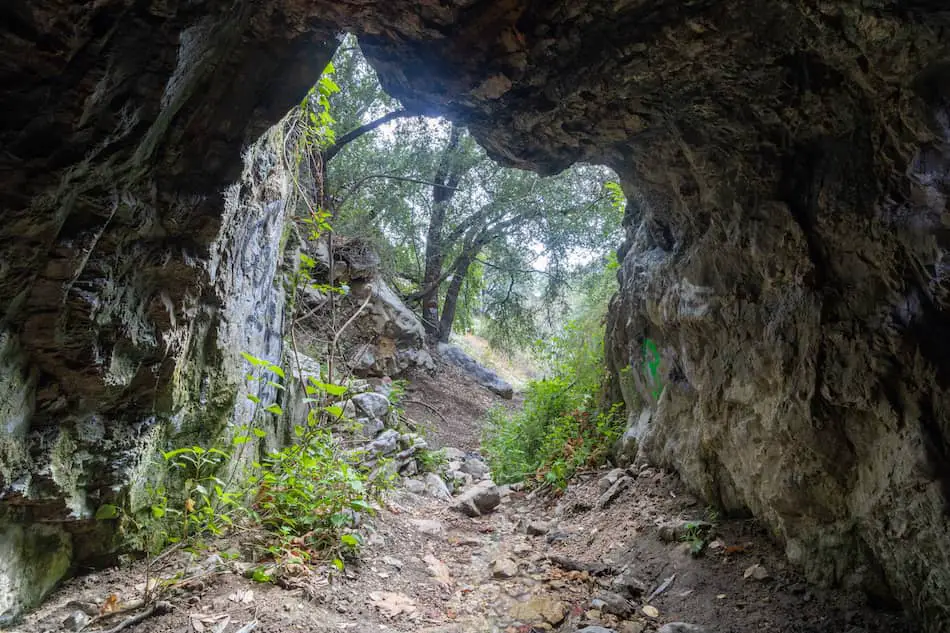
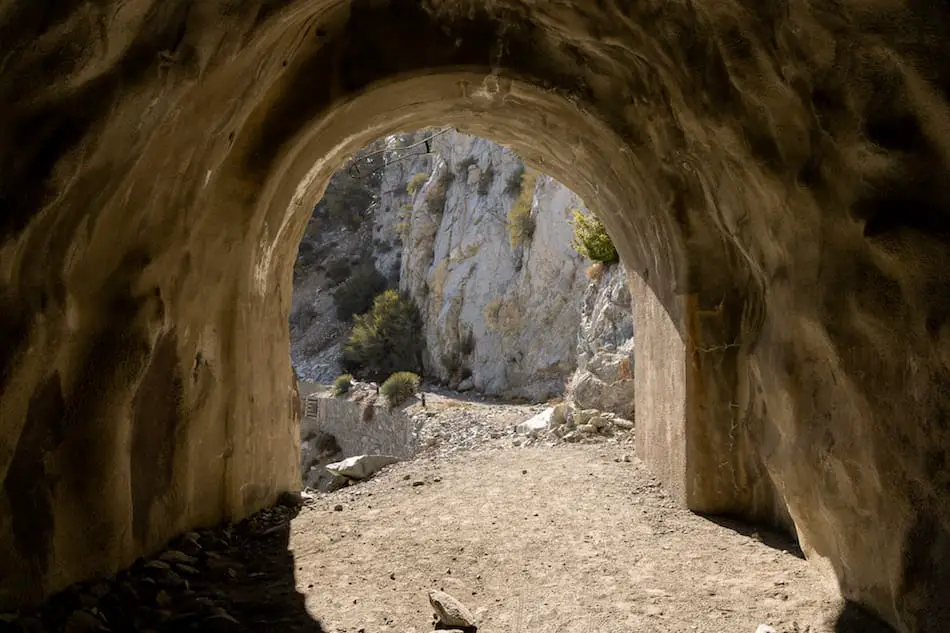
The first part of the adit is barely big enough for a tall person to stand upright, but after about 50 feet, the size of the adit significantly increases.
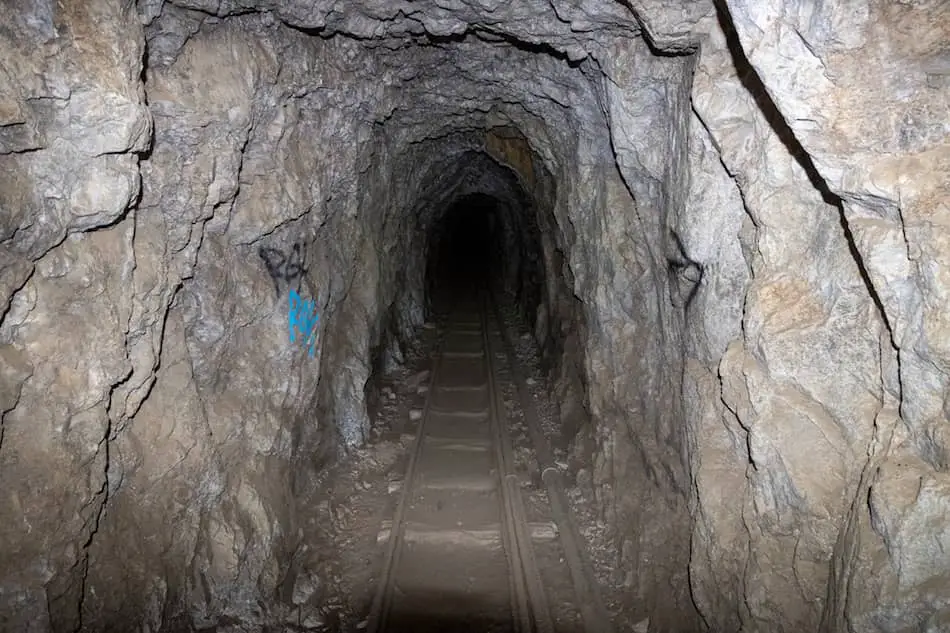
A whopping 8,700 feet of passages are, for the most part, unexplored along with an underground lake!
Unfortunately for this adventure, a group of people came out of the mine before we entered and warned us about a strange individual who was behaving aggressively towards them. We decided to play it safe and not venture too far inside.
However, we had explored the inside of the mine about a year prior to starting this blog. We found HUGE pits so deep our flashlights couldn’t illuminate the bottom.
Tunnels split off into various directions and the sound of water droplets falling from the ceiling was the only thing we could hear. We plan on revisiting for our Youtube Channel, and when we do we’ll have more pictures for you.
The Big Horn Mine is my favorite abandoned place in Southern California. My 2nd favorite are the nuclear war escape tunnels which were built during the Cold War to help Los Angelinos quickly get out of SoCal in the event of a nuclear missile attack from Russia.
Check them out by clicking the link here: Shoemaker Canyon Road
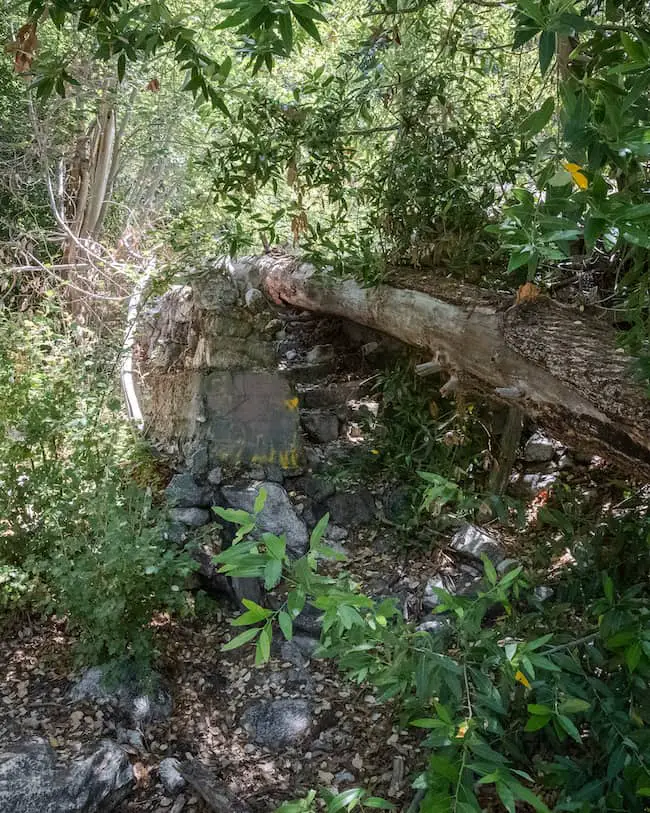
BONUS: Vincent’s Cabin
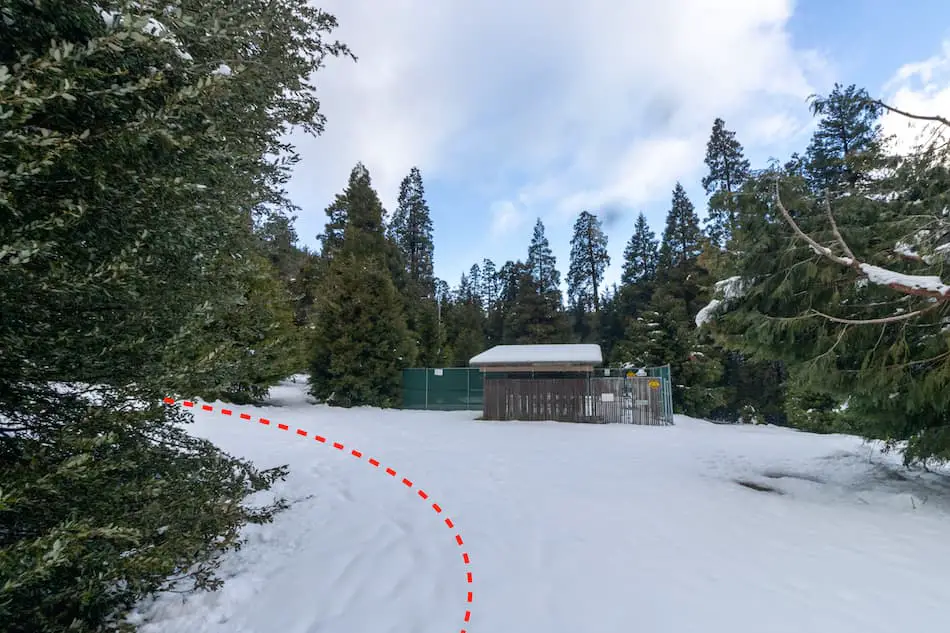
If you enjoyed exploring the Big Horn Mine, paying a visit to Vincent’s Cabin is a must do! The cabin can be found on the way back from the mine.
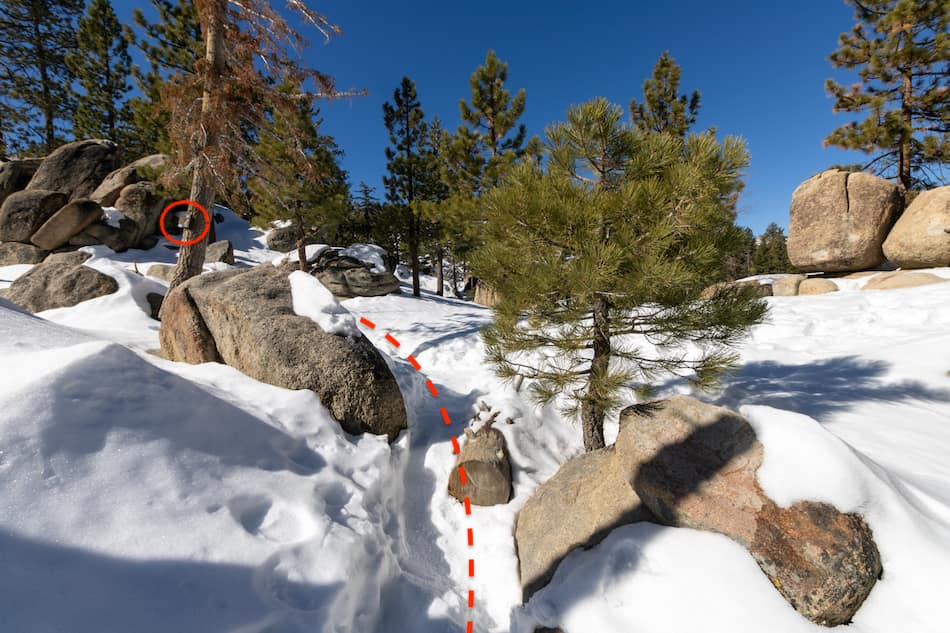
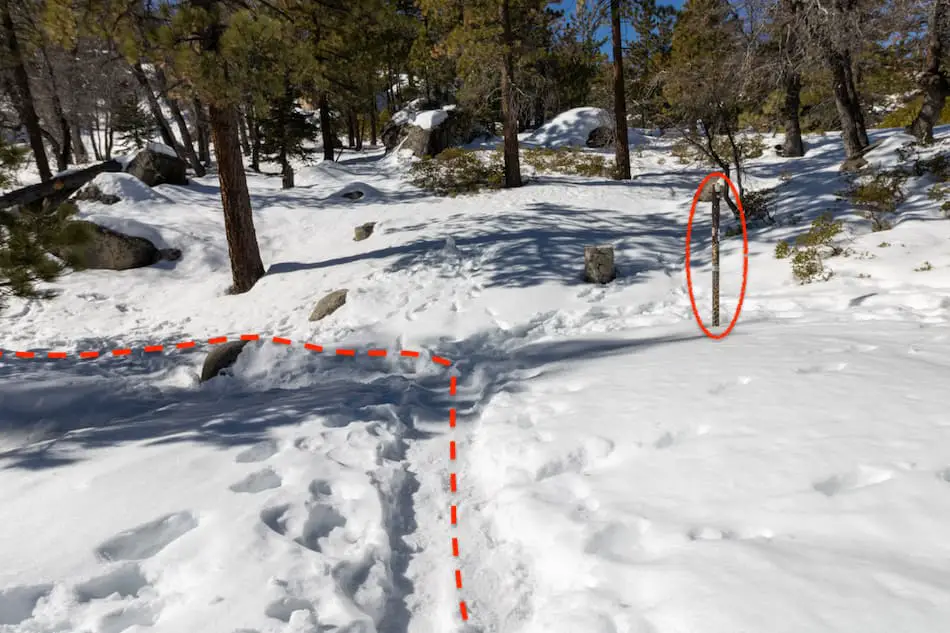
However, you’ll need to download an app called All Trails in order to pinpoint where the trail splits and begins to descend. It’s actually very difficult to spot, which is why I suggest using the app.
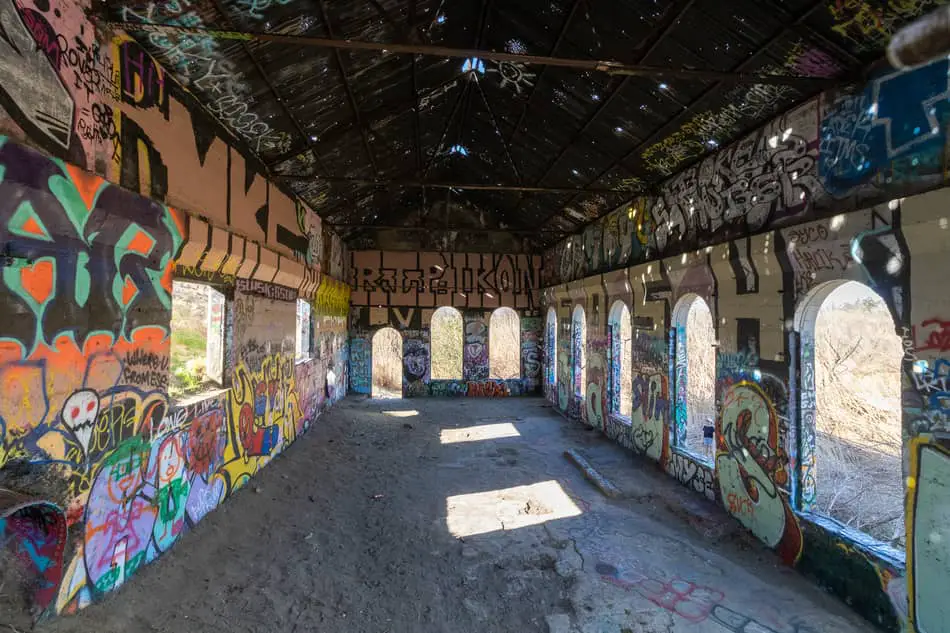
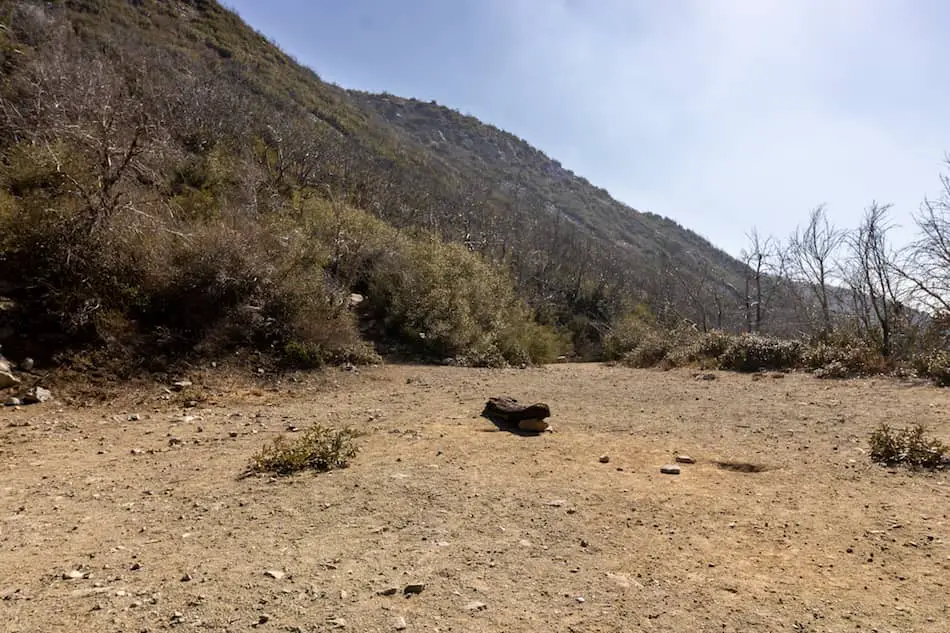
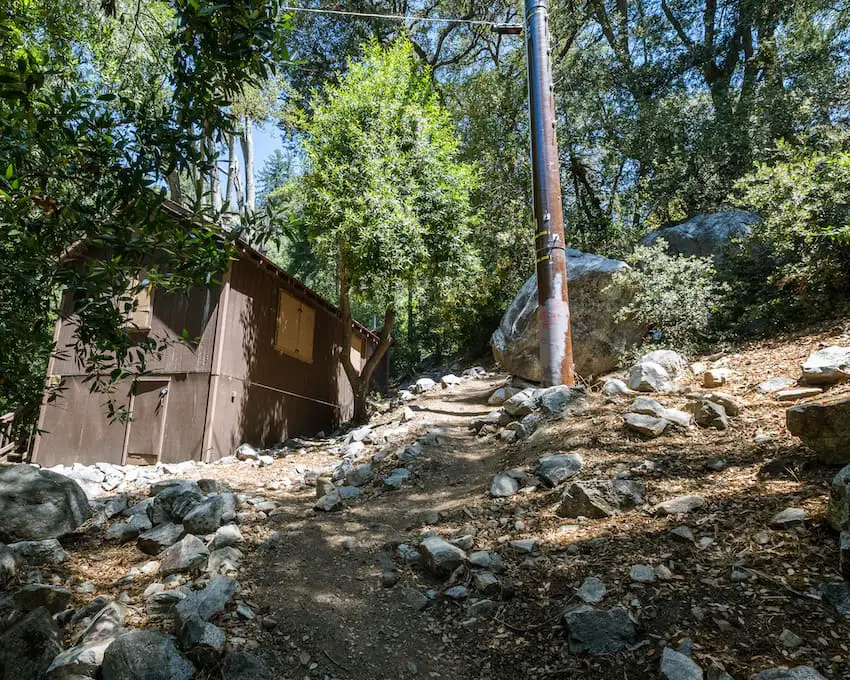
Shortly after diverging from the Big Horn Mine Trail, you’ll arrive at a small clearing where the century old cabin entices you to continue exploring.
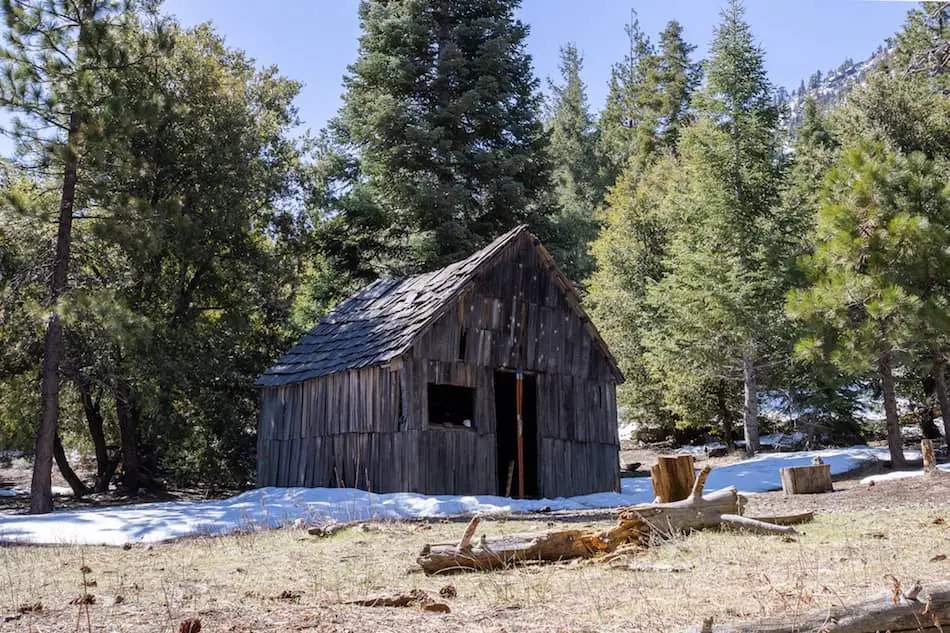
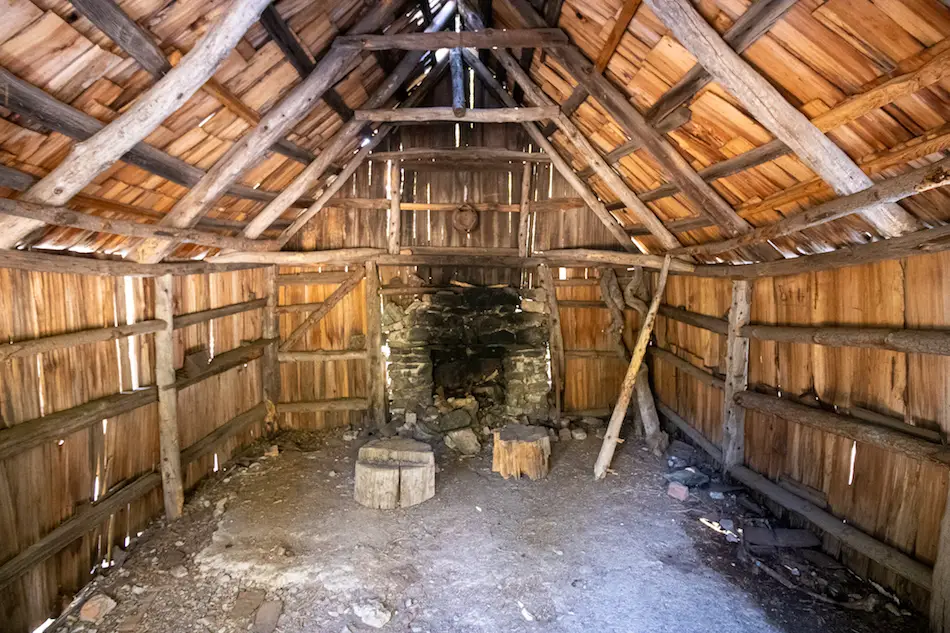
It was the hermit Charles Tom Vincent who built this cabin back in the early 1900s to avoid civilization. The cabin is tiny, only about 10 by 12 feet, with a chimney and two windows.
Rusted pots and cans lay scattered throughout the place, but I was unable to determine wether they belonged to him or someone more recent.
Imagine how difficult it was for Vincent to keep warm in this tiny one-room home or how he managed to sleep at night knowing wild Grizzly bears wandered outside his cabin and could easily break in if they wanted to.
Not surprisingly, it was an attack by three grizzly bears that put the living legend to rest, but I’ll get into that in the next sections.
Big Horn Mine History
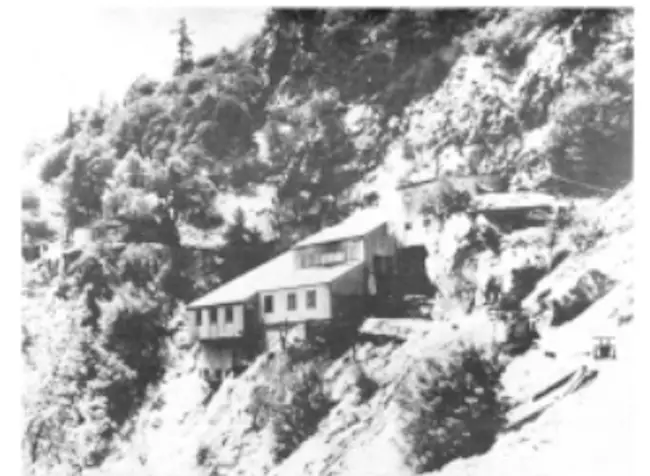
*Photo credits and information gathered from Wrightwood Roots
Located deep within the slopes of Mount Badel Powell, The Big Horn Mine was founded in 1895 by civil war veteran Charles Vincent Dougherty (later changed his name to Charles Tom Vincent) while out on a hunt for Bighorn Sheep.
After discovering gold, he quickly partnered with his Civil War friend Charles Locher (Lockwood) and prospector N.D Shippy.
Unfortunately, the strenuous and expensive process of gathering and crushing the ore became too costly for Vincent and his buddies.
He sold the mine to Lowell and California Mining Company in 1902 but kept two other claims known as the Blue Cat Mile and Little Nell Mile.
At over 300 ft deep and 8700 ft (roughly two miles) long, the Big Horn Mine became a colossal project.
Unfortunately, Vincent and his partners missed out on their luck as the mine produced over $100,000, primarily in gold, but also silver, copper, and lead.
The years that followed were some of the most productive and profitable times for the new miners, specifically from 1903 to 1906.
The mine was abandoned after a decade of hard and rewarding work only to be reopened in 1934 and closed down again two years later.
Old Vincent’s Mysterious Past
Charles Vincent was seen as a mysterious man. He left Arizona, where he worked as a prospector, to try his luck in sunny California.
He built a small cabin in Vincent Gulch, and spent his time hunting and mining. Always on the chase for of gold.
Living in the mountains posed a real threat for Charles, not only from extreme weather, but also from the notorious California grizzly bear, which was not extinct during that time.
Unfortunately for Charles, he was out on a hunt when he accidentally snuck up on three grizzly bears.
The three bears charged at Charles. He shot and killed the first two, but in a misfortunate turn of events, his gun jammed before he could shoot the third.
He knew he would never be able to outrun the third bear, which meant only one thing. He had to stand and fight for his life. He quickly took out his knife waited for the bear.
How Charles managed to single handedly kill a full grown grizzly with a knife can only be speculated. However, all was not well.
Shortly thereafter, Charles succumbed to his injuries in 1926 in a Los Angeles hospital. Interestingly enough, he confessed one of the biggest sins of his life before passing away.
He claimed to be responsible for the death of three men in Arizona. Apparently, Charles and a friend were returning to their cabin after a day of working their claim only to be surprised by three strangers ransacking their house.
They shot the three men and buried them on the spot.
Fearing repercussion from the law, Charles fled Arizona, changed his name, and moved to the secluded region in the Western San Gabriel Mountains where he lived out the rest of his life.
He was laid to rest in the veteran’s cemetery in Westwood, CA.
FAQs
Is The Big Horn Mine Haunted?
The appalling history and backstory of the man behind the Big Horn Mine have led people to believe the place is haunted.
Some visitors have mentioned hearing voices or growls within the tunnels and experiencing chills in certain areas.
Can You Go Inside The Big Horn Mine?
It is still possible to venture inside the Big Horn Mine.
Why Was The Big Horn Mine Abandoned?
The Big Horn Mine was abandoned because, like most mines in Southern California, it became unprofitable to run operations.
How Long Is The Big Horn Mine Trail?
The Big Horn Mine Trail is a roundtrip total of 3.84 miles.
Is There Still Gold In The Big Horn Mine?
Extensive testing has revealed that large quantities of gold are still present in the hard rock of the Big Horn Mine.
Has Anyone Died In The Big Horn Mine?
There are no recorded deaths in rhe Big Hon Mine.
What Was Mined At The Big Horn Mine?
3701 ounces of gold old was primarily mined at the Big Horn Mine, but also 2430 ounces of silver, 1357 ounces of copper, and lead.
How Deep Is The Big Horn Mine?
The Big Horn Mine is roughly 300 feet deep and contains about 2 miles of underground passageways.


![Norco Powerhouse: Spooky Riverside Relic [DEMOLISHED]](https://cahikingadventures.com/wp-content/uploads/2021/01/POWERHOUSE.jpg)