Santa Ynez Falls: Wading, Scrambling & Off-Trail Thrills (Closed)
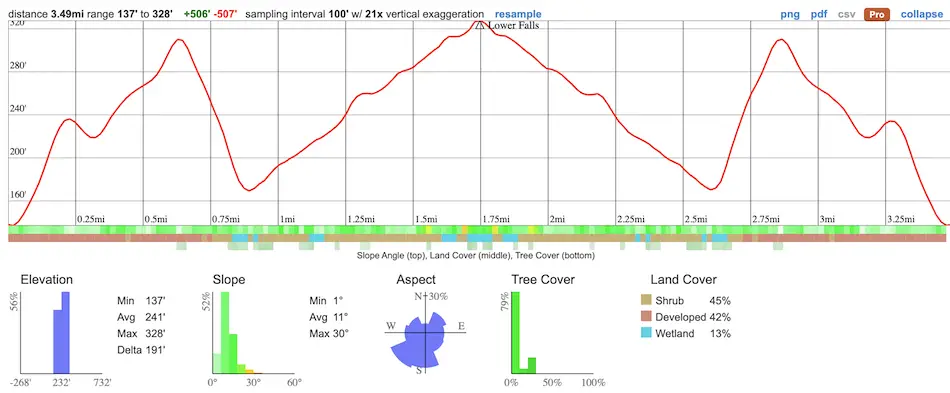
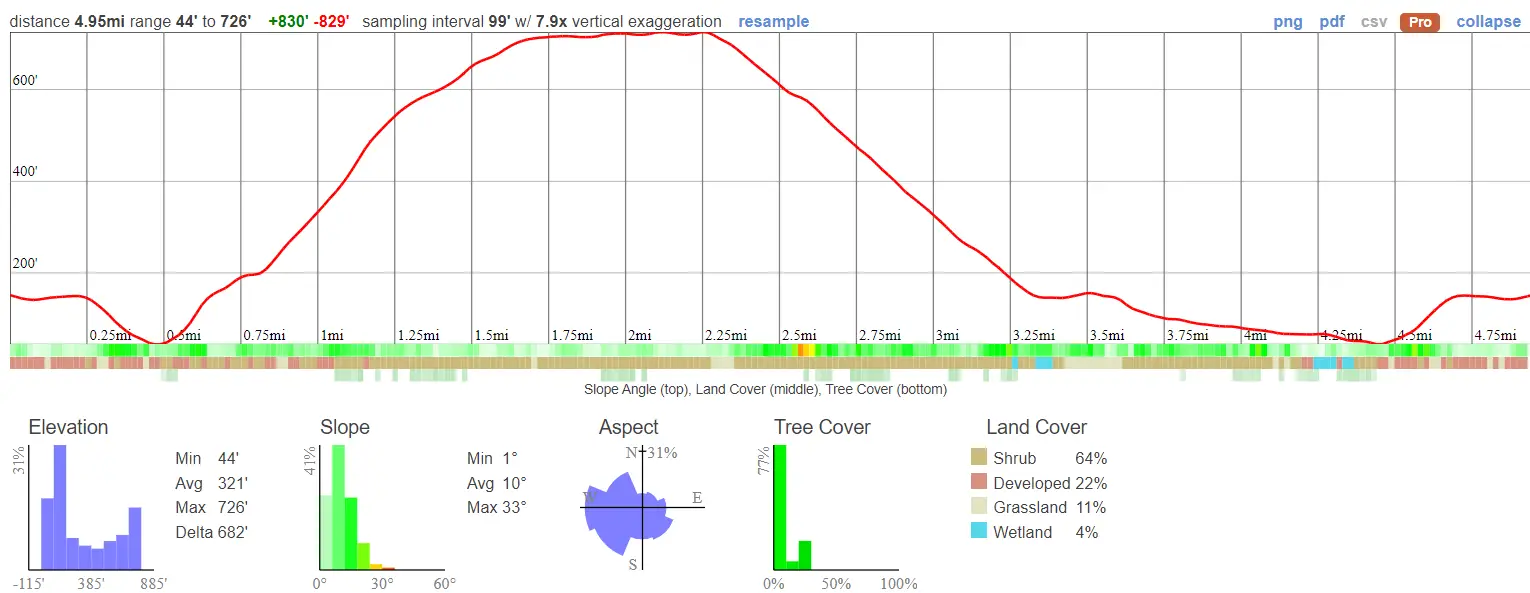
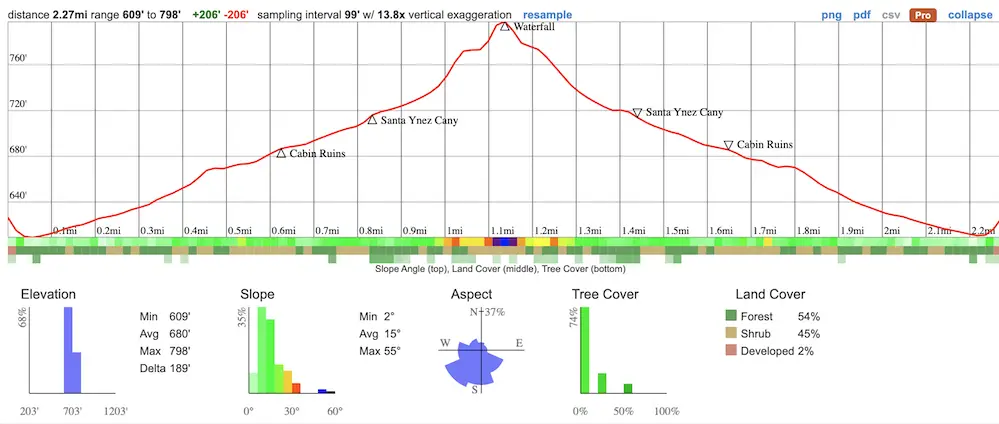
- Total Miles: 2.27
- Time: 1 Hr
- Difficulty: Moderate
- Best Season: Spring
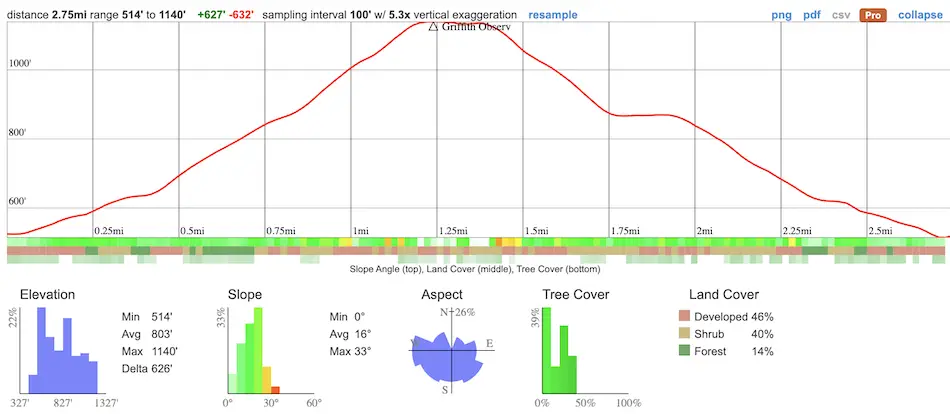
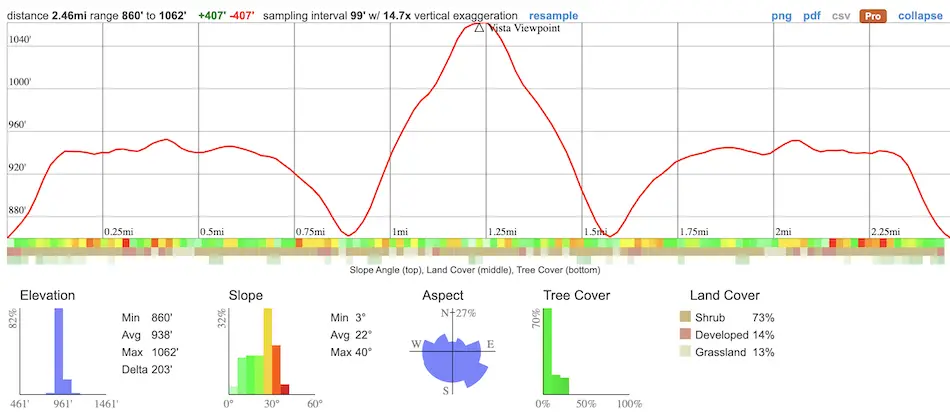
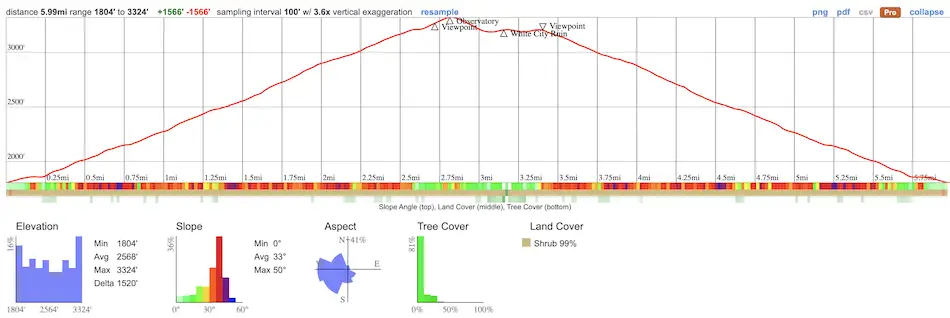
- Elevation Gain: 206 ft
- Max Elevation: 798 ft
- Type of Trail: Out & Back
- Parking: Street Parking
- Dogs: Not Allowed
- Restrooms: Not Available
- Trail Popularity: High
- Pics Taken On: Feb 8, 2024
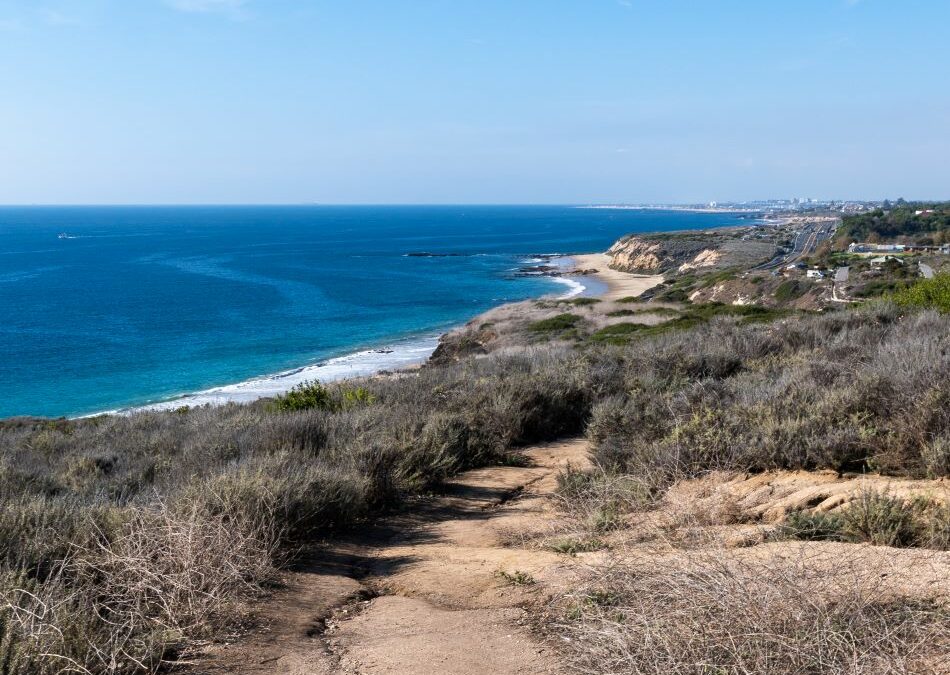
Santa Ynez Falls has become one of my favorite hikes in the Santa Monica Mountains. I love that I had to boulder scramble, wade through the creek, and rock climb over a small waterfall while enjoying the lush scenery and mild climate.
Santa Ynez Falls is a beautiful 18-foot cascade located in Pacific Palisades that, for the most part, has been kept free from graffiti. The trail runs parallel to a creek for the entirety of the hike and features beautiful sandstone cliffs, a small cave, and cabin ruins. Lastly, and most importantly, this hike contains many trail splits and creeks. Therefore, I highly recommend using an app with a built-in GPS tracker like All Trails and printing a physical copy of the map (found below) to facilitate navigation and avoid getting lost. Dogs are not allowed as the trail runs through Topanga State Park.
Check out this complete list of California waterfalls. In it, you’ll find everything from SoCal’s largest waterfall to the most jaw-dropping.
Santa Ynez Falls Trail Map
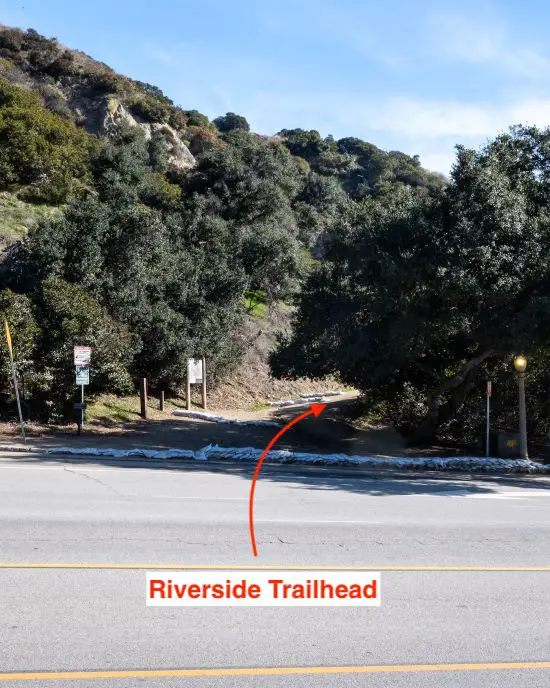
Parking And Directions
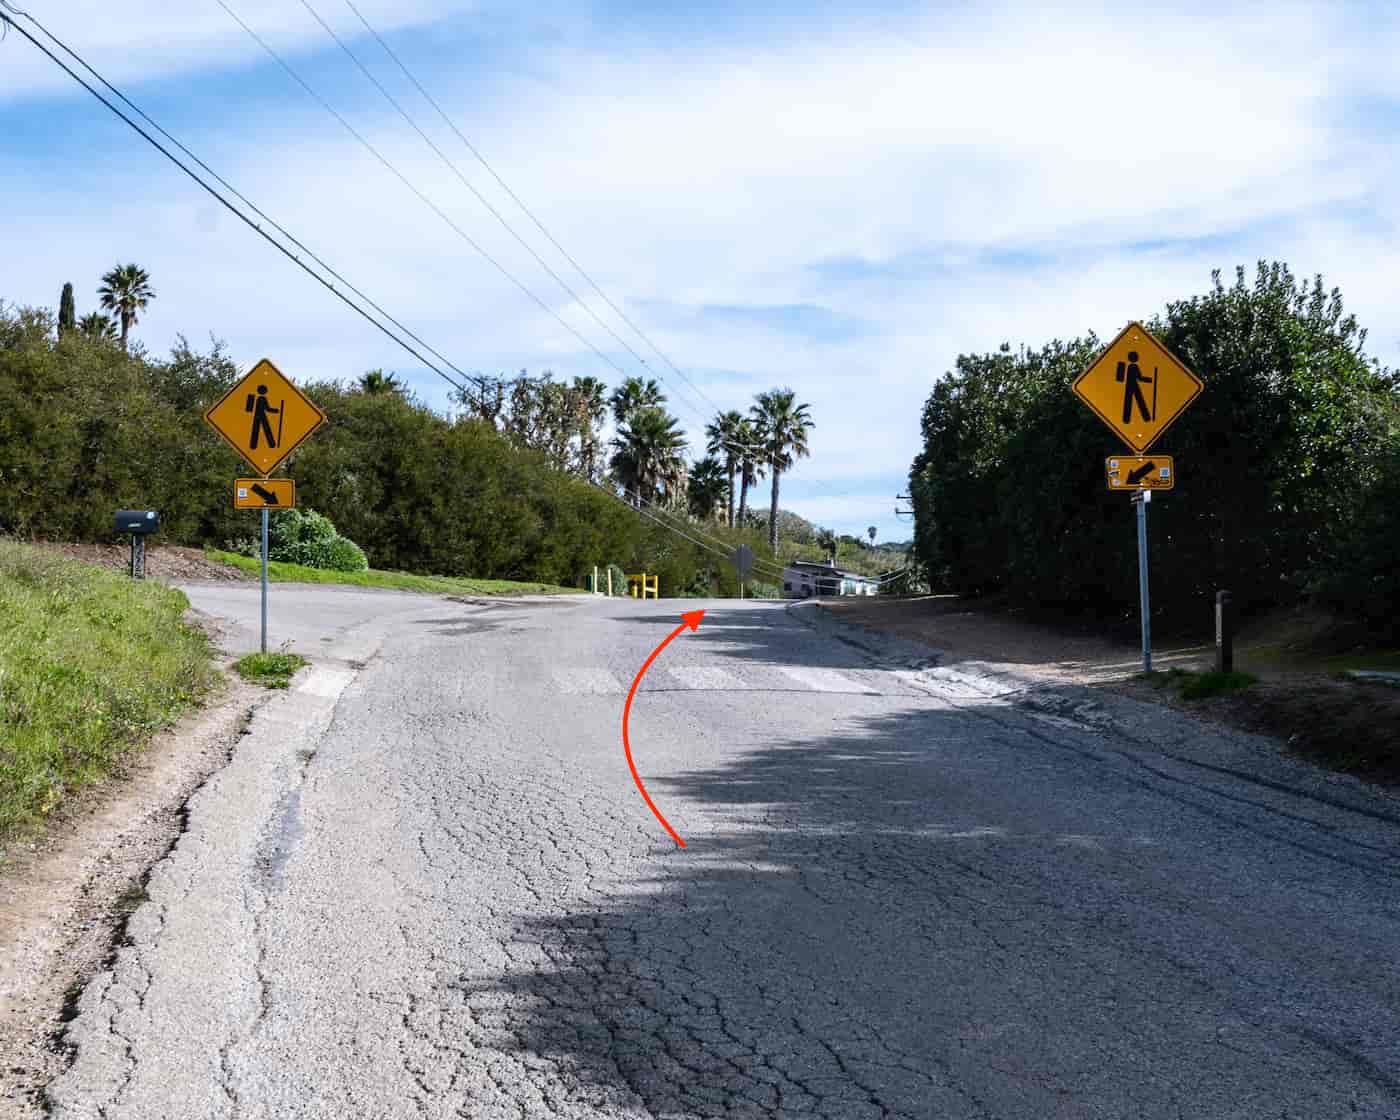
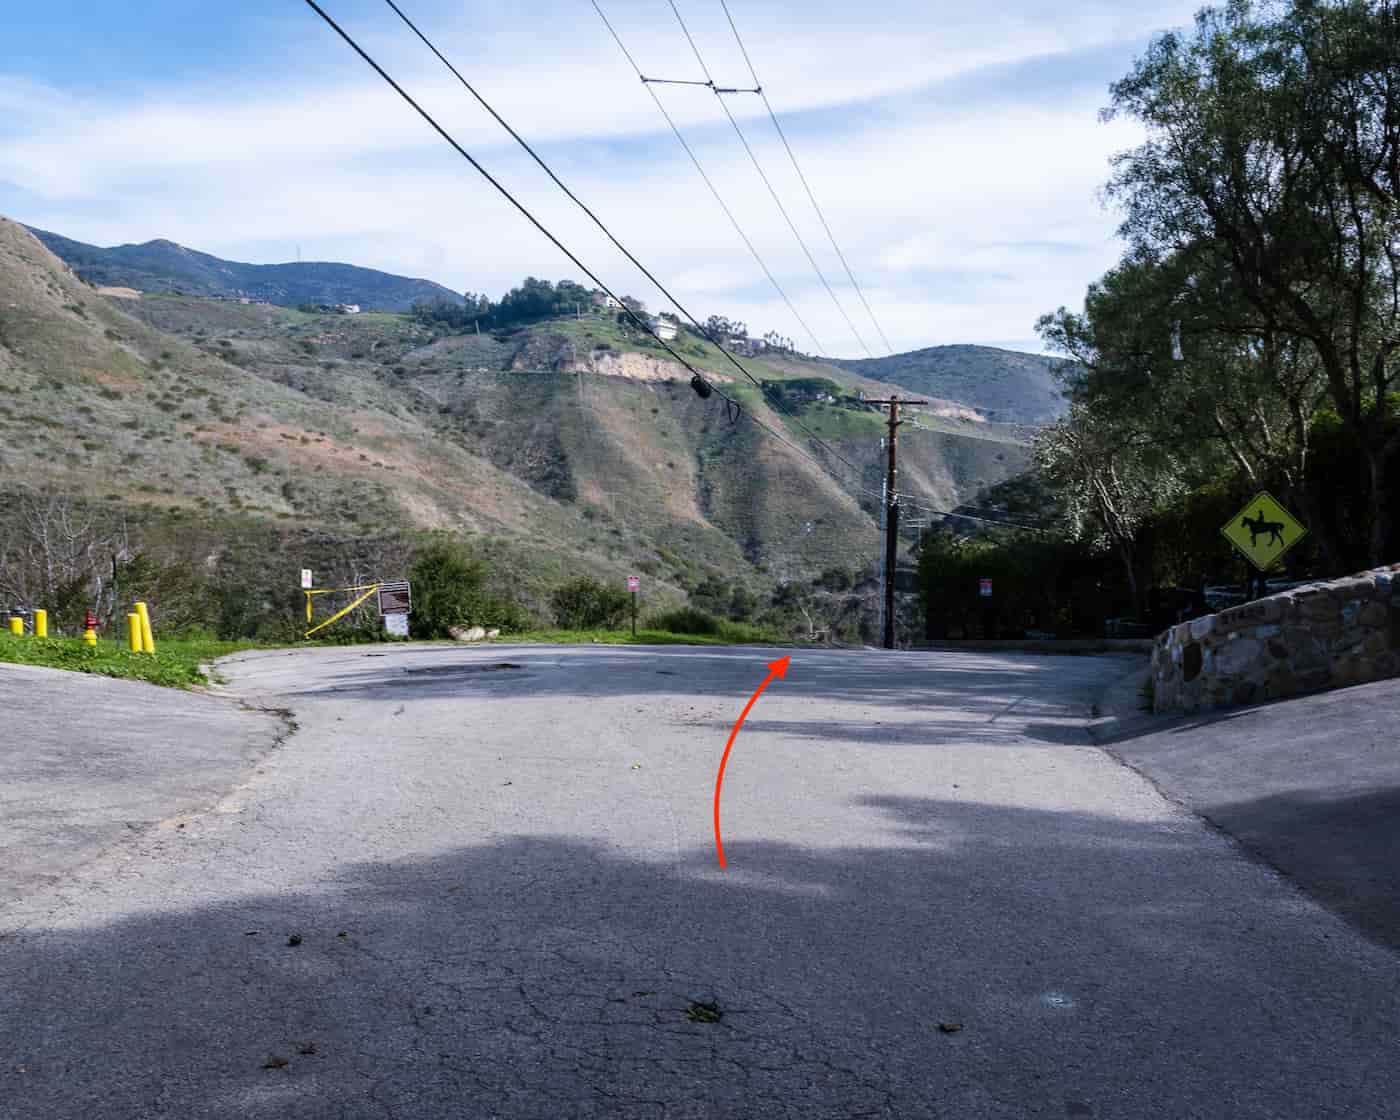
The trailhead is located at the intersection of Camino De Yatasto and Vereda De La Montura. Click the link here to be redirected to the trailhead via Google Maps.
Helpful Info
- Use and set a navigational hiking app before venturing into the canyon
- Wear pants and long sleeves to avoid the abundant poison oak and ticks
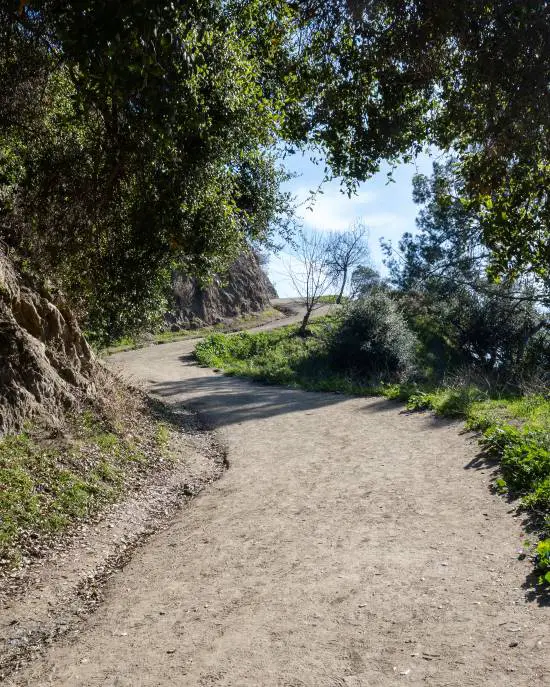
Hiking To Santa Ynez Falls
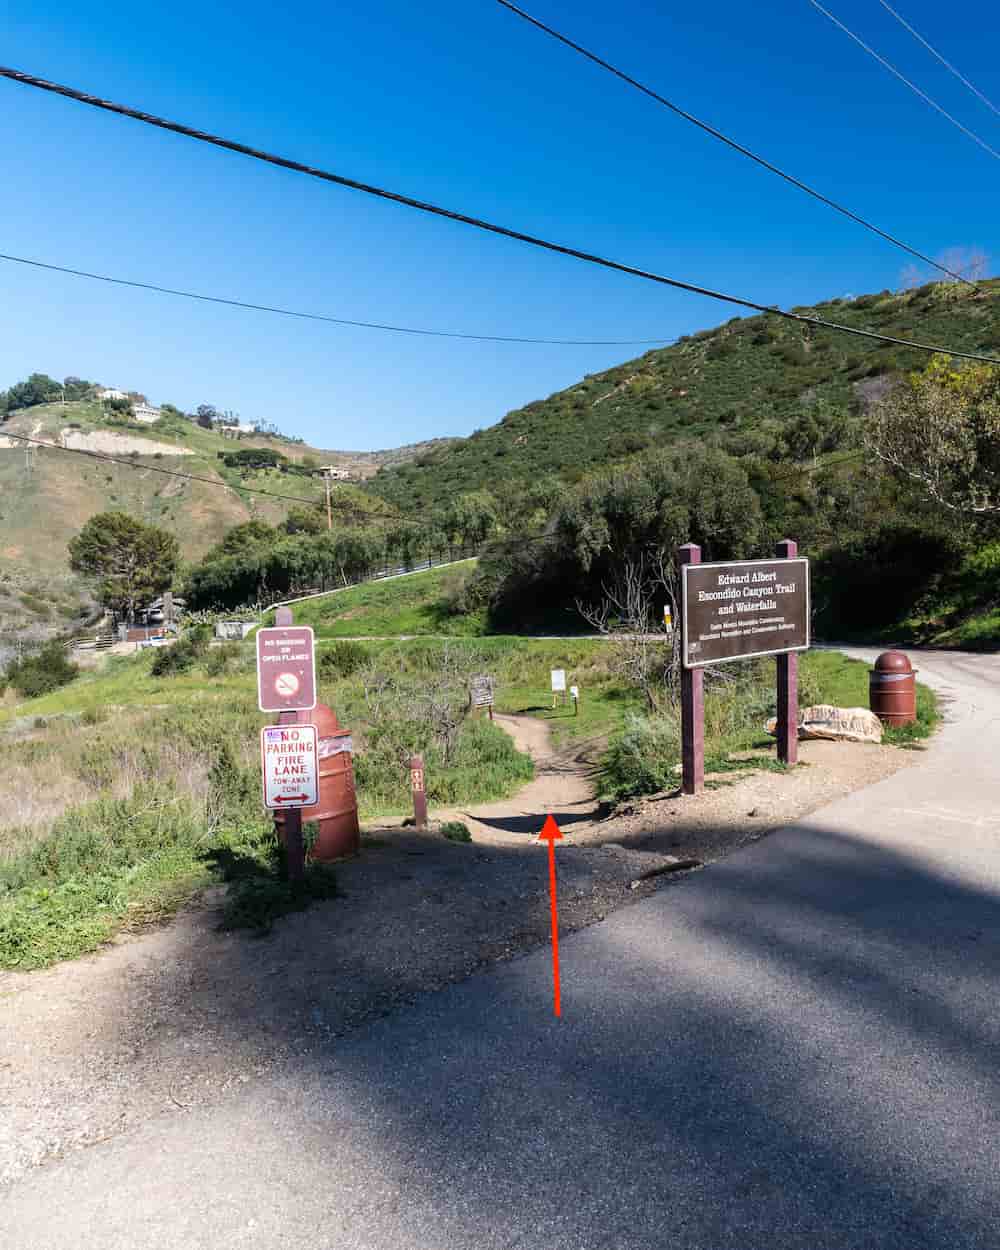
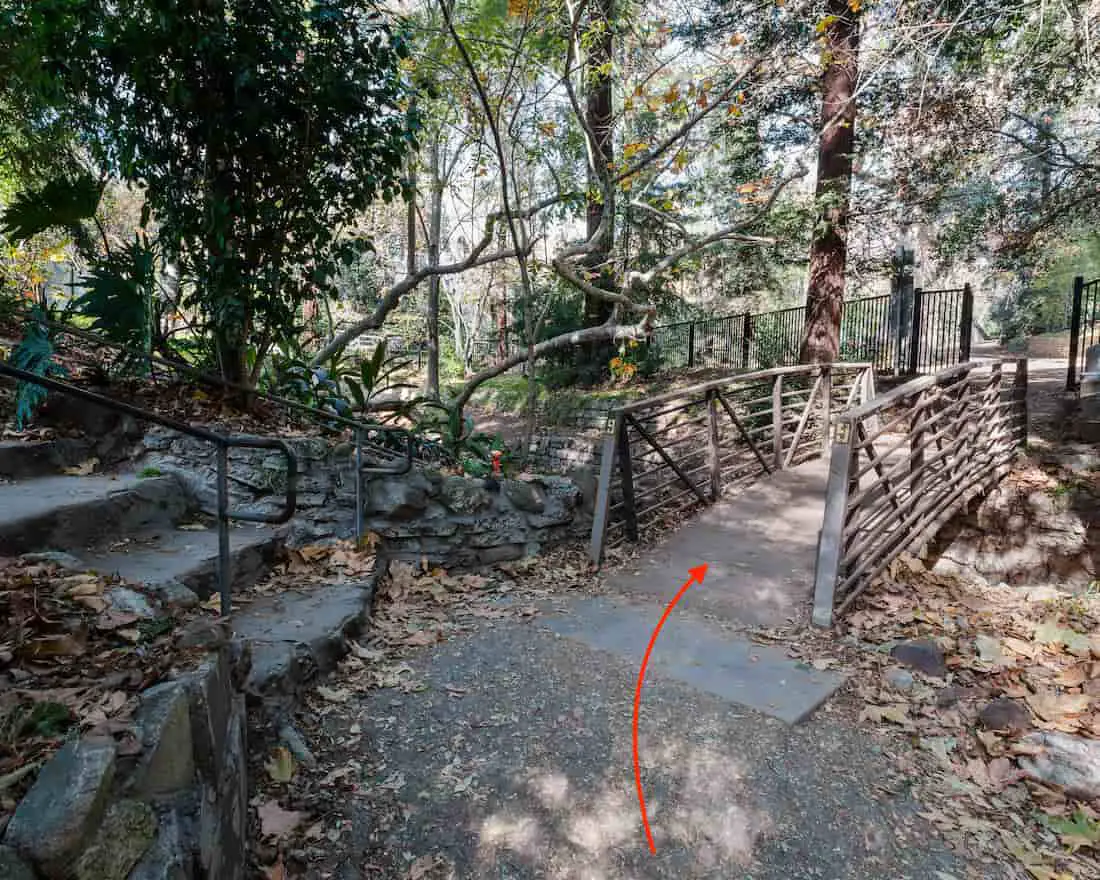
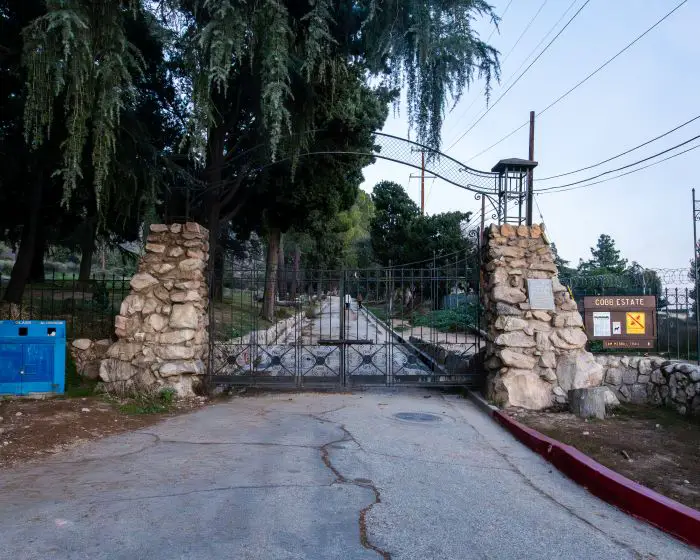
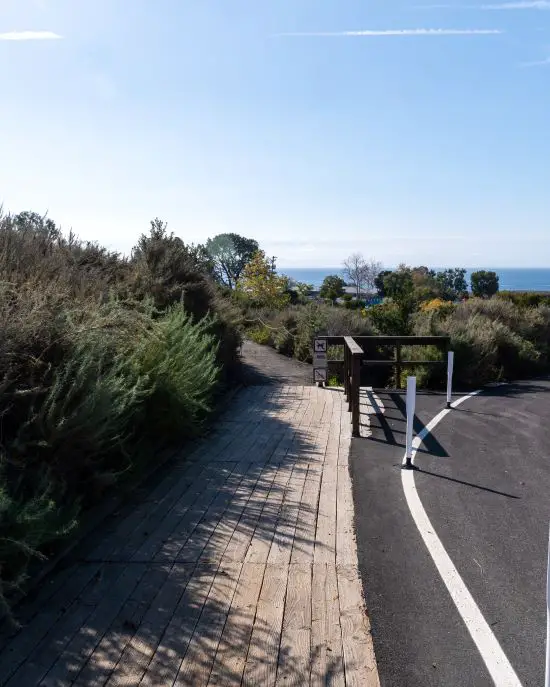
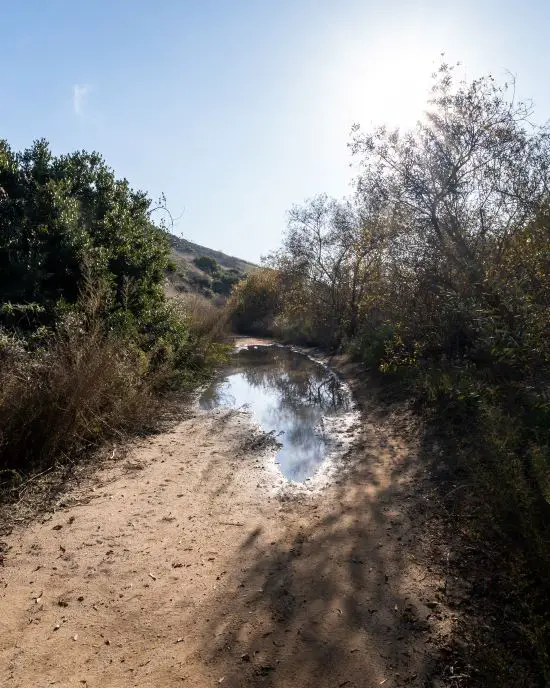
The hike began once I walked past the black gate and down the wooden steps to Santa Ynez Canyon Trail.
To the left of the steps was a storm drainage, and judging by the amount of water, I assumed the falls would have plenty of water.
I used the app All Trails to navigate through the canyon. However, the trail was no longer the same as shown on the app due to the recent rains. Please keep that in mind during your visit.

I crossed a concrete flood control that emptied into the storm drainage. It was so slippery I almost ate it so be careful when you cross. Do NOT head up the flood control.
Be very mindful of your surroundings. Although it was winter, the riparian woodland was extremely lush, making it easier to lose the trail.
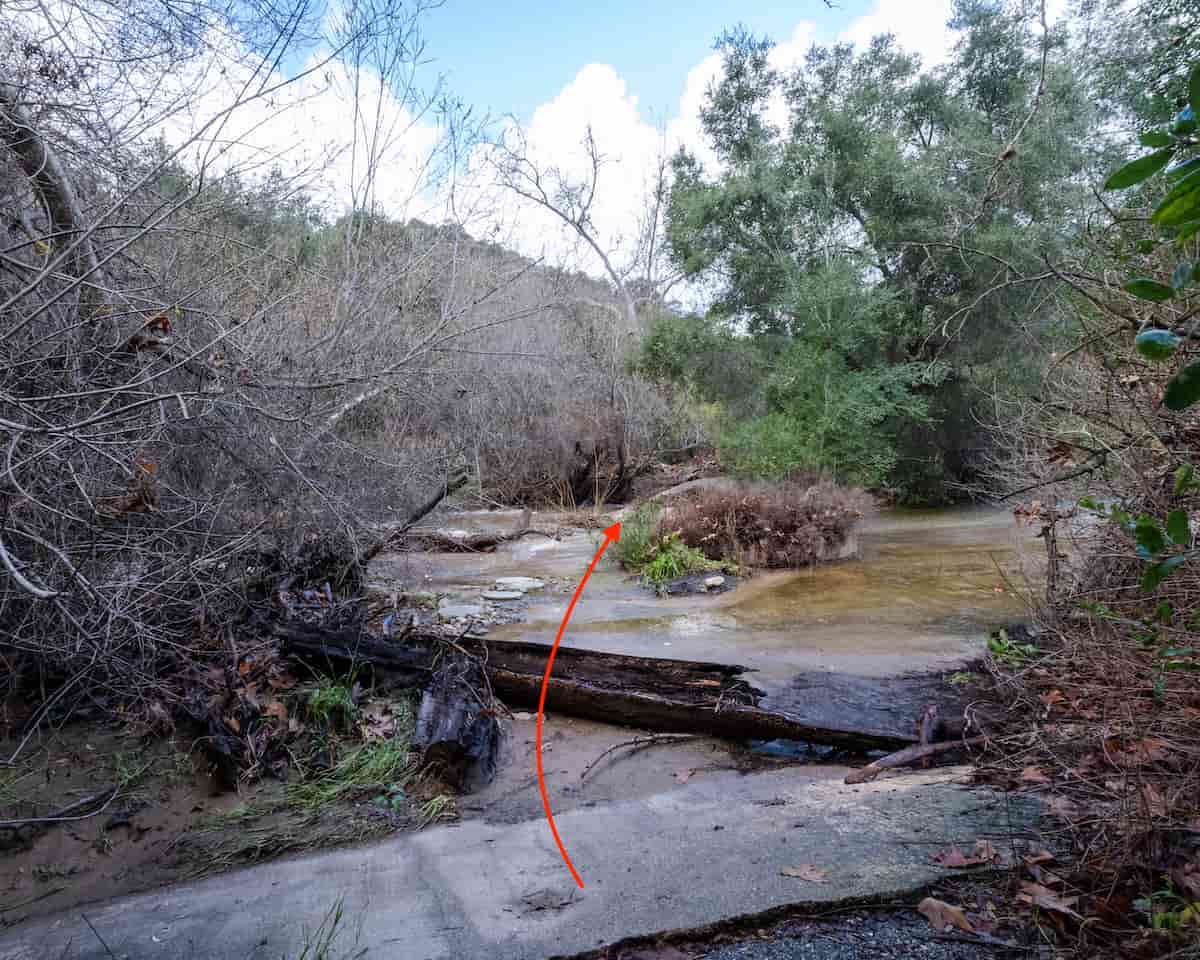
I continued upstream via the creek bank as the trail seemed to disappear.
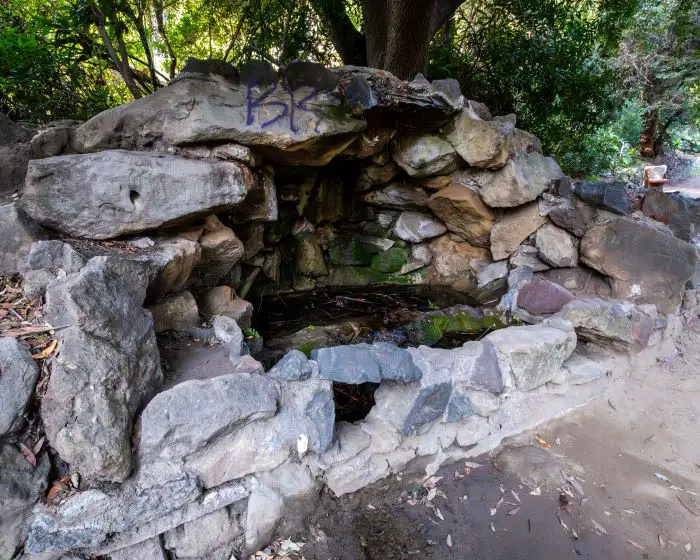
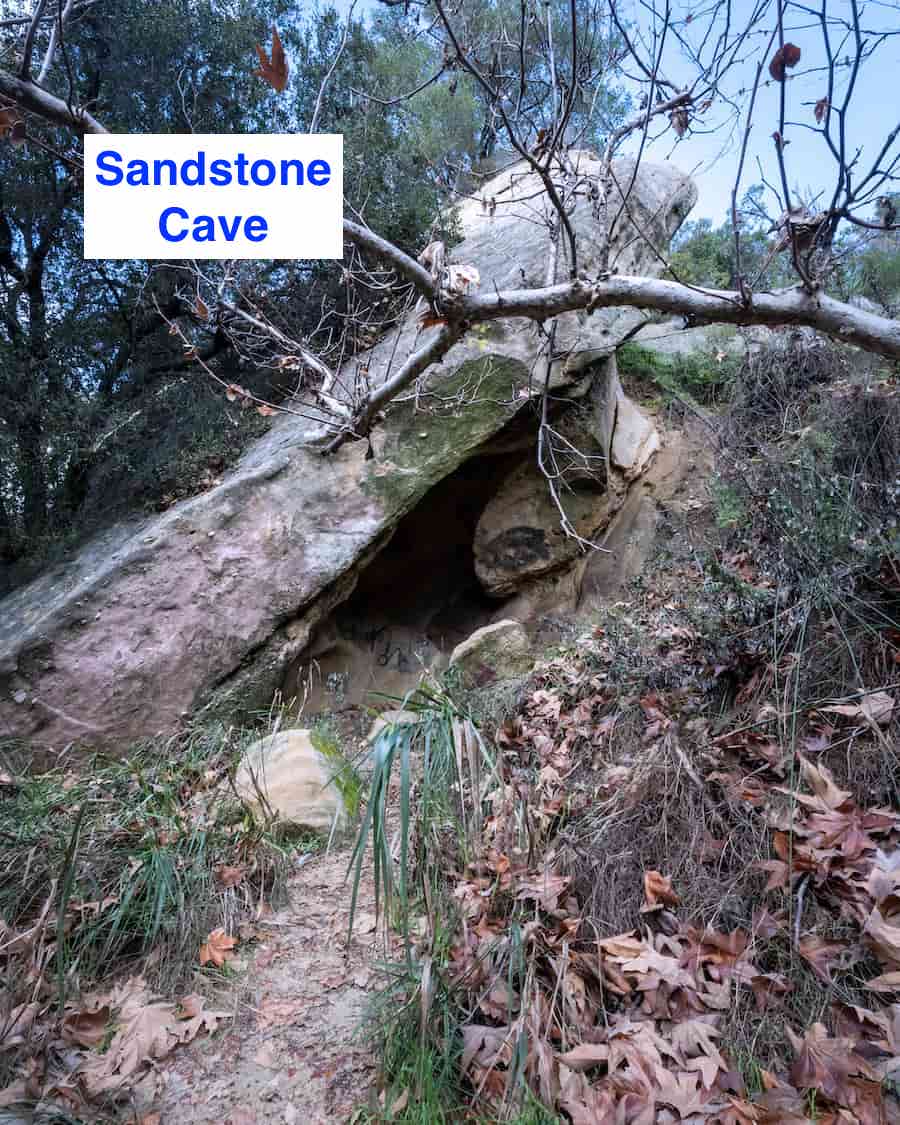
Shortly afterward, I arrived at the rock shelter. This neat-looking structure has been naturally formed from the surrounding sandstone cliffs. You can’t miss it. It’s located to the right of the trail via a 20 ft trail detour.
It reminds me of a larger sandstone cave that is quietly tucked away in the Santa Monica Mountains. I highly recommend exploring it.
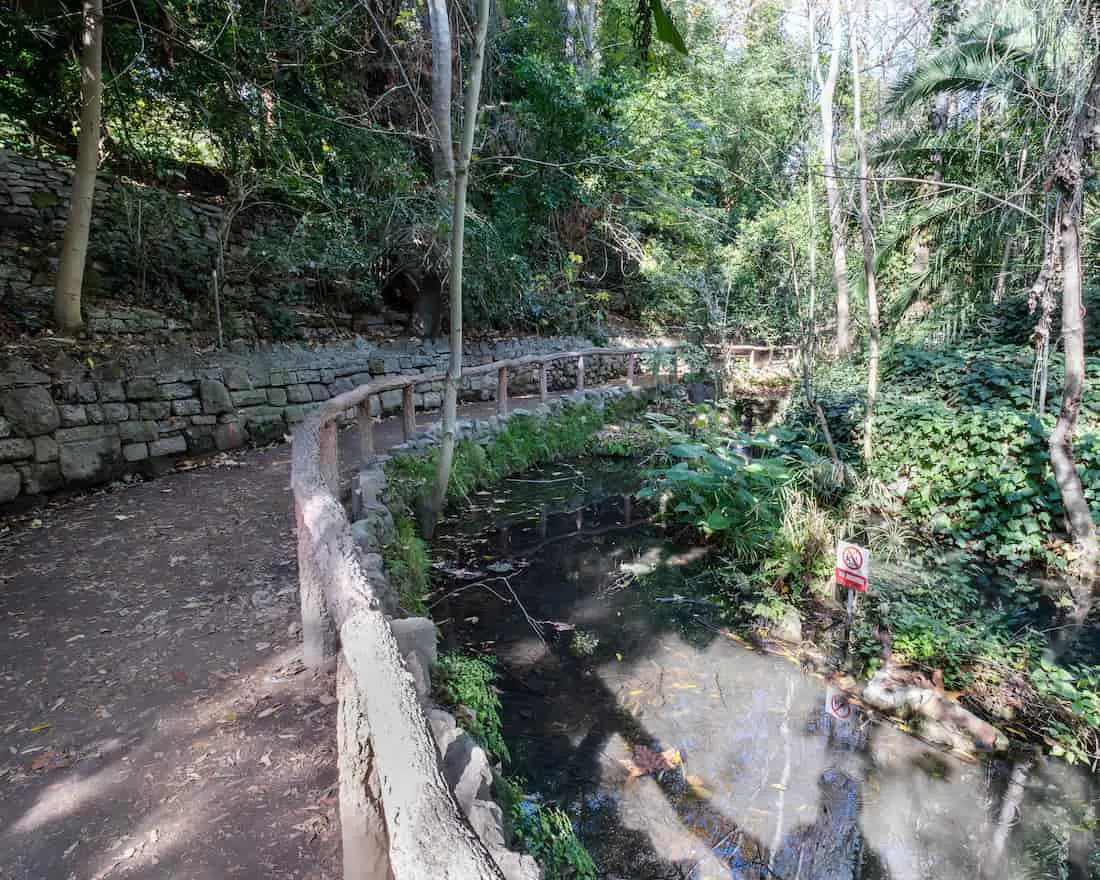
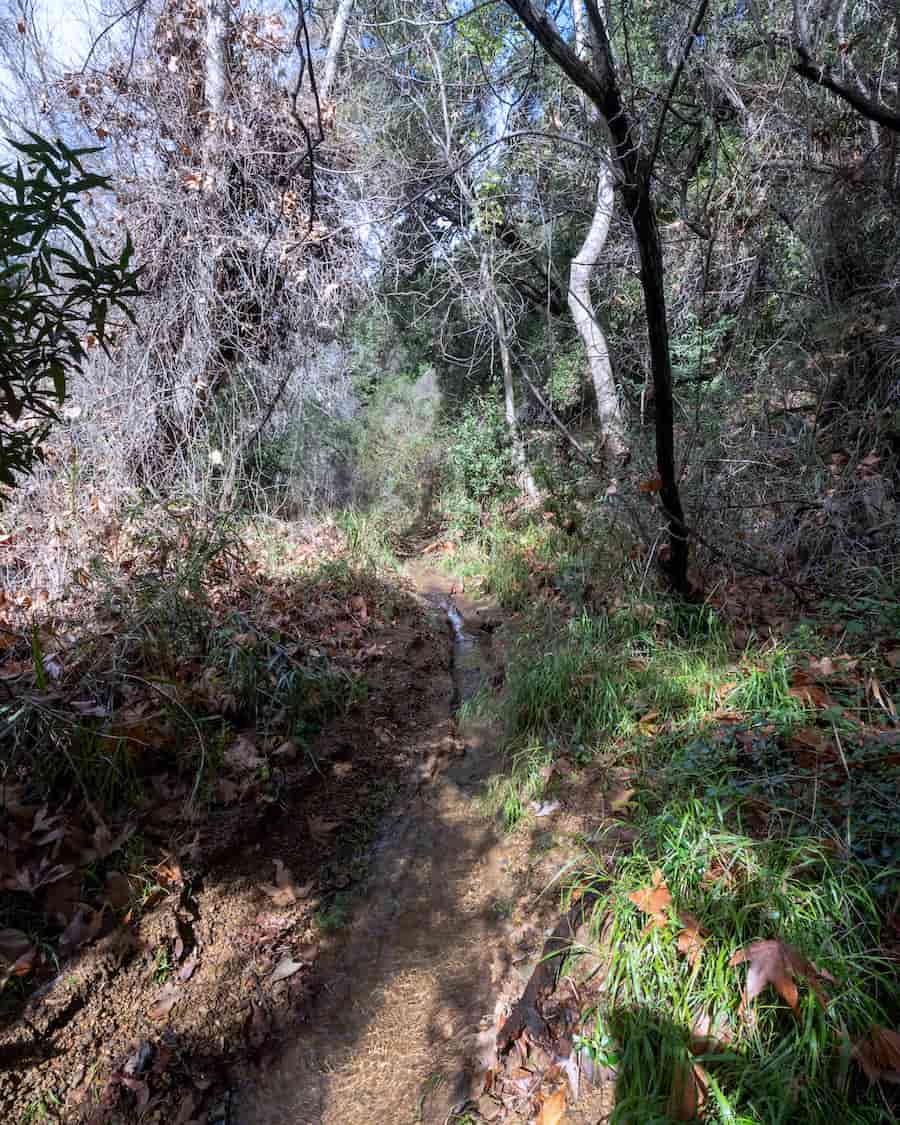
There was so much water that part of the trail had become a flowing creek. Don’t expect this much water during the summer.
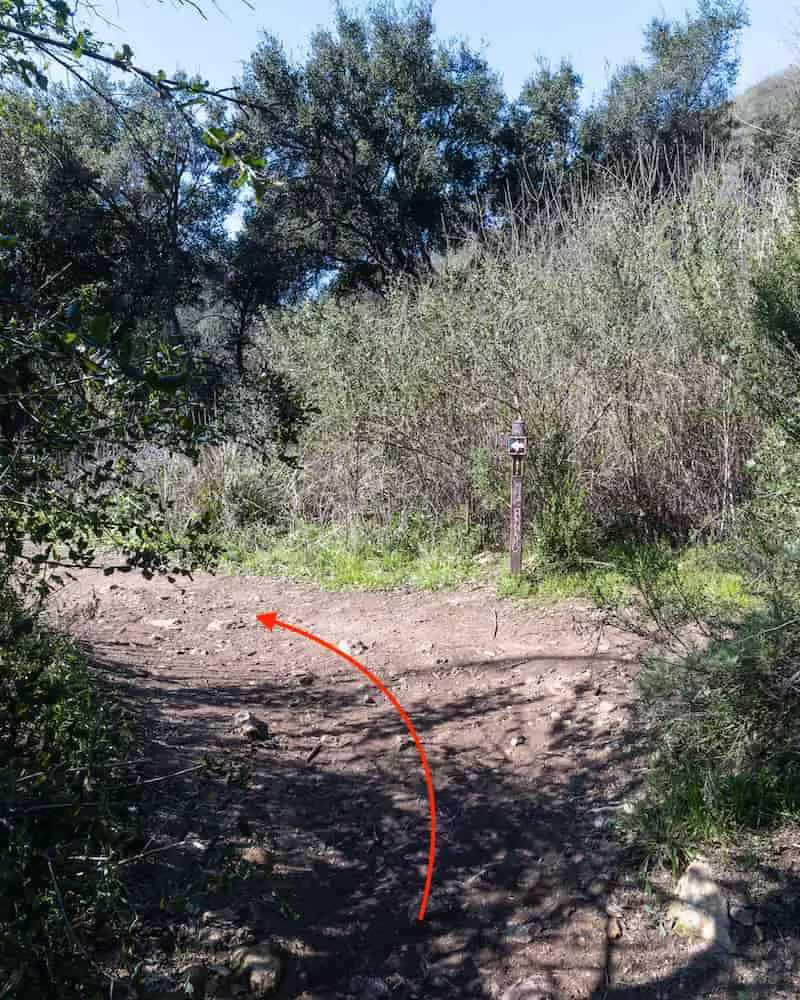
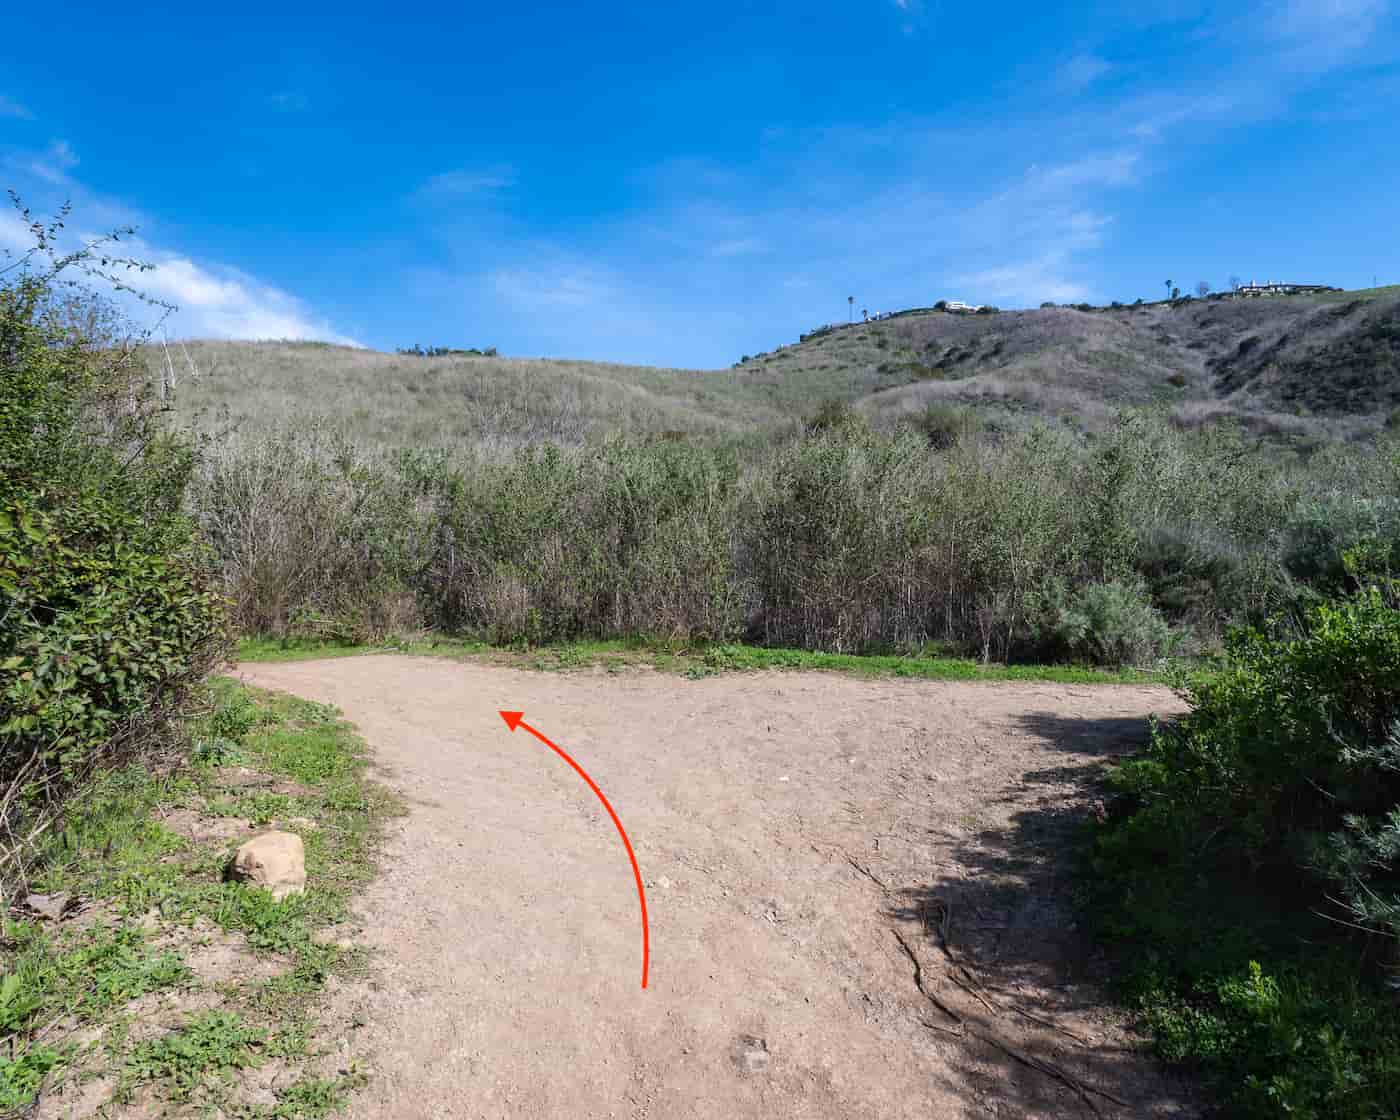
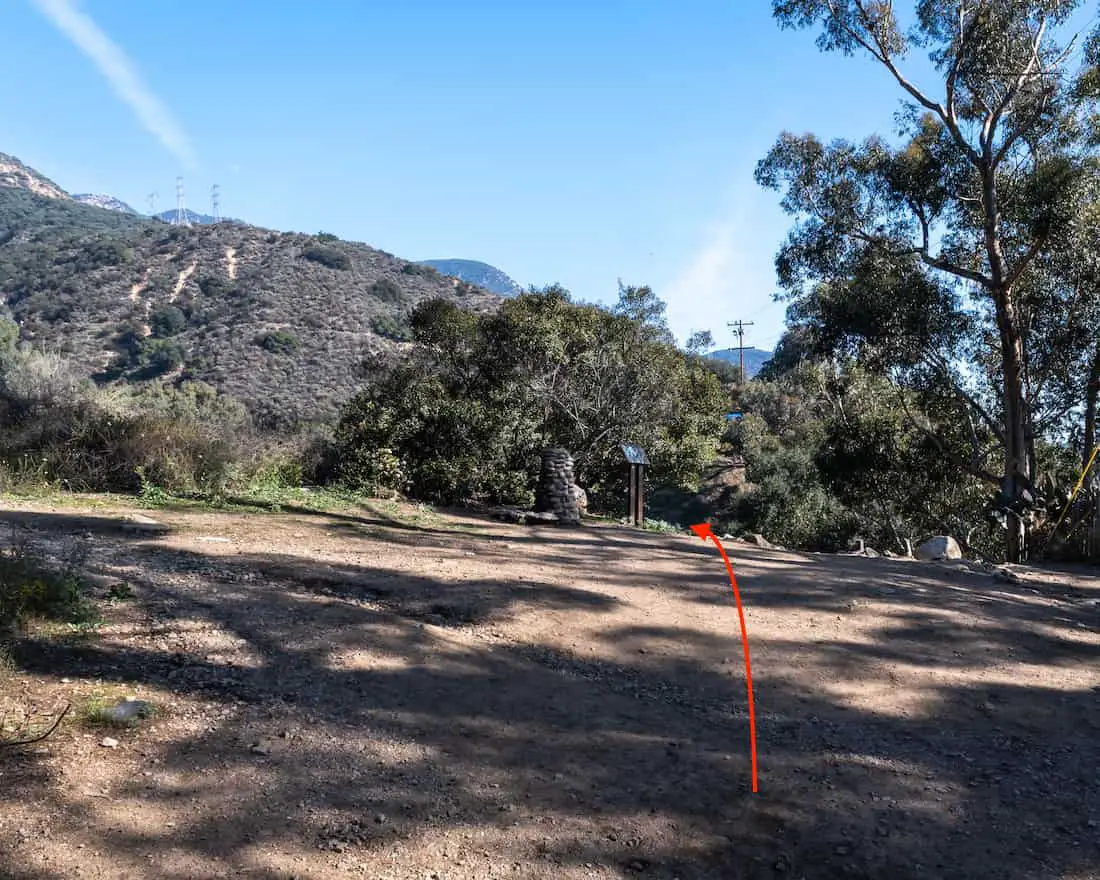
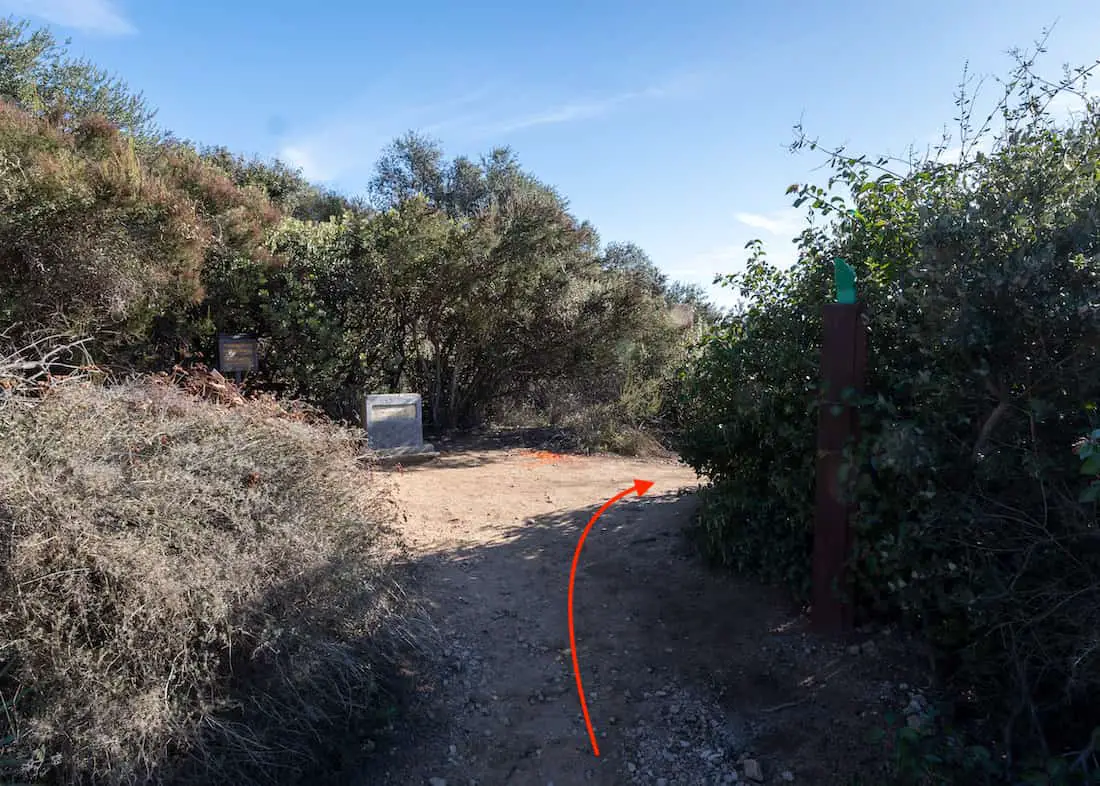
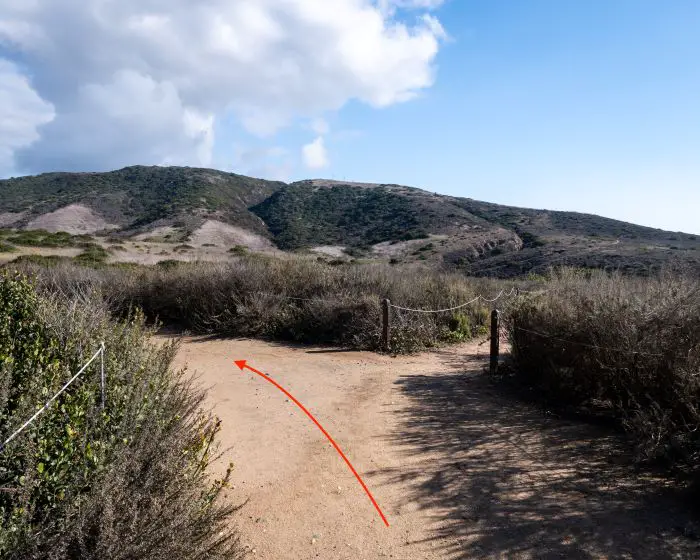
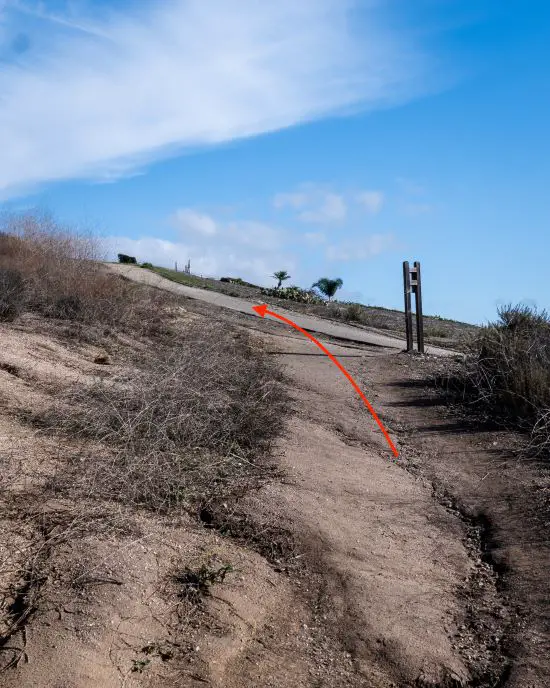
I made a left at the first fork to remain on the trail. The fork is located in one of many little glens and is marked by a sign.
Fun fact: A large sandstone rock with a mortar is in this area. Mortars are holes carved into bedrock by Native Americans, in this case, the Chumash people, and used for grinding different types of food. This mortar was likely used to grind acorns.

Okay, here’s where it gets tricky so pay close attention.
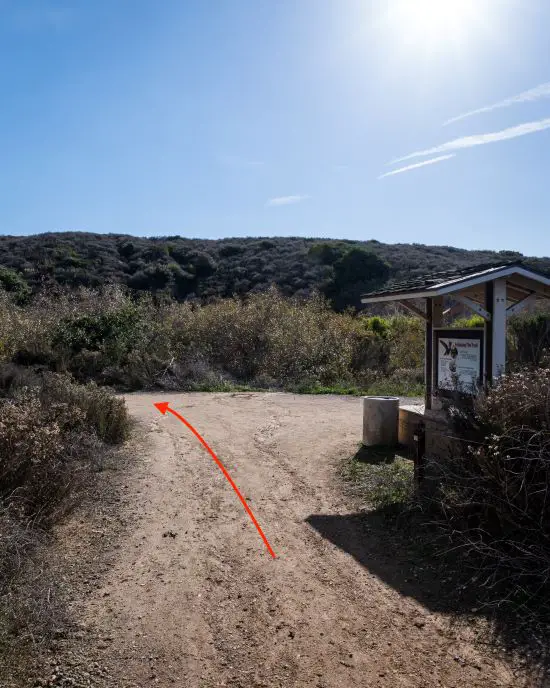
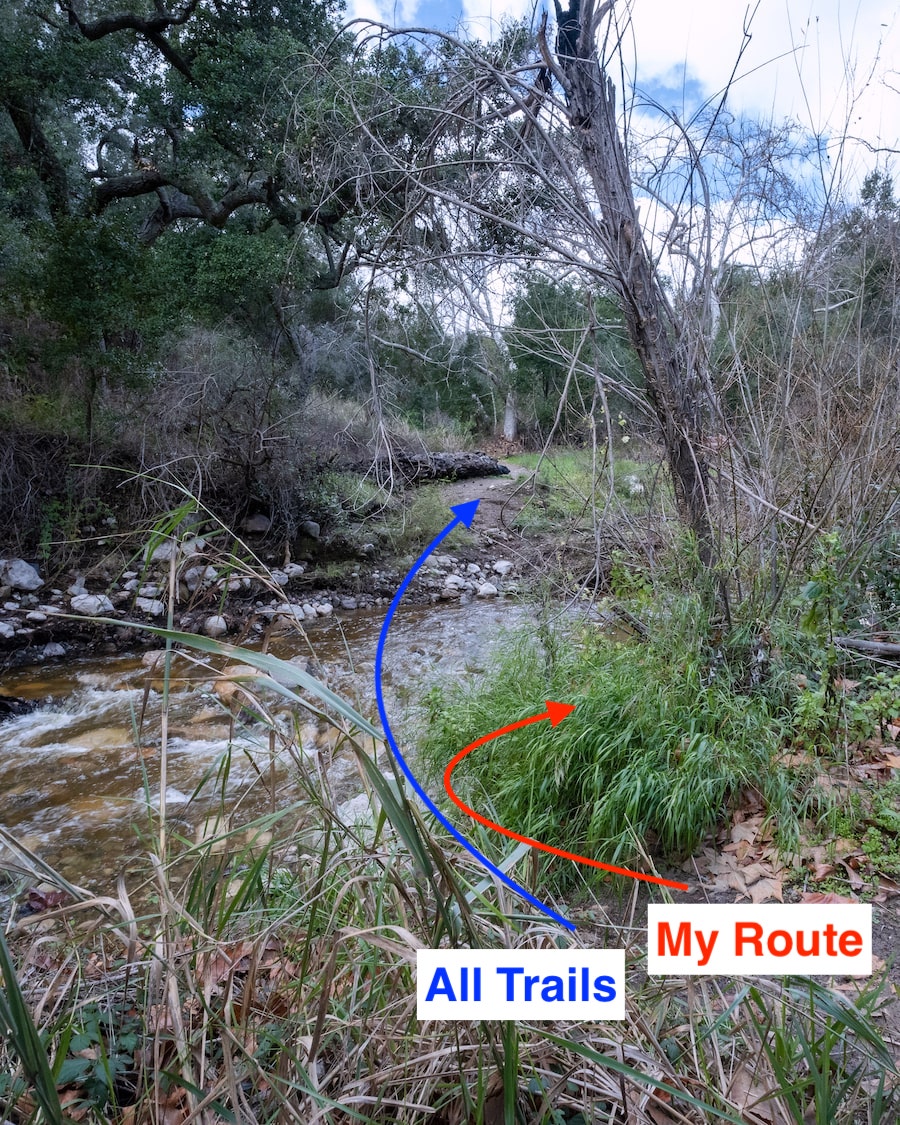
The All Trails app tells you to cross the creek. If you take this route, you’ll quickly come to another fork. This is where the Santa Ynez Canyon Trail meets the Santa Ynez Falls Trail. You’ll want to take the latter to get to the falls. Two creek crossings follow the fork in the trail. The goal is to head upstream into the North Branch of Santa Ynez Canyon.
Do not continue up the Santa Ynez Canyon Trail as it leads to Trippet Ranch.
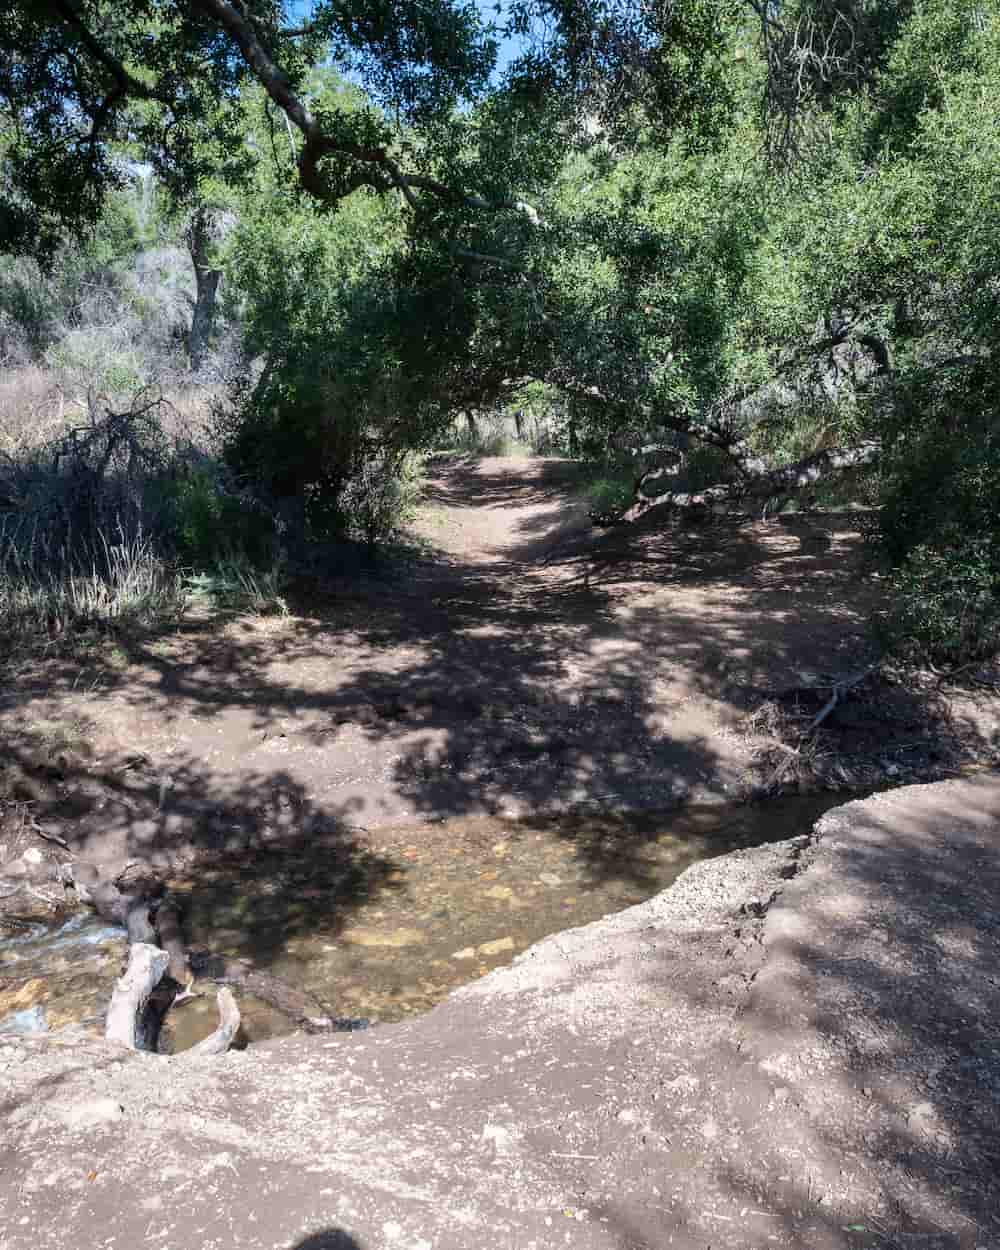
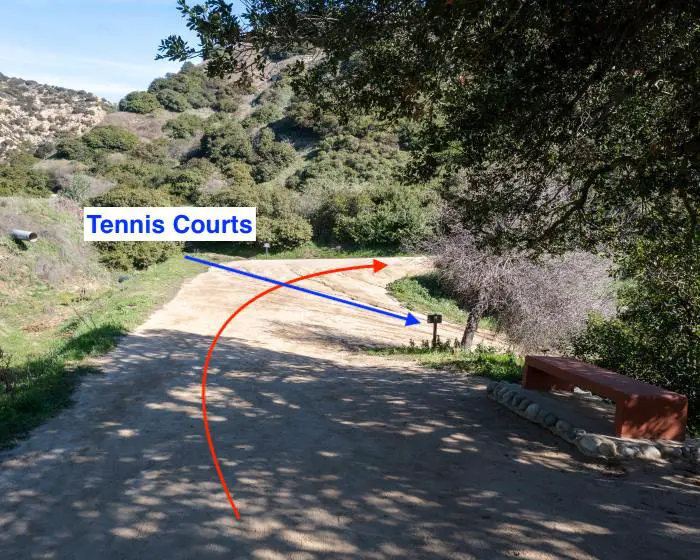
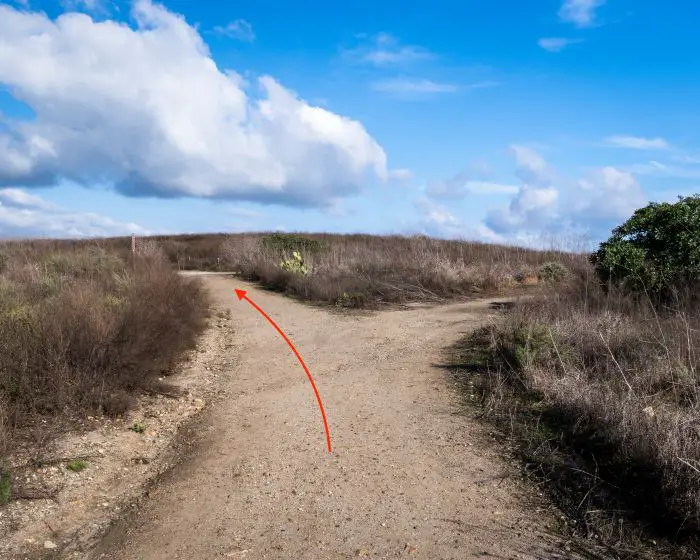
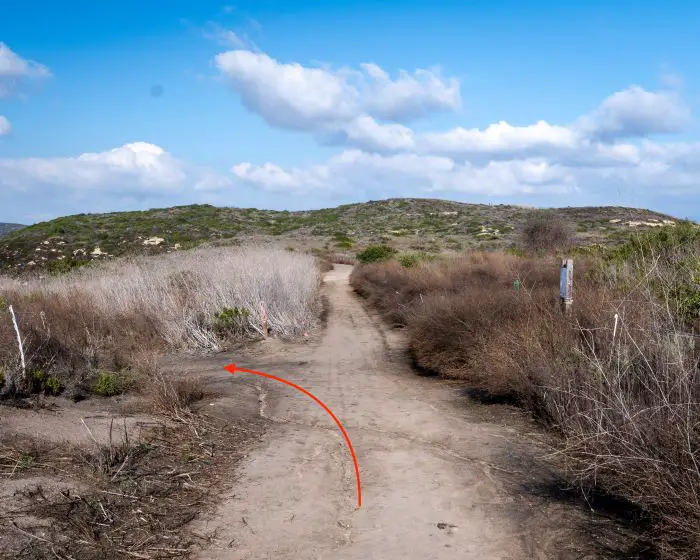
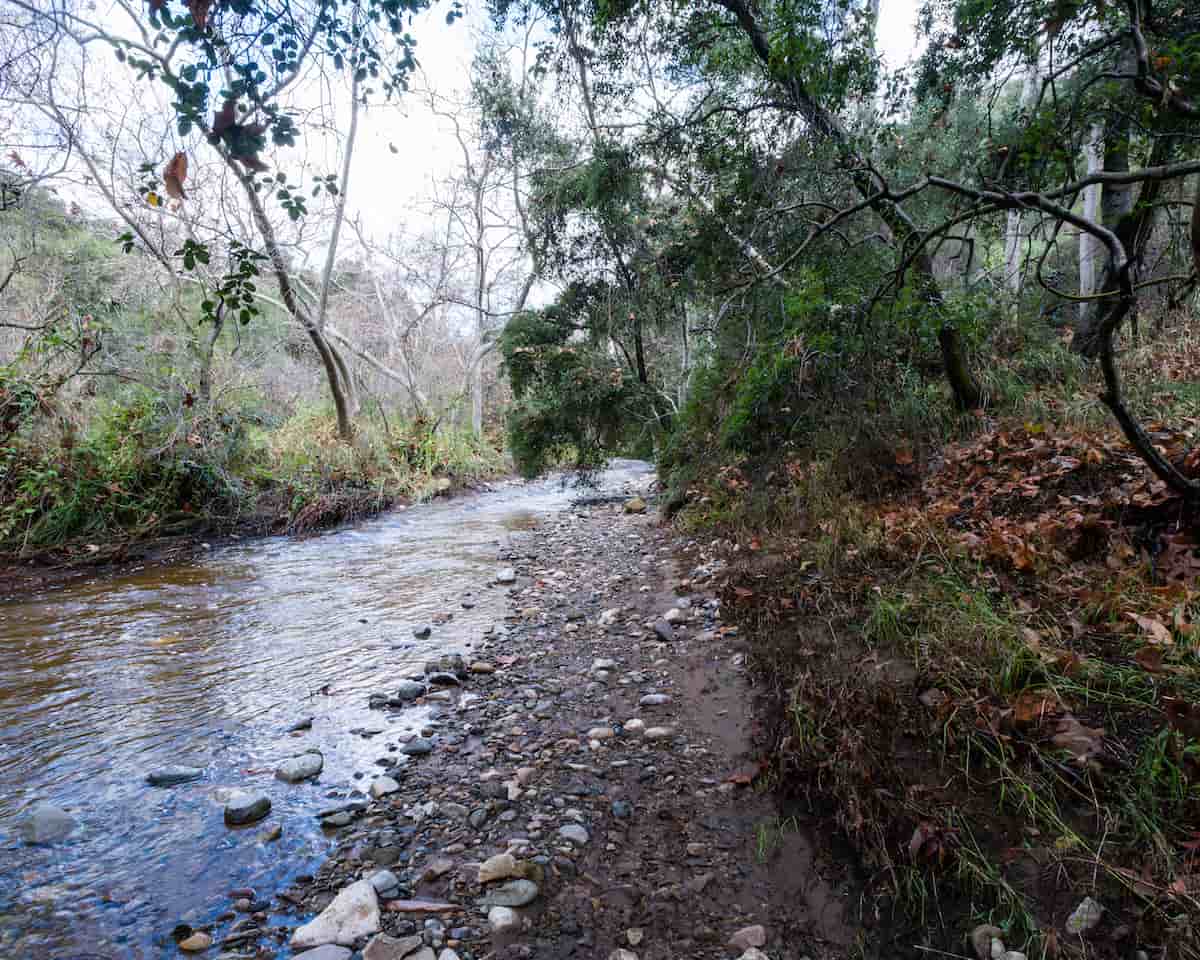
As you can see from the image below. I didn’t take the All Trails route. I continued up the creek bank instead.
Doing so led me to the confluence of a seasonal creek that flows out of Quarry Canyon, named after an old limestone quarry, and the primary creek. Do not head into Quarry Canyon, located to the right of Santa Ynez’s North branch. See map for details.
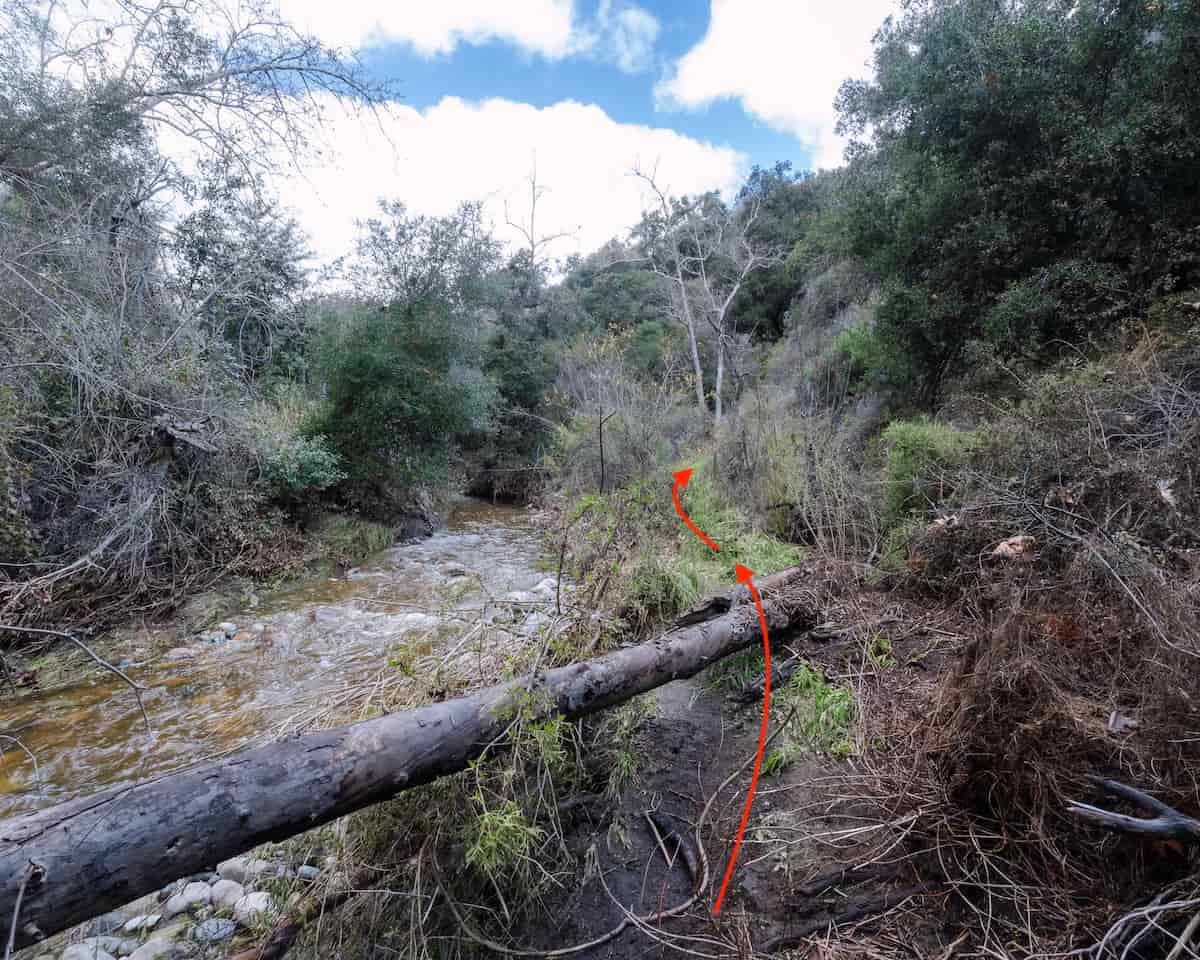
This route slightly deviates from the creek by climbing up the adjacent hills then descending back down to the creek two times. So as long as you keep an eye on the creek, you’ll be okay.
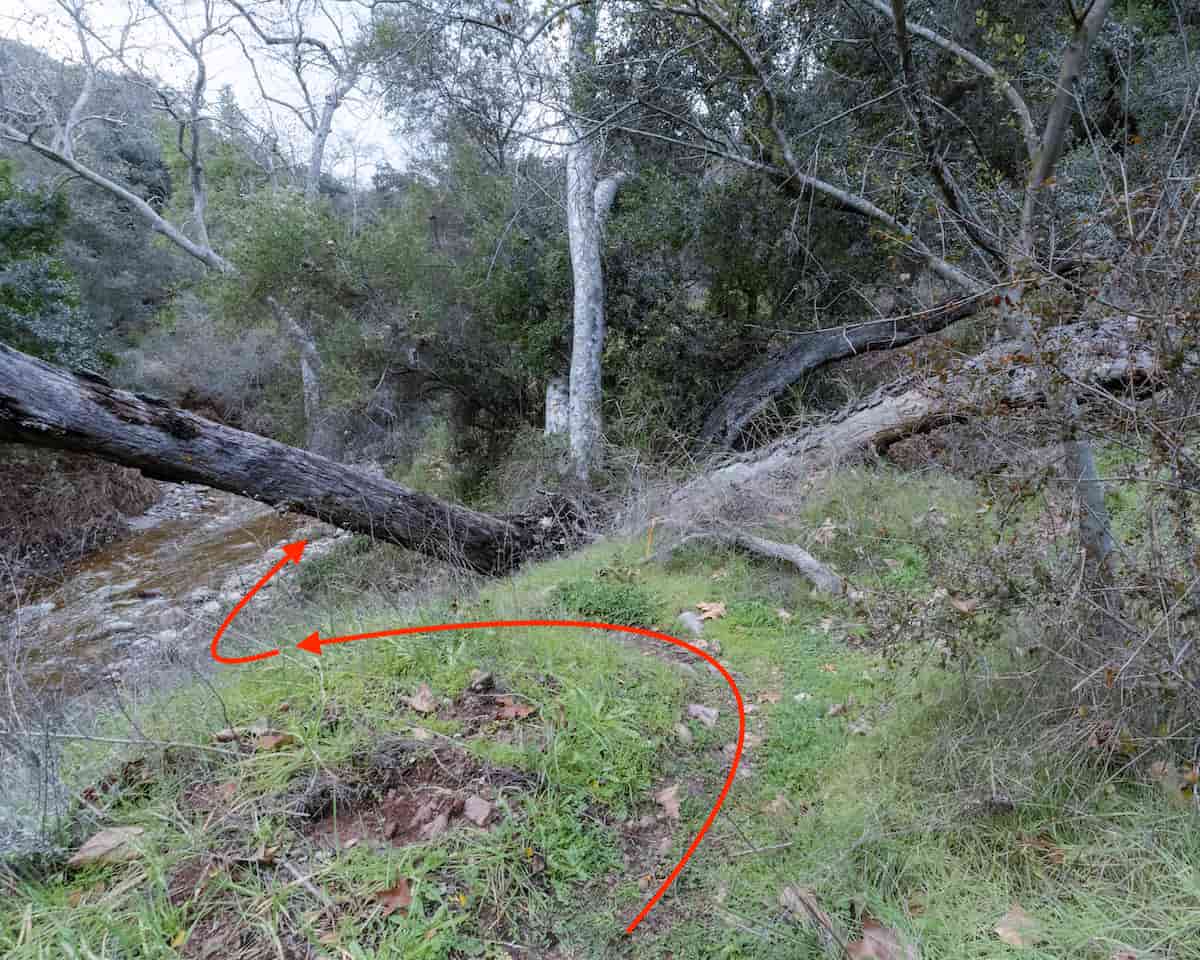
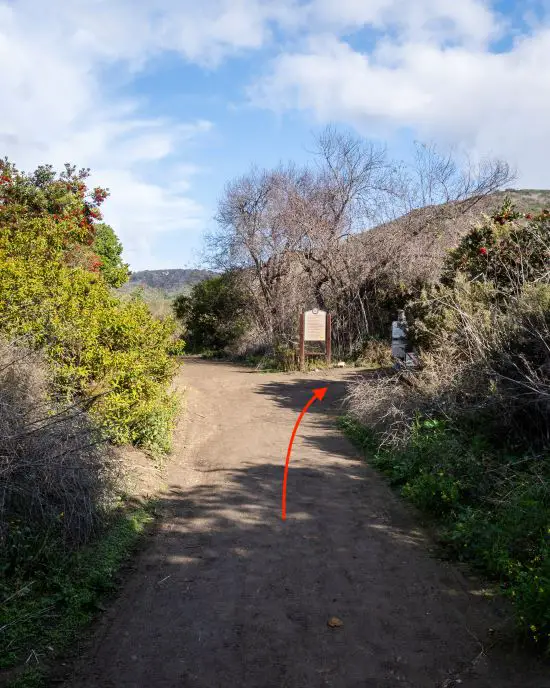
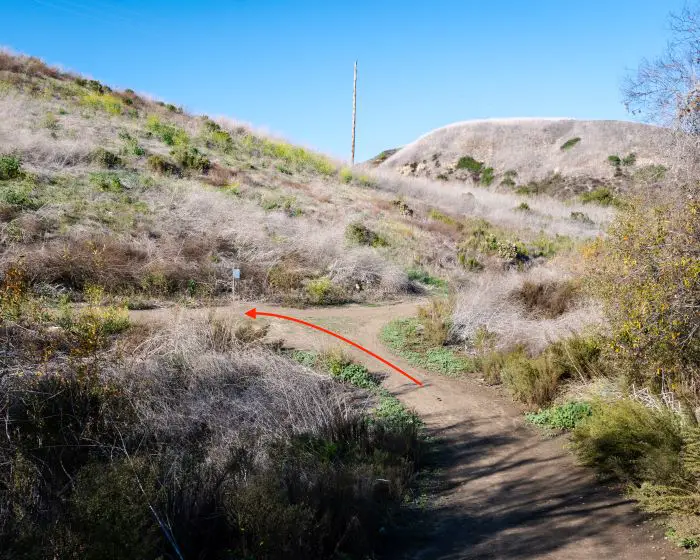
The route I took and the All Trails route merge in the area shown below. I climbed up the hill one more time.

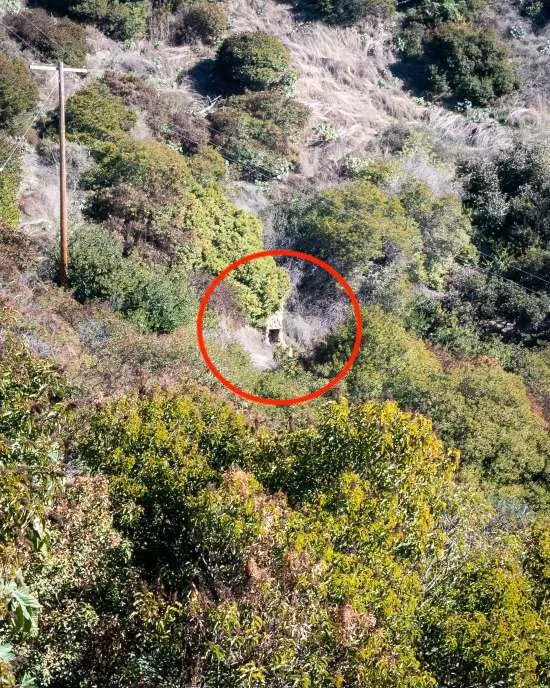
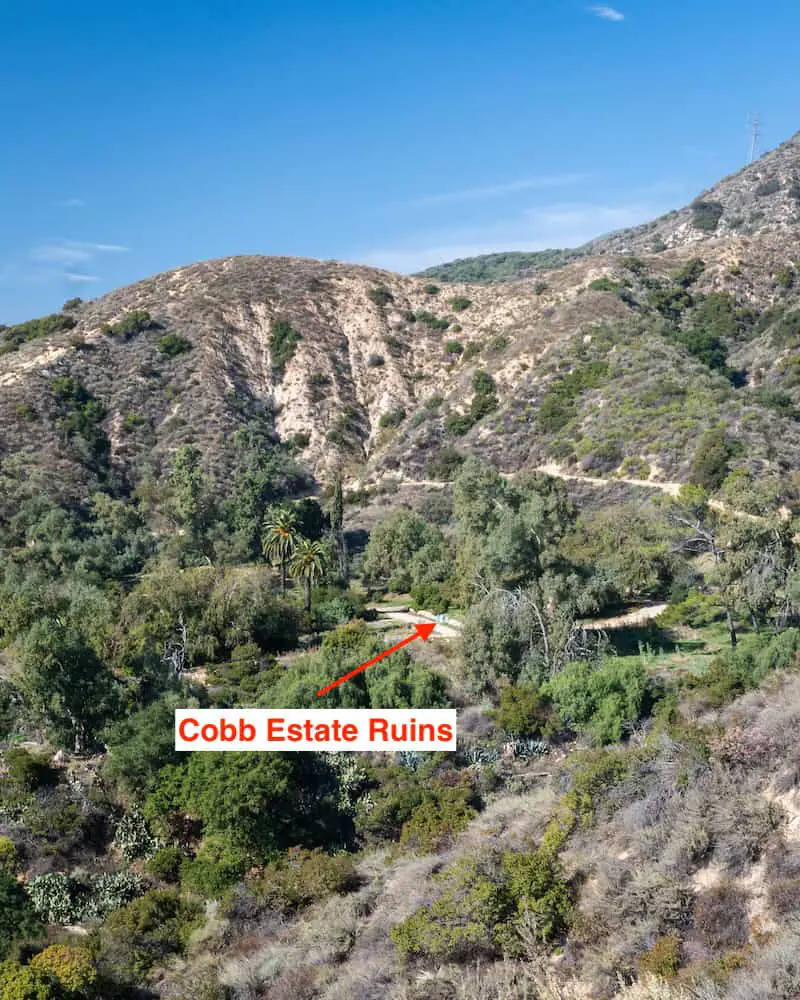
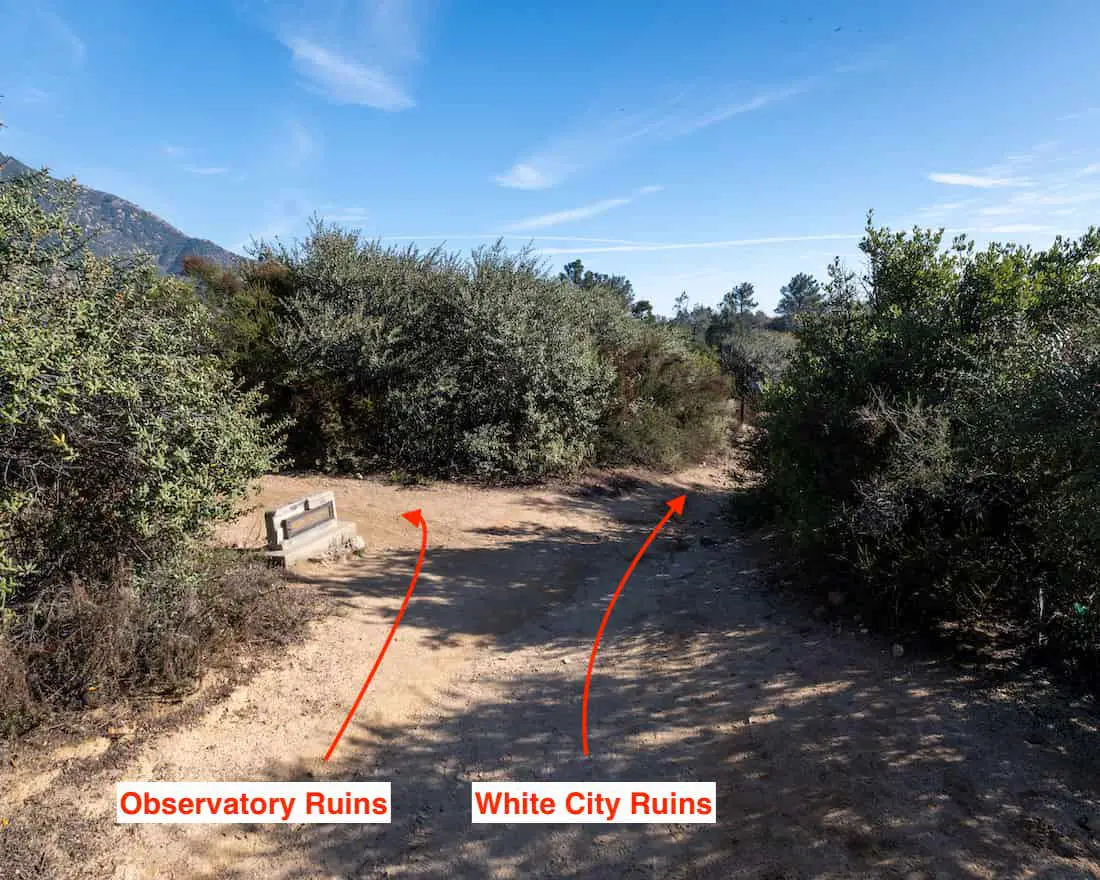
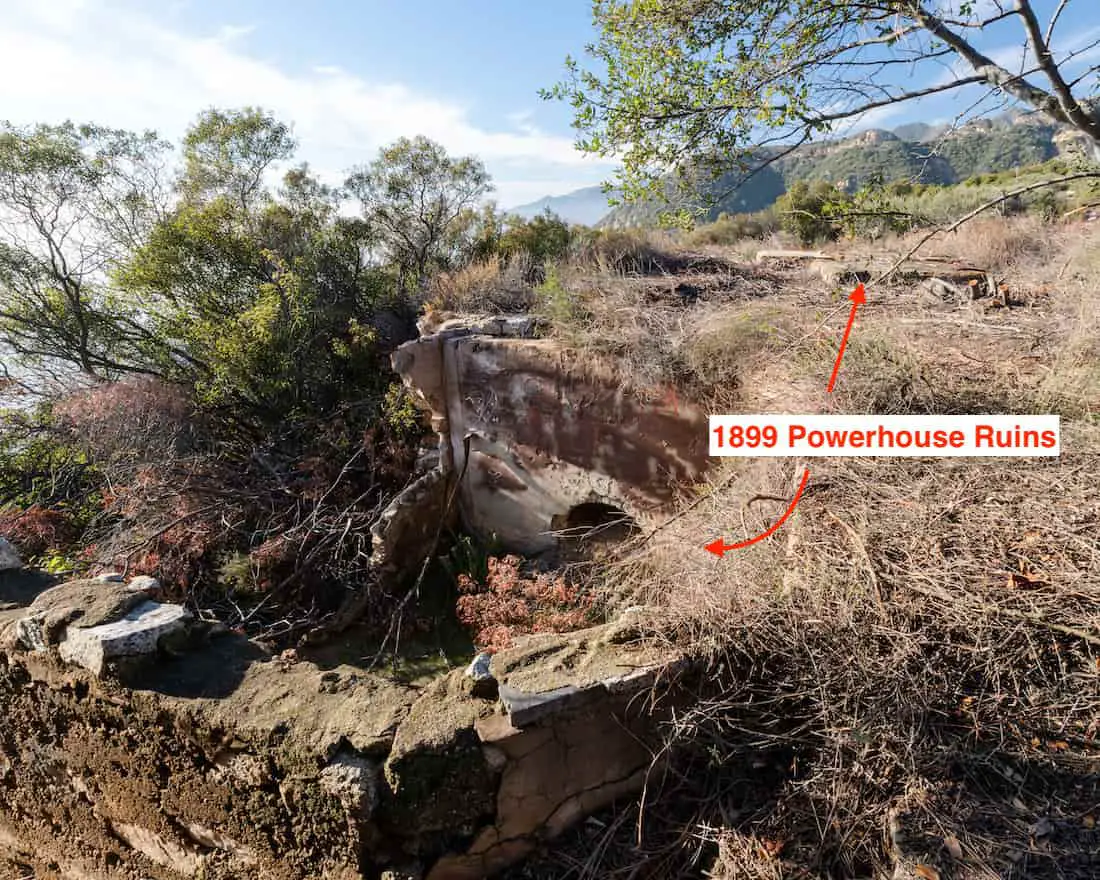
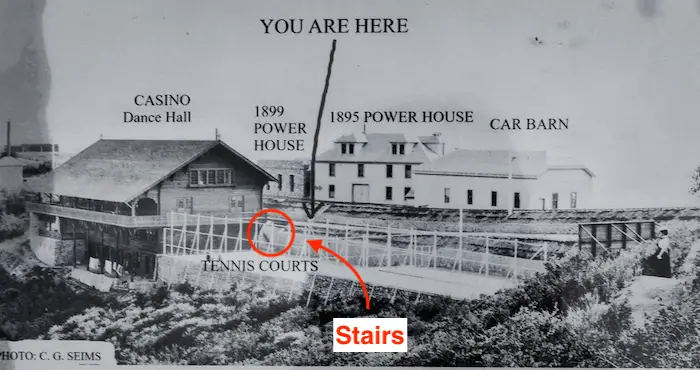
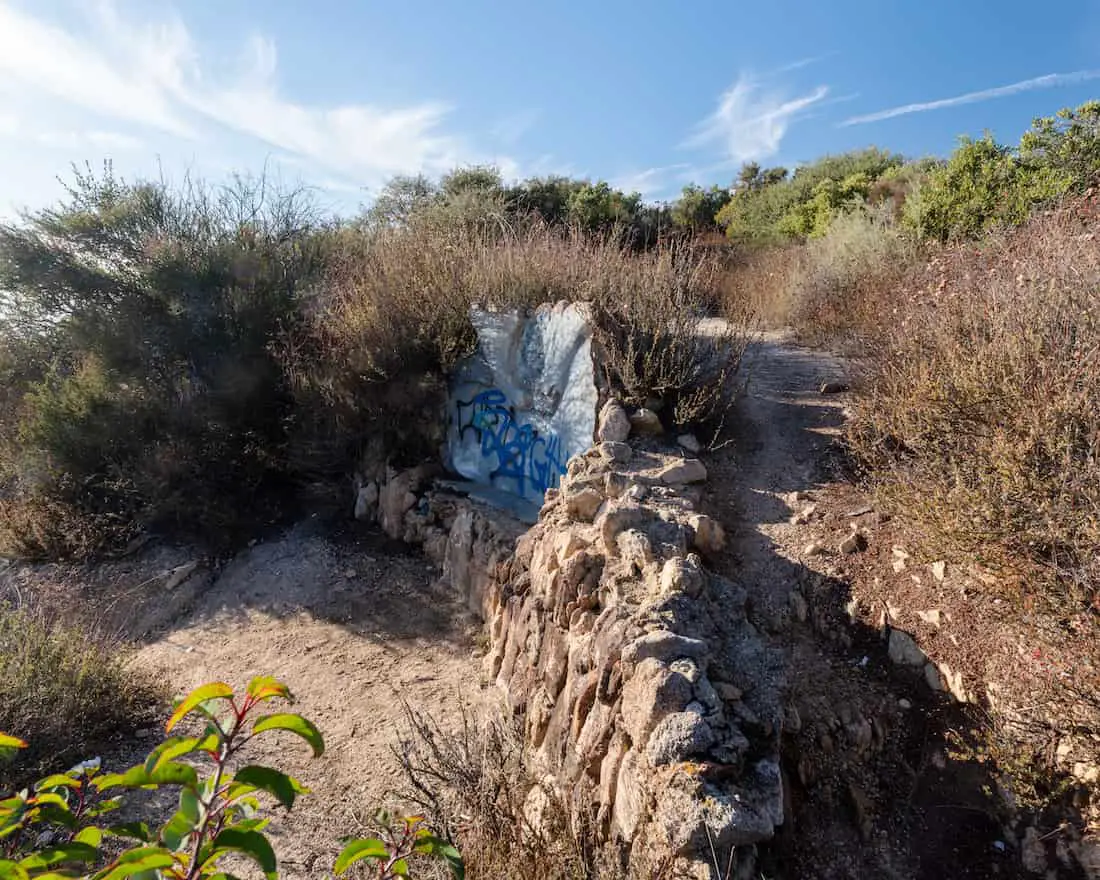
I could spot the stone ruins from the top of the hill, which let me know I was at the mouth of Santa Ynez’s north branch.
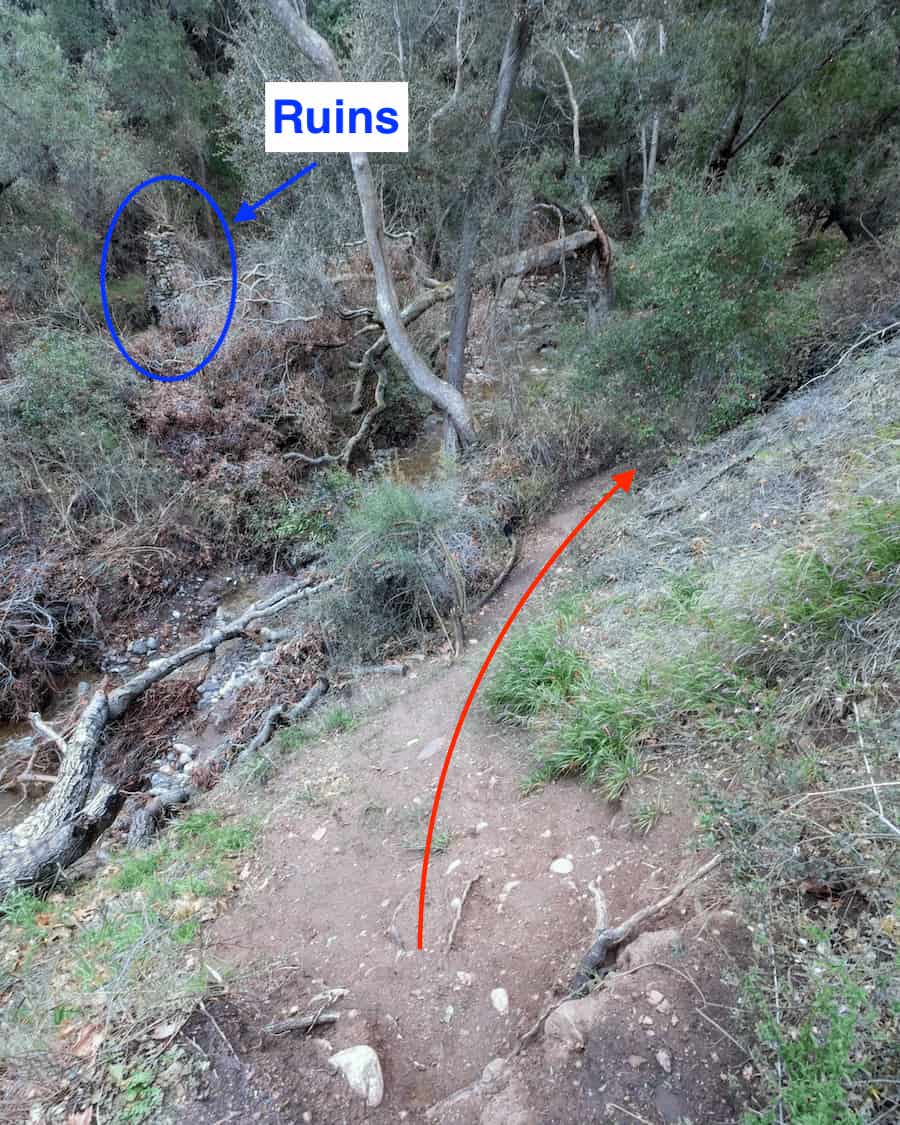
After descending to the creek, I was officially on the Santa Ynez Falls Trail. However, I wanted to explore the ruins before continuing onto the falls.
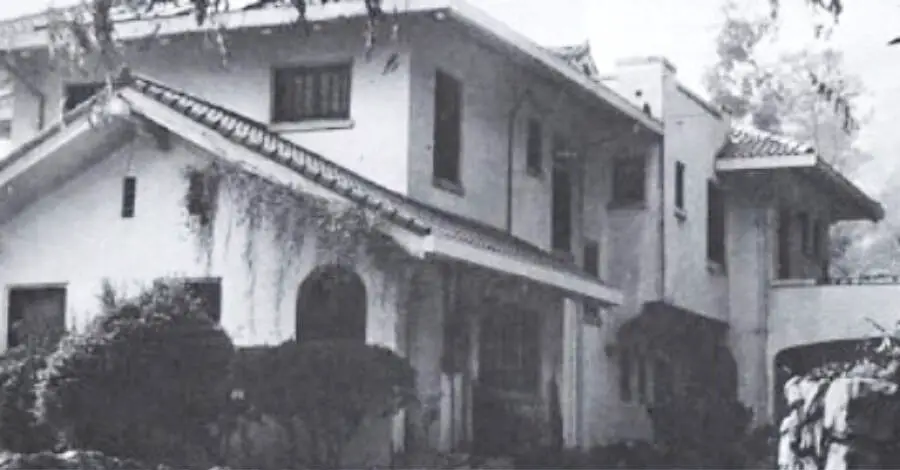
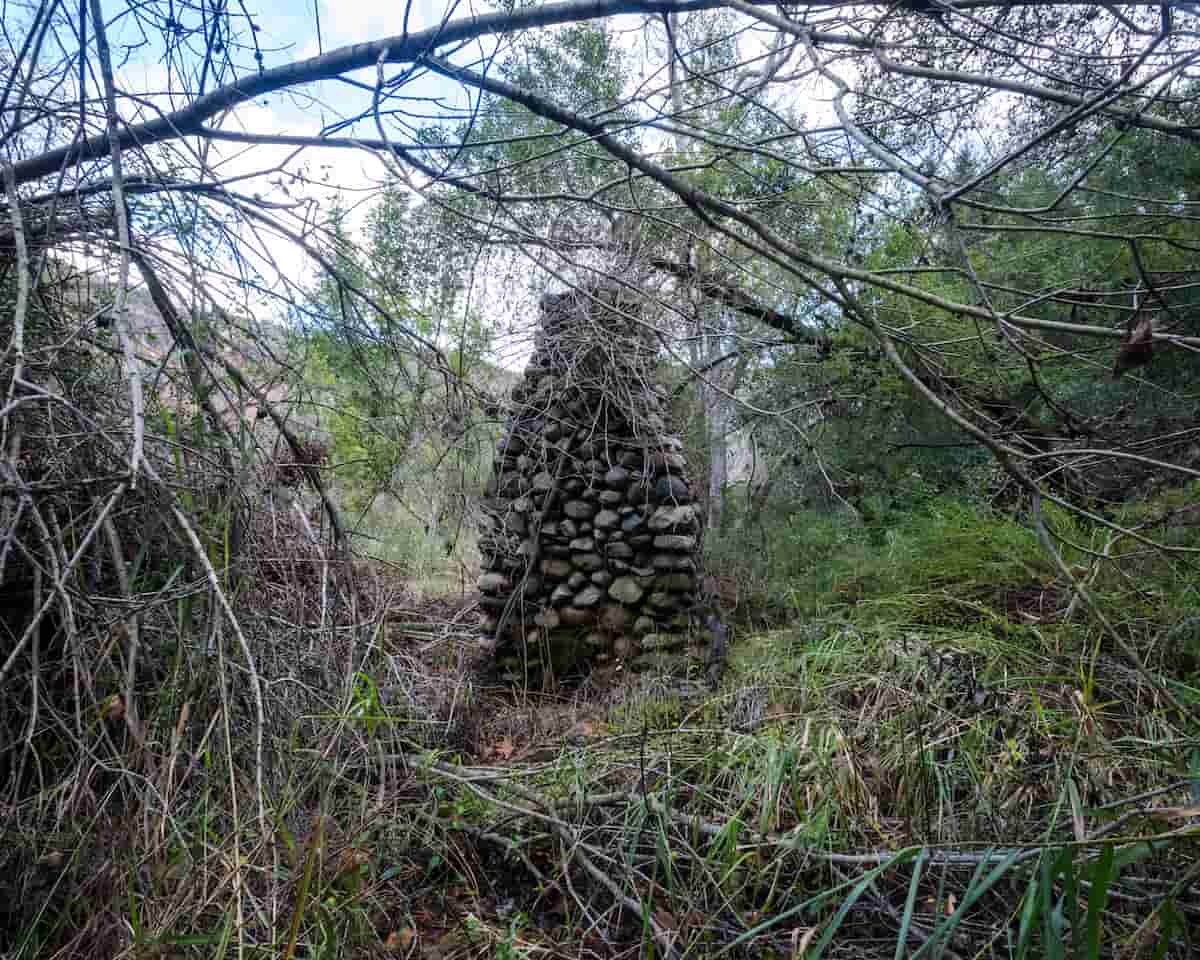
A stone chimney is located across the creek and after the second creek confluence. A second chimney once stood about 30 feet away from the one shown below, but I only remember seeing one. It must have collapsed or maybe I just missed it.
If you want to check out some crazy ruins, plan a visit to an abandoned zoo in Griffith Park. The ruins are still very intact and look unlike any other ruins I’ve seen. Perhaps zoos aren’t your thing. In that case, you may enjoy forgotten Nazi ruins which are also in this mountain range.
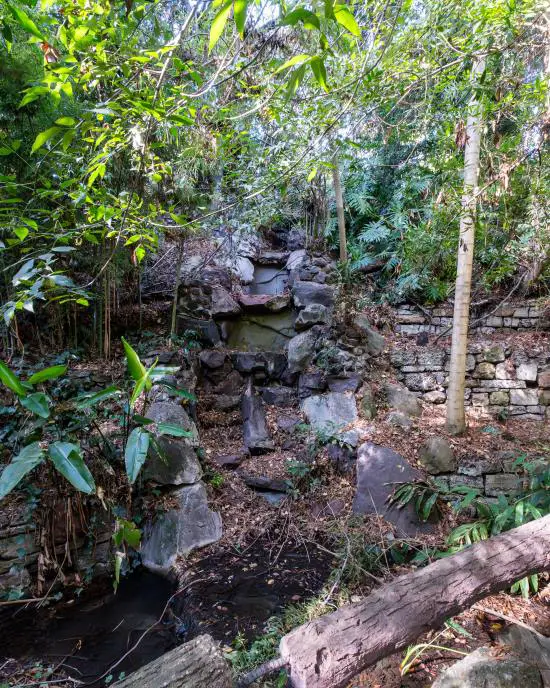
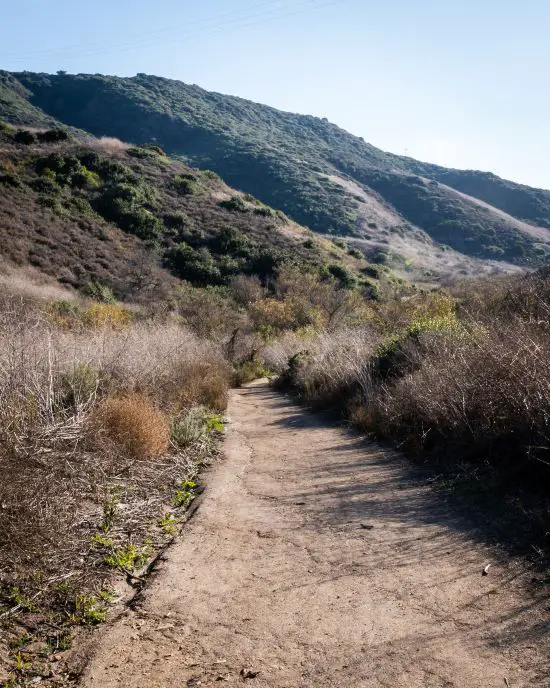
After exploring the ruins, I hopped back on the trail, which remained shaded until the section where I began wading through the creek.
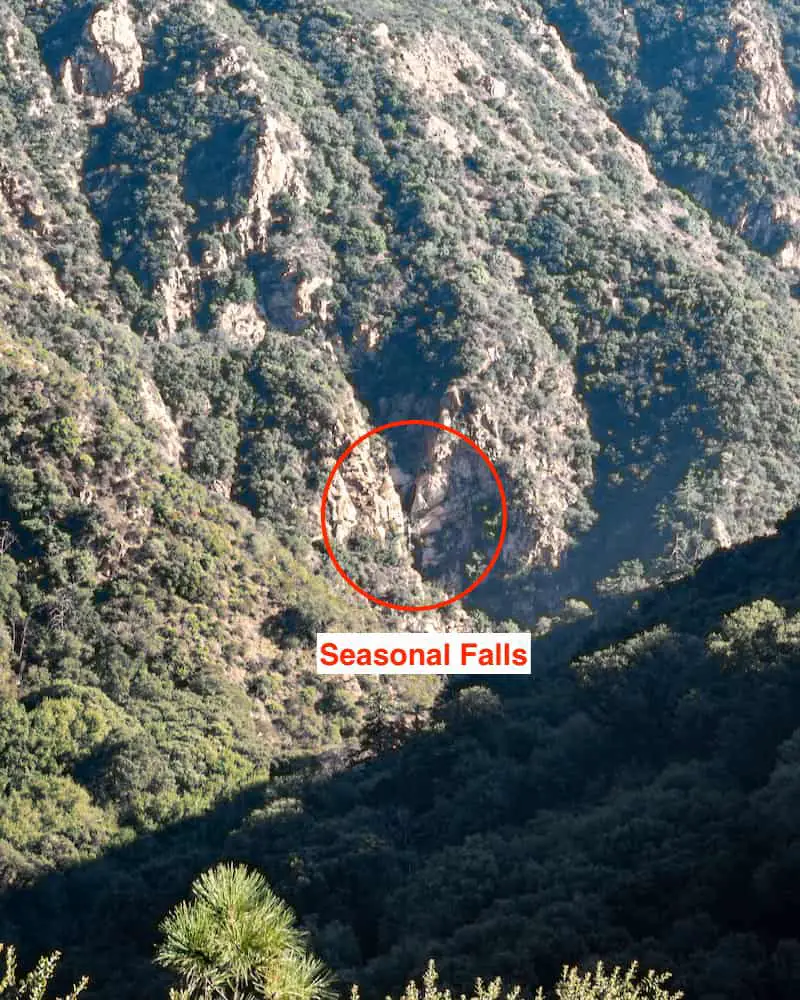
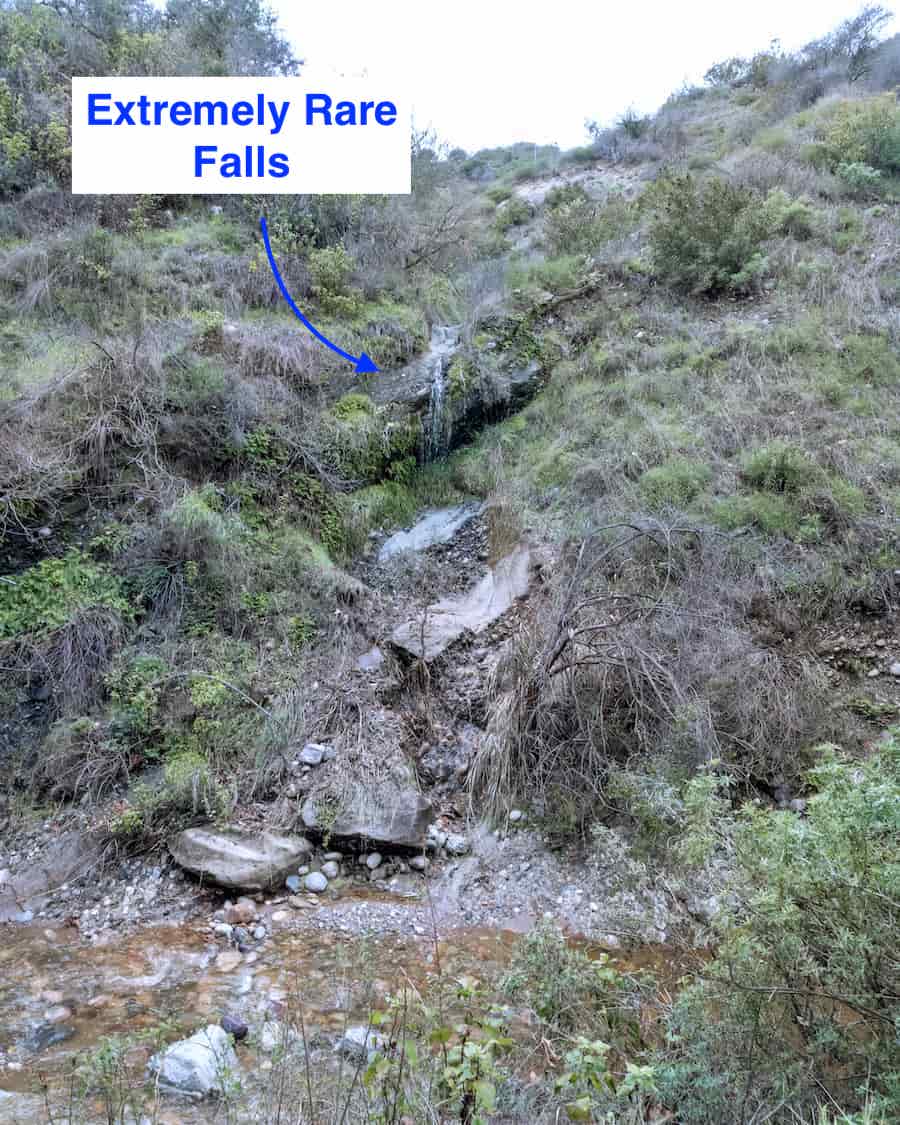
There was so much water that day that an extremely rare waterfall was tricking across the creek.
Since there were multiple trails on both sides of the creek, I chose whichever trail was easiest to walk on, and that once again happened to be the trail on the right.
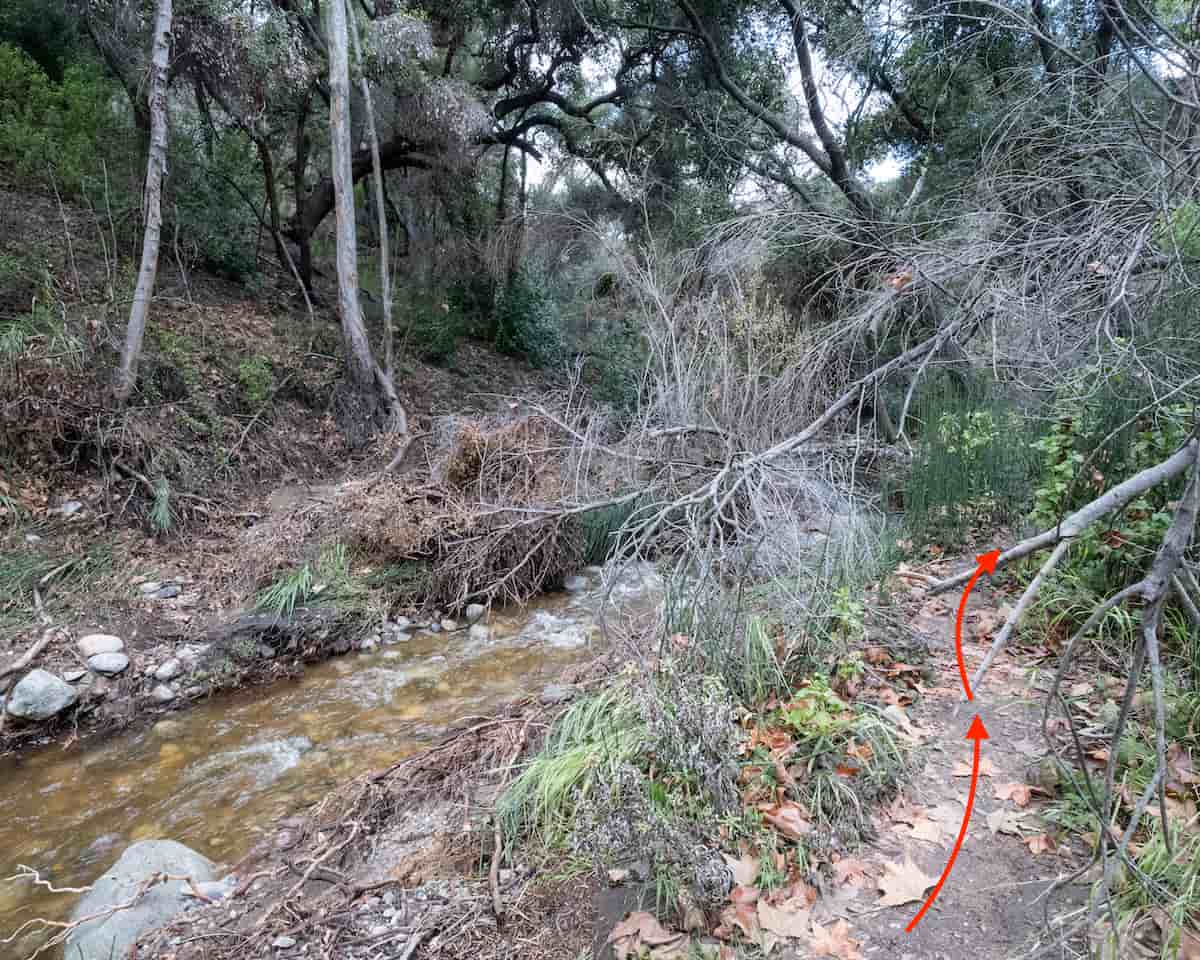
After the first creek crossing on the Santa Ynez Falls Trail, the trail began ascending the left side of the canyon.

However, the ascending didn’t last very long as the trail descended to the creek level for the last time. I crossed the creek once more to remain on the more useable trail.

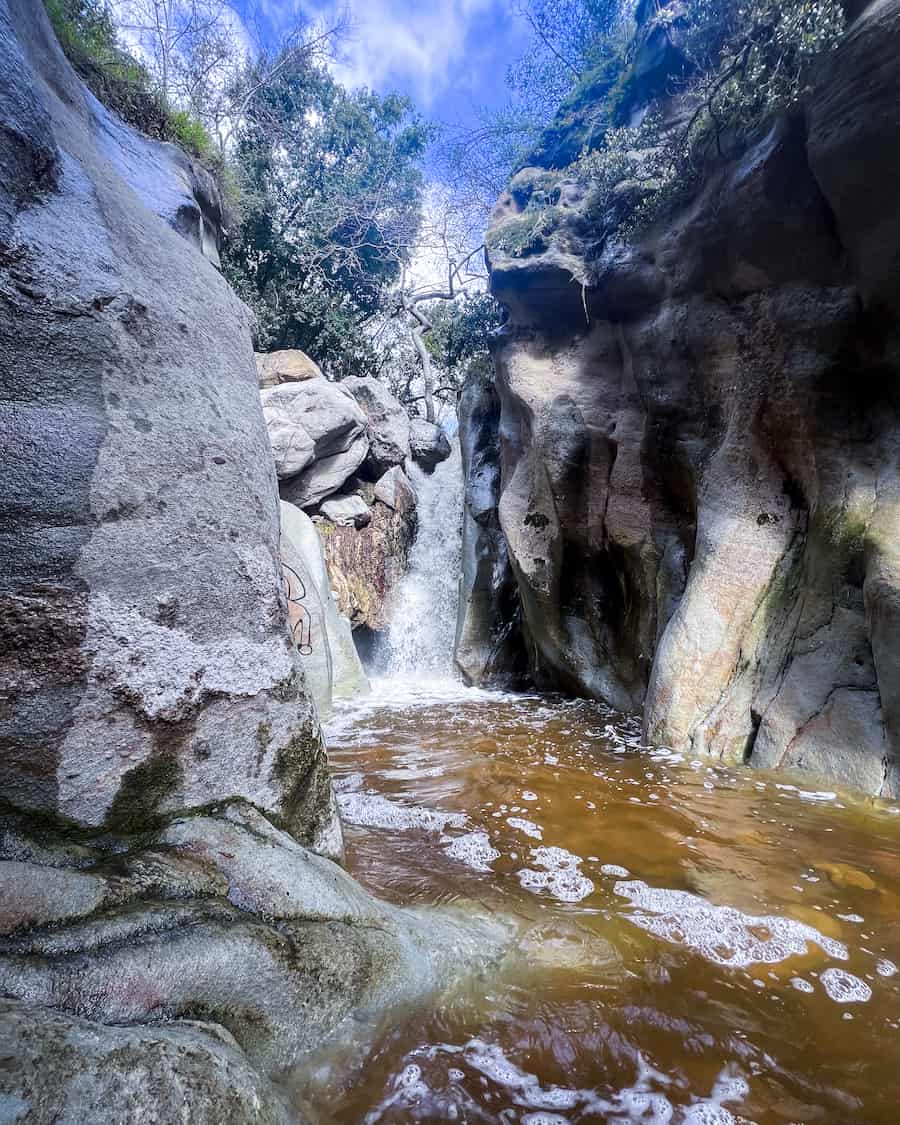
Here’s where the real fun began. From this point onward, I had to wade through the creek until arriving at the falls.
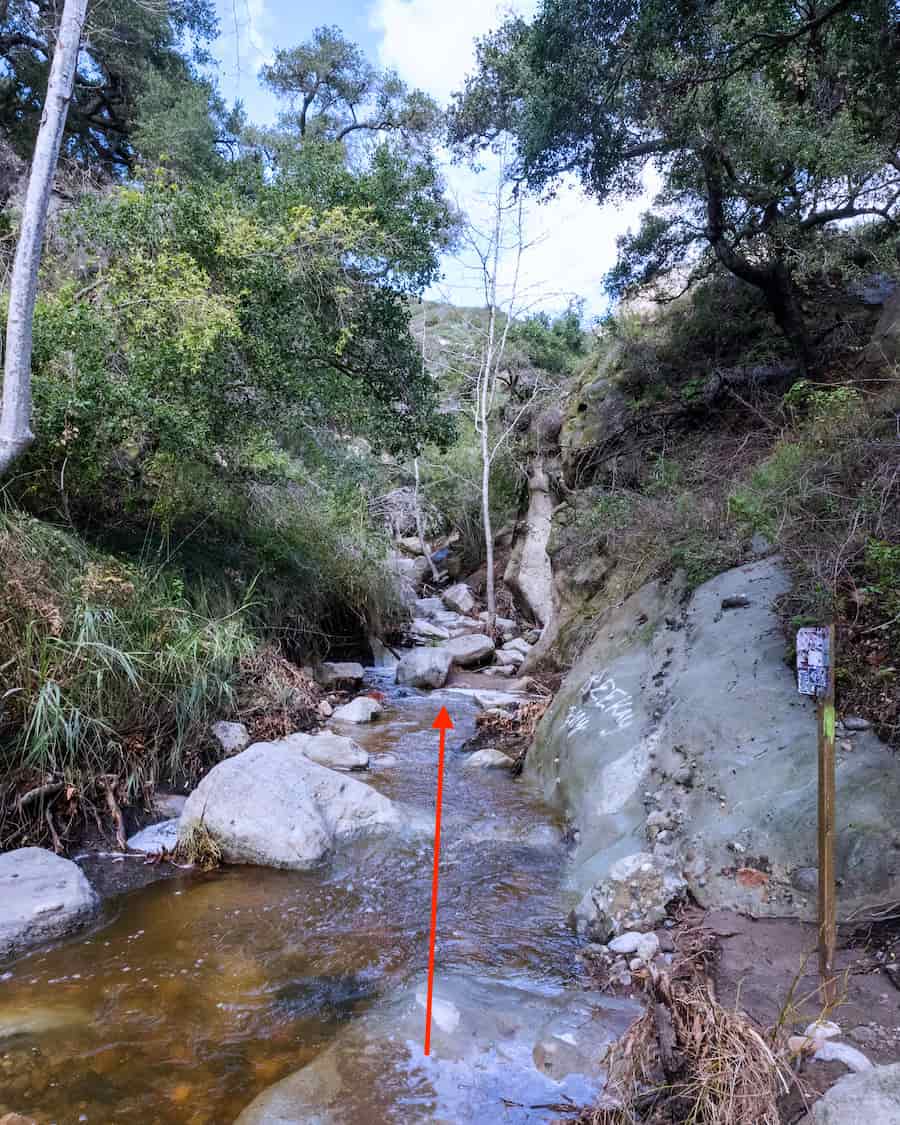
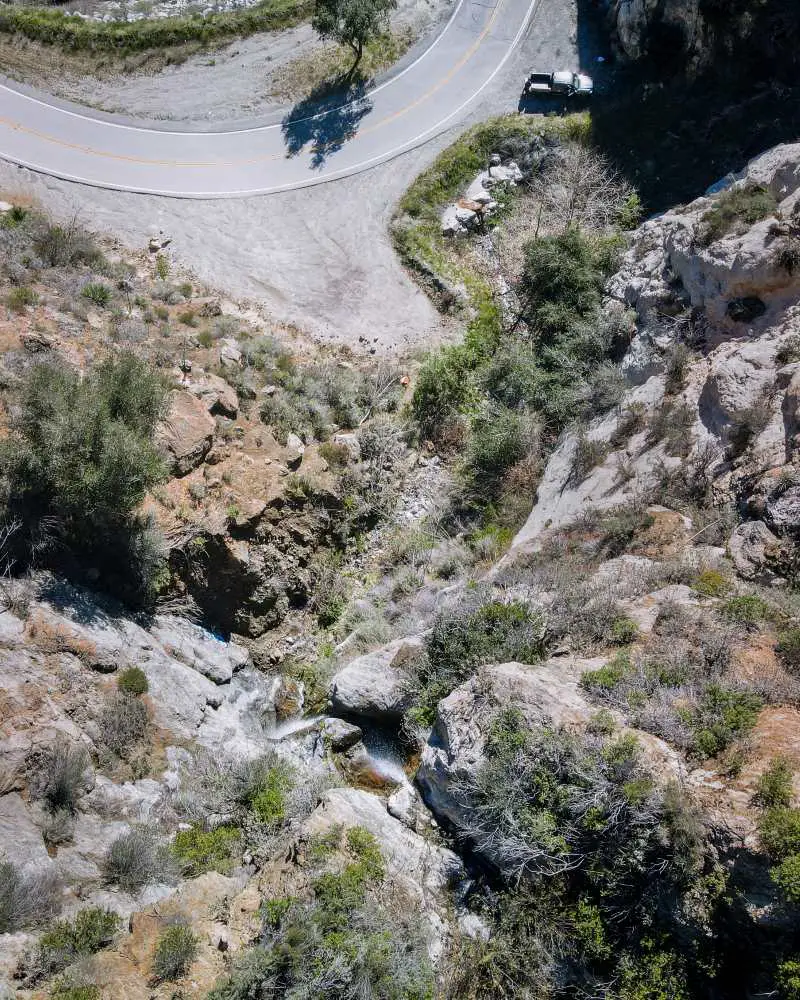
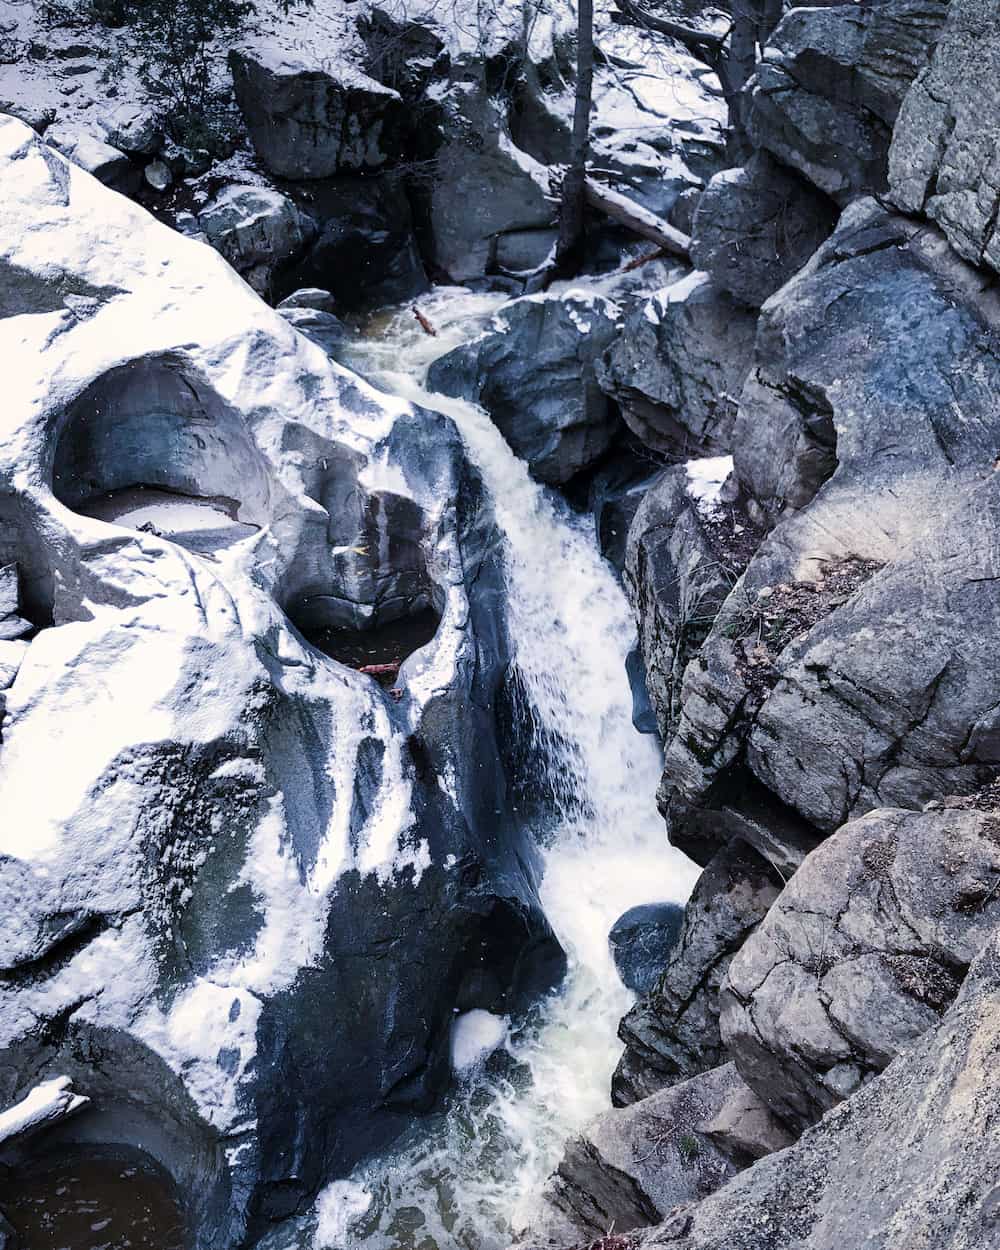
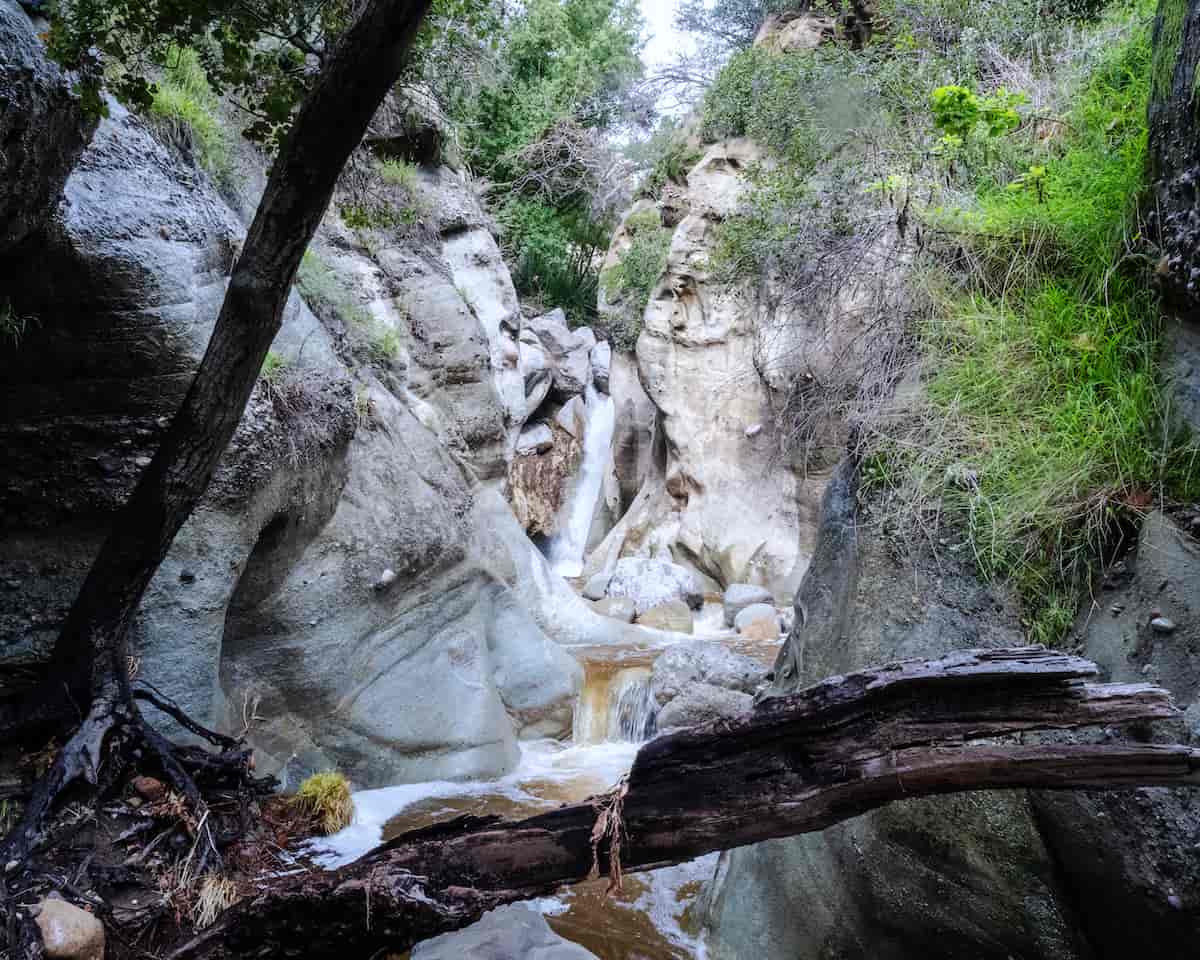
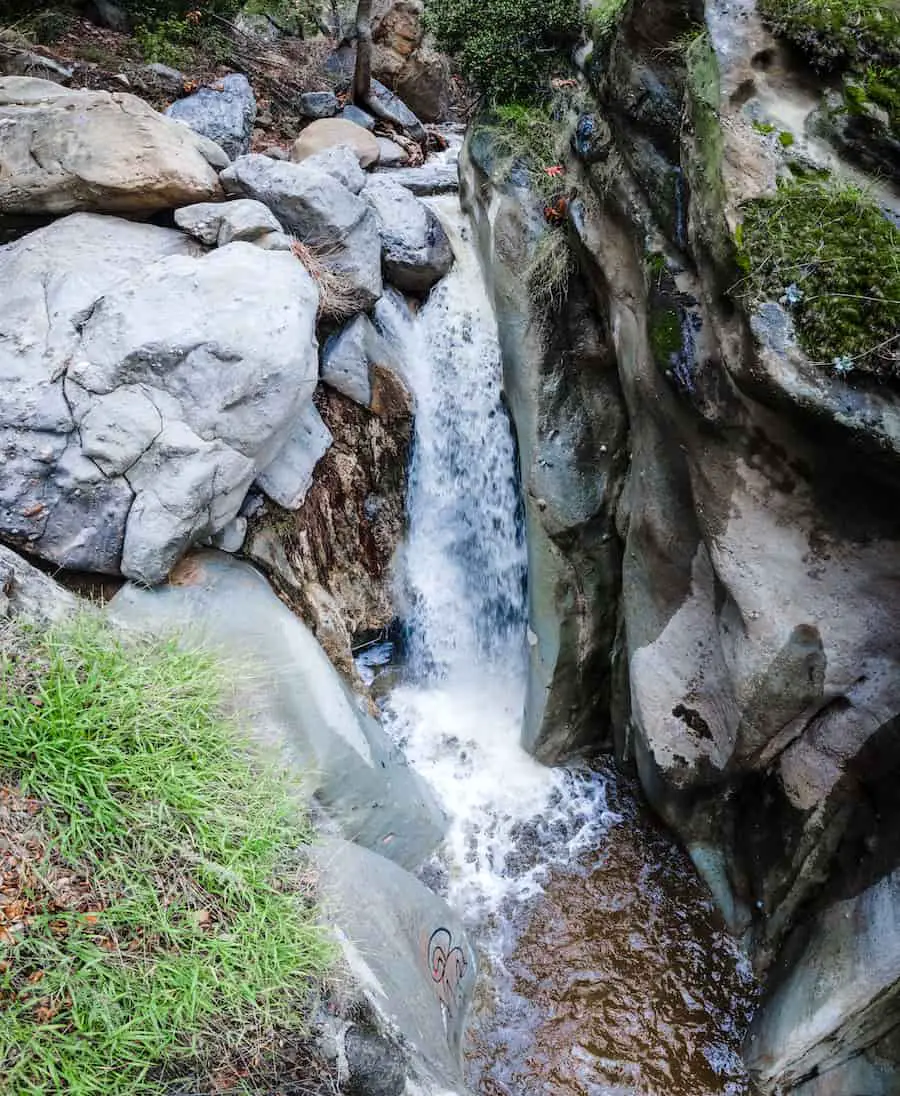
I arrived at a small waterfall with a roughly 3-3.5 foot pool. I had two choices. I could climb directly over the falls or head up the right side of the canyon as shown by route 2.
Since everything was wet and slippery and Route 2 was about 15 feet above the creek, I decided to wade through the pool and climb directly over the 8-foot waterfall instead of risking a fall.
Route 2, however, is typically the primary path as conditions are usually much drier.

Once above the small falls, which luckily was the most difficult of all obstacles, I continued trekking upstream via the right side of the fork.
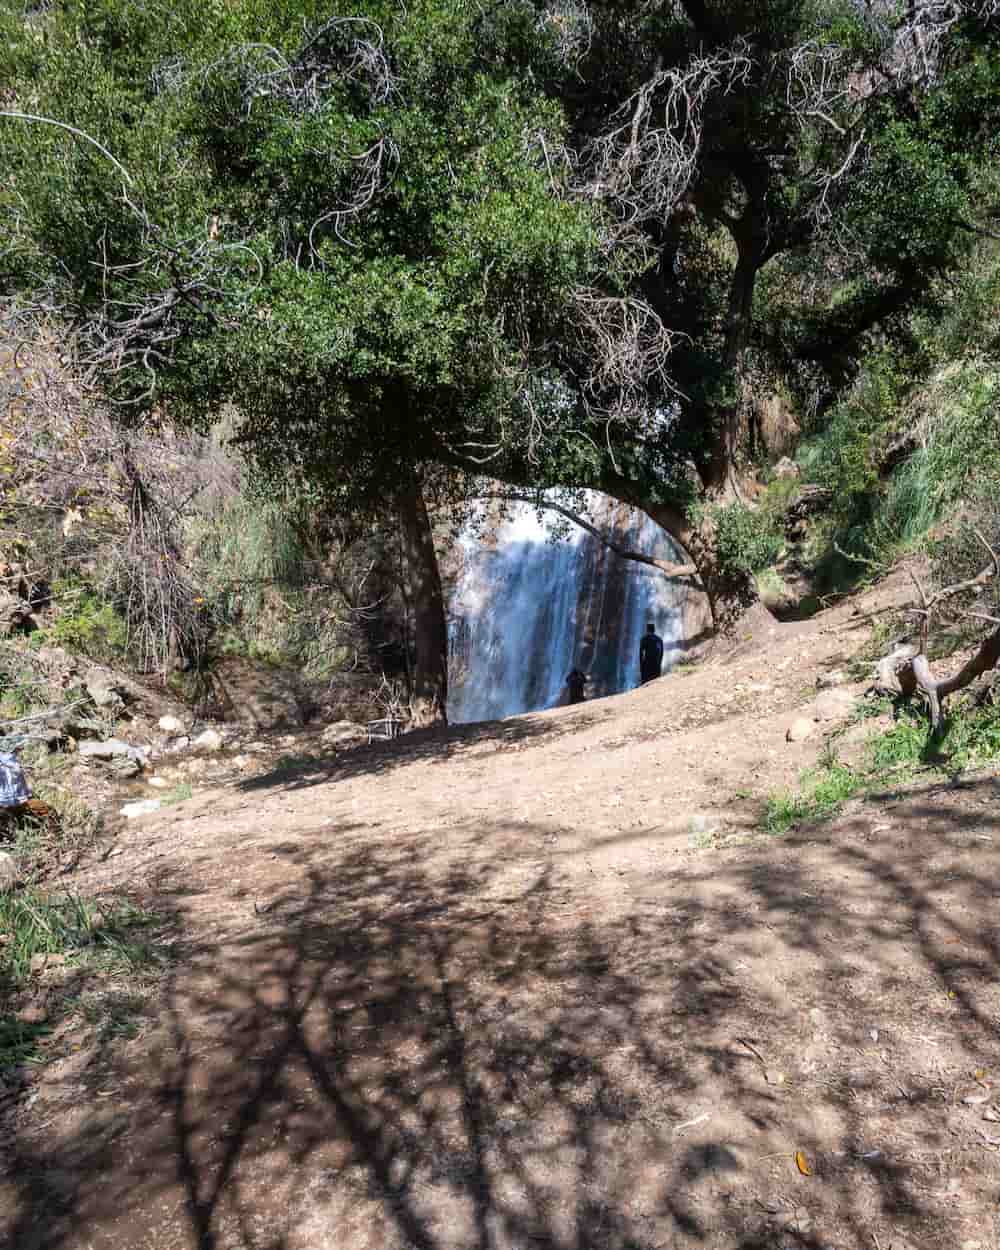
The gorge narrowed, and the stream gradually grew louder within minutes of additional boulder scrambling.
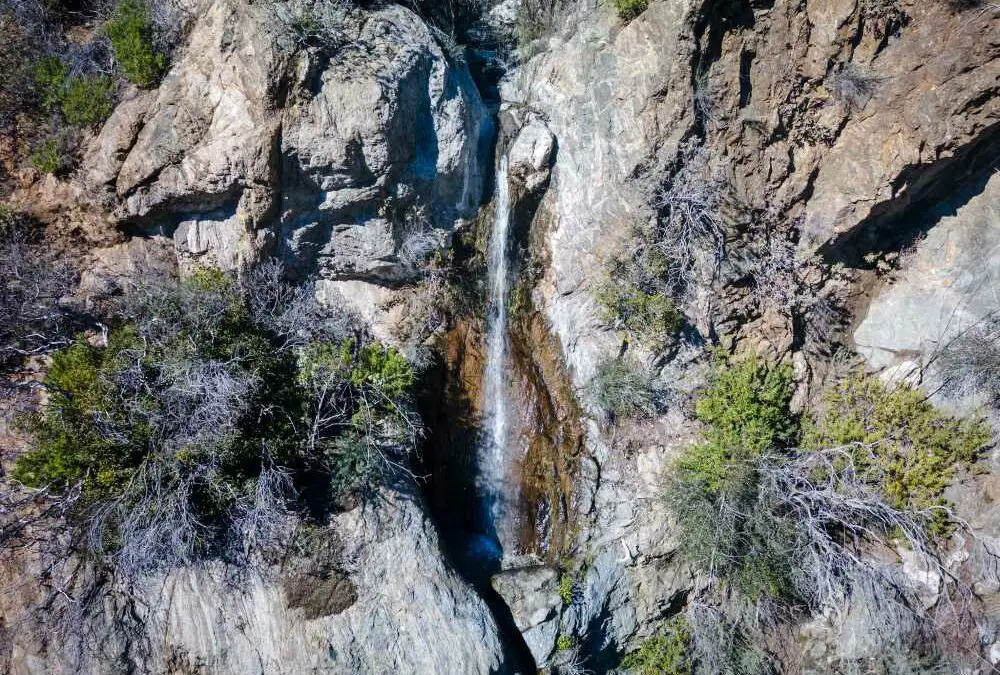
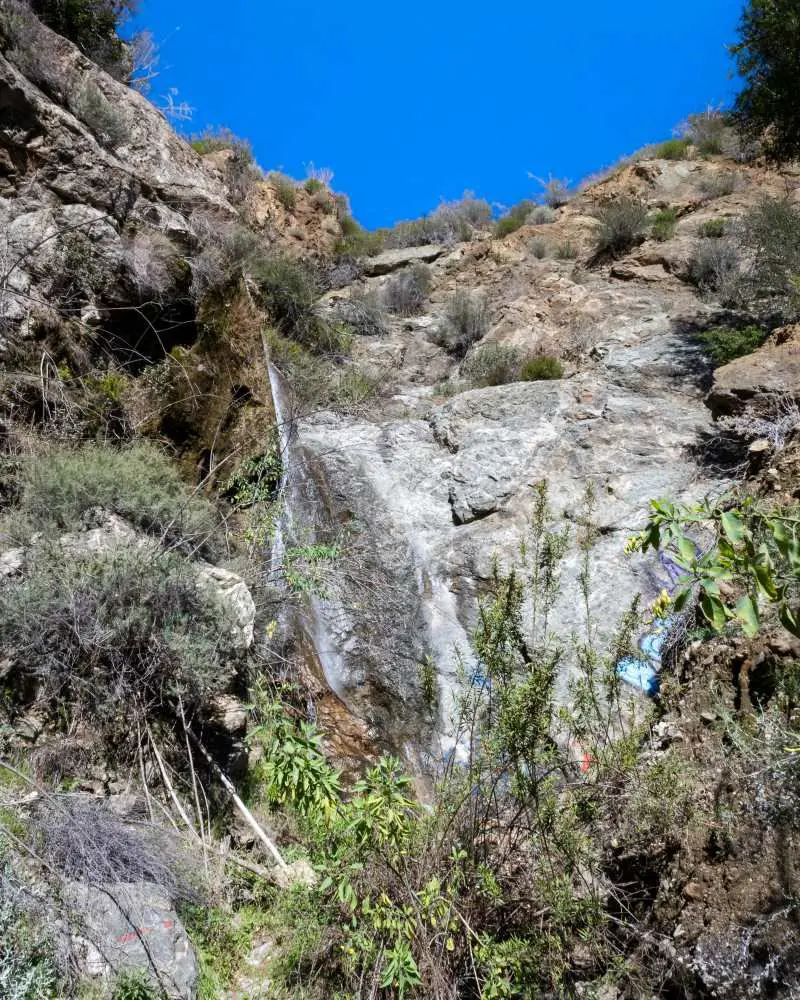
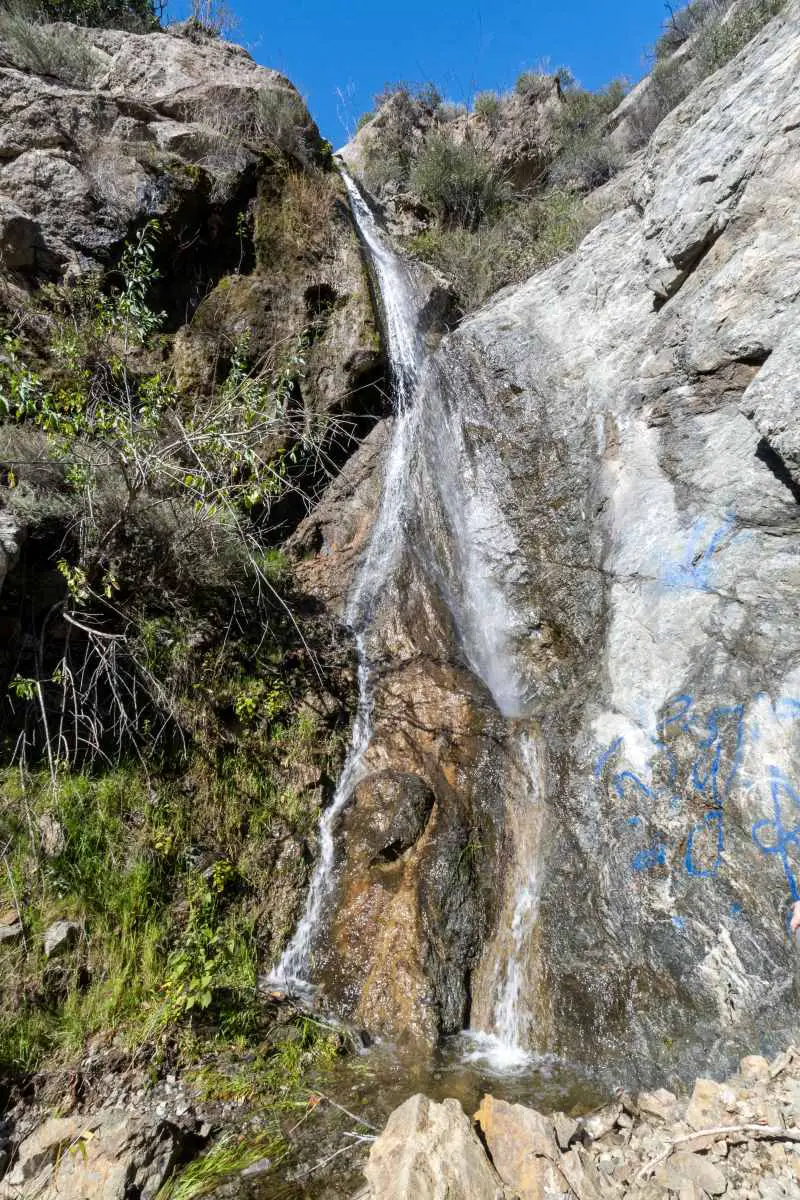
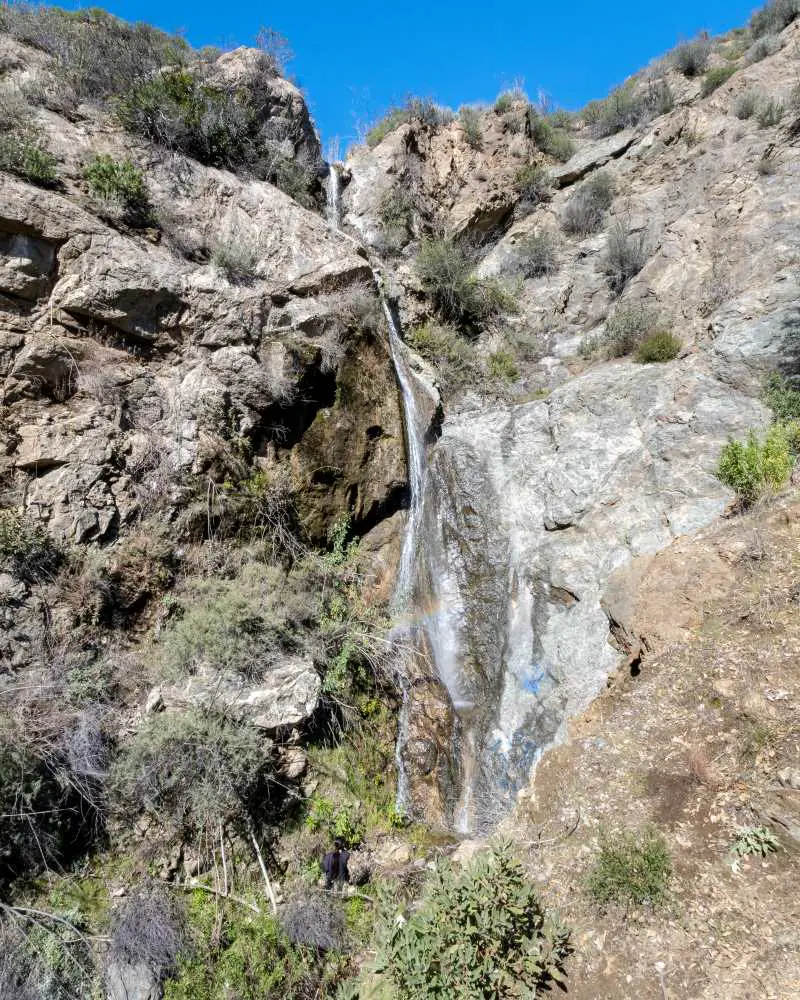
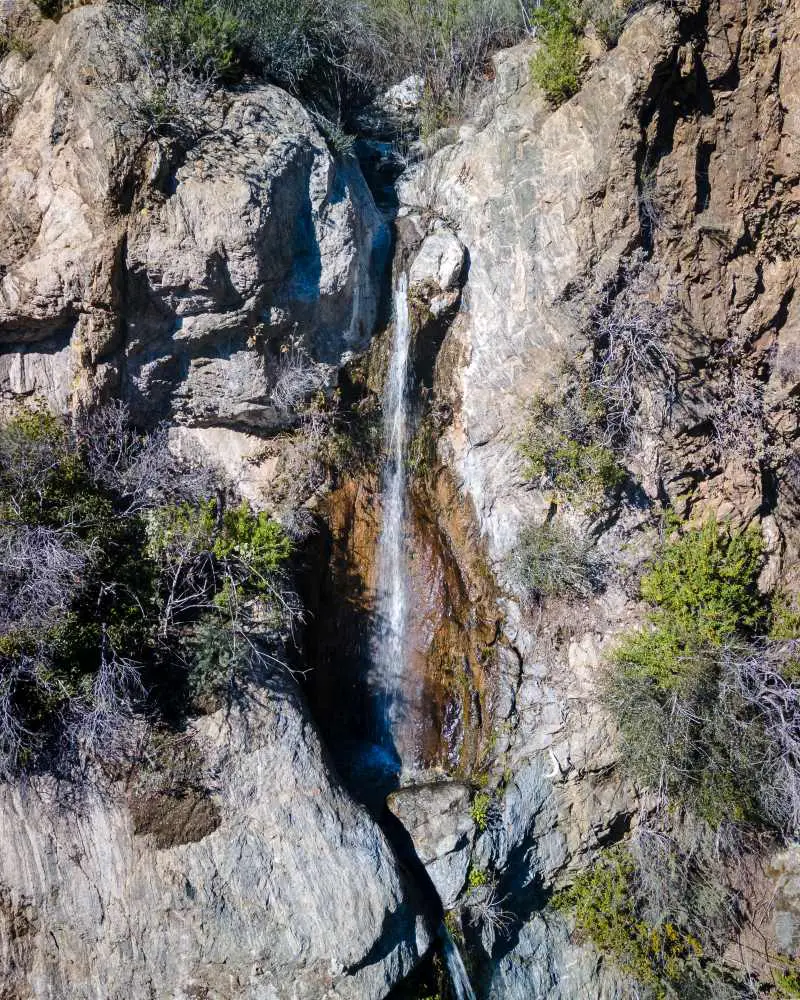
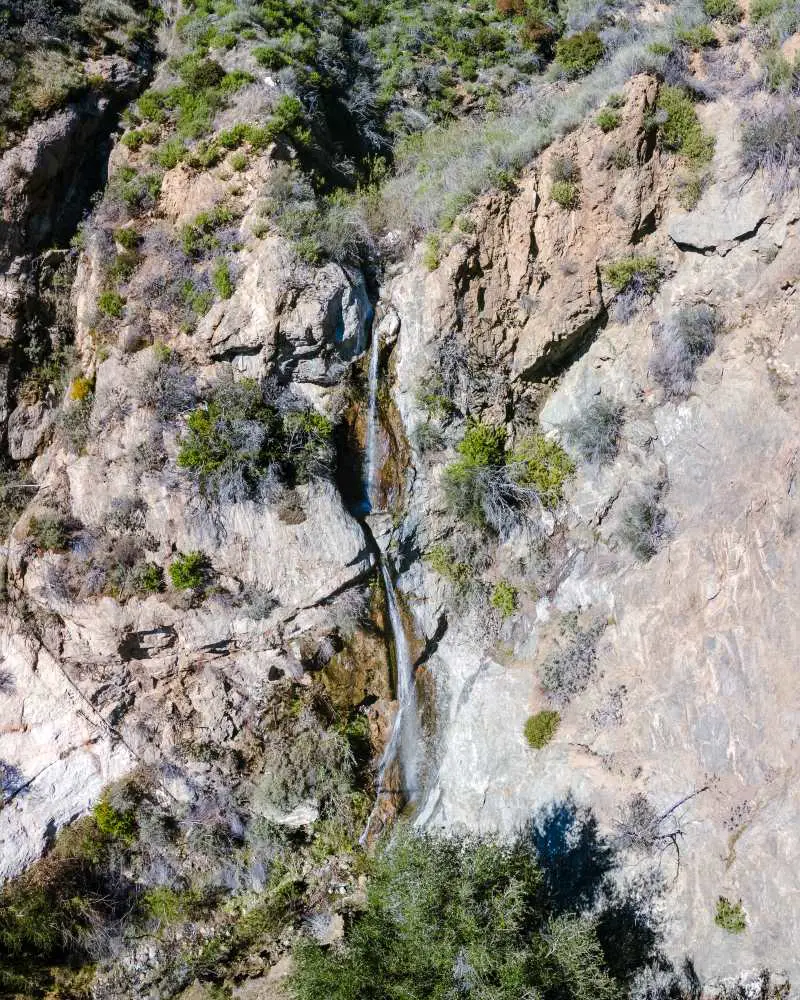
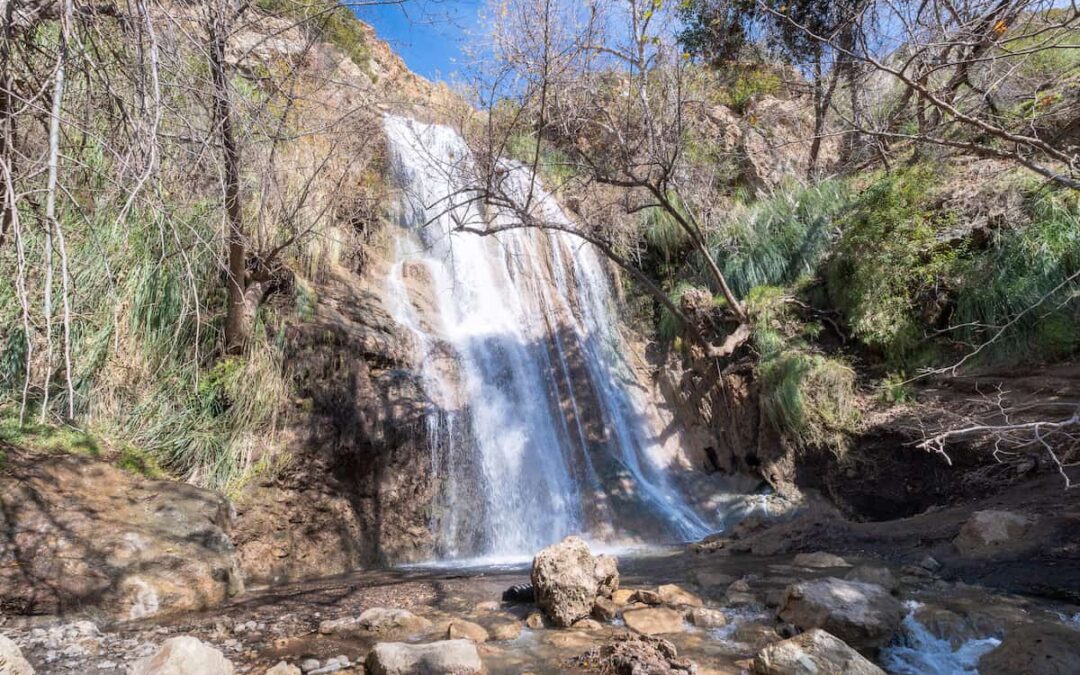
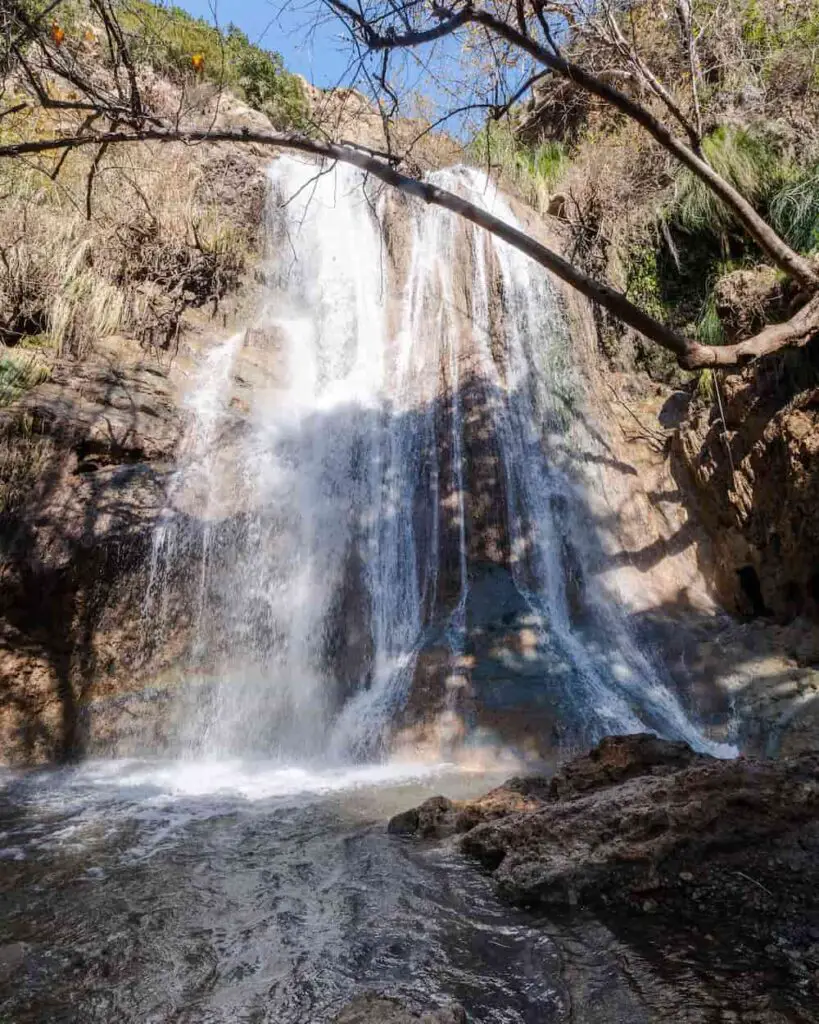
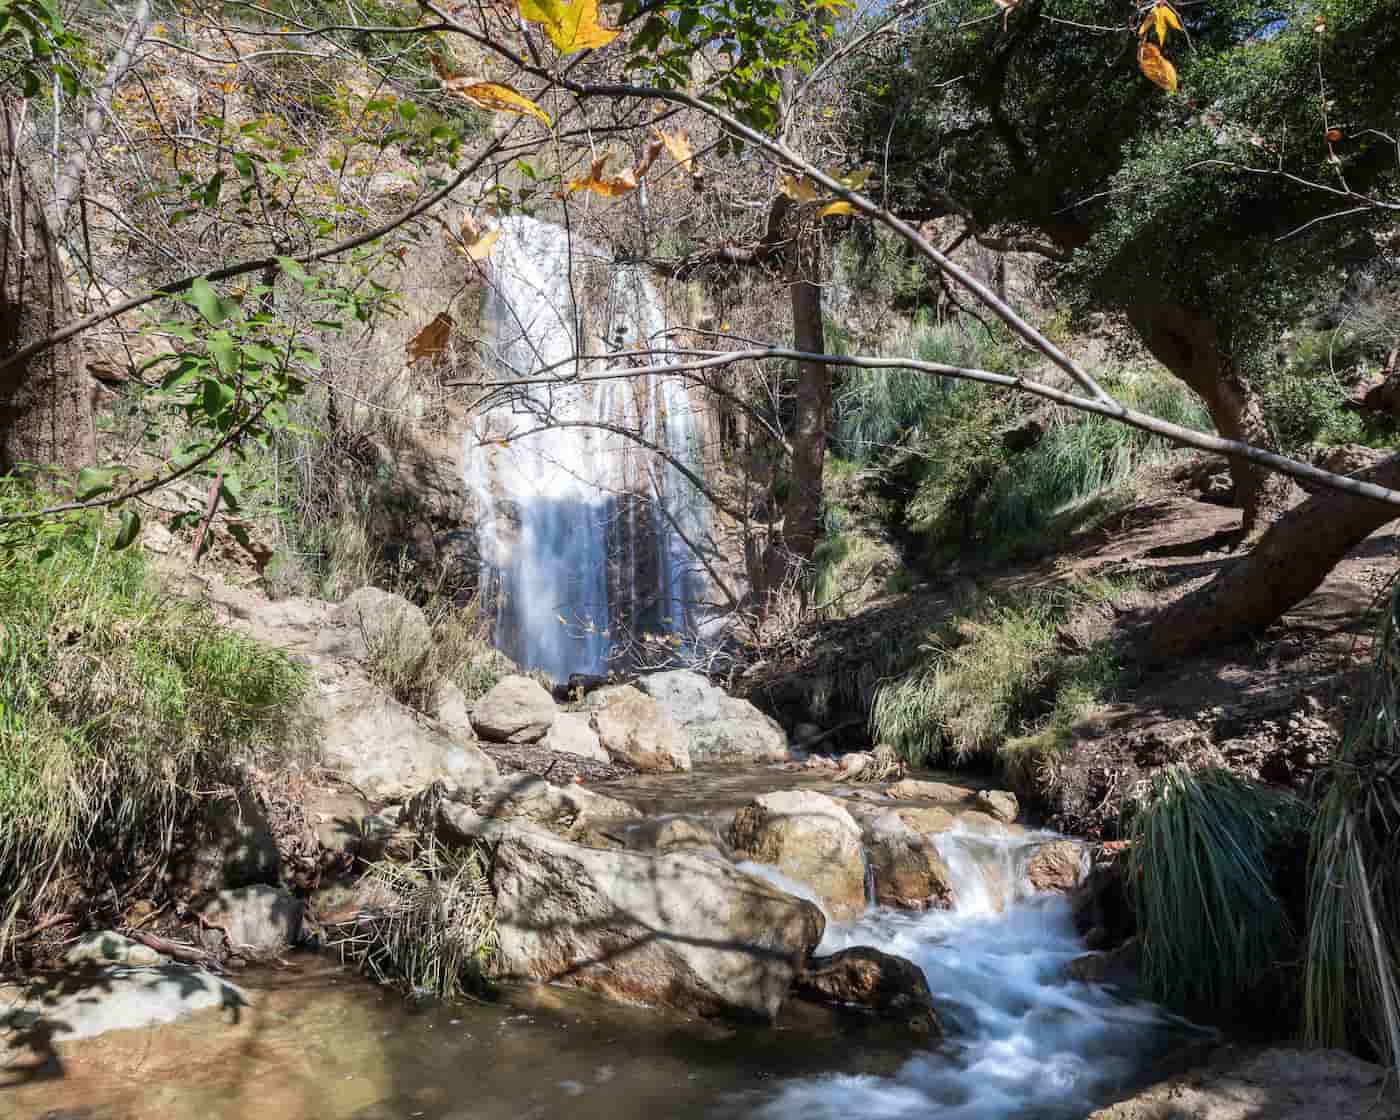
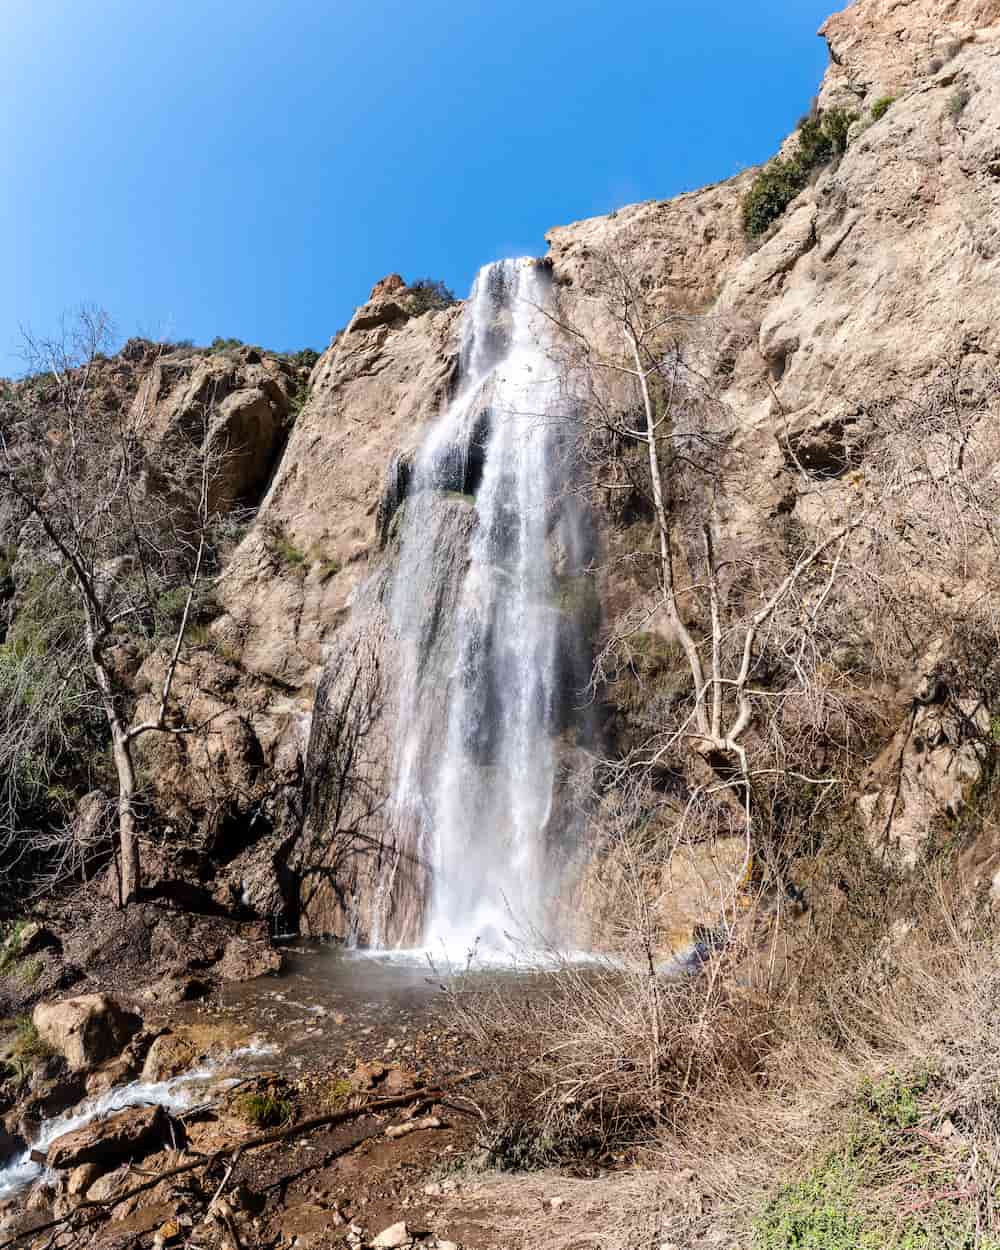
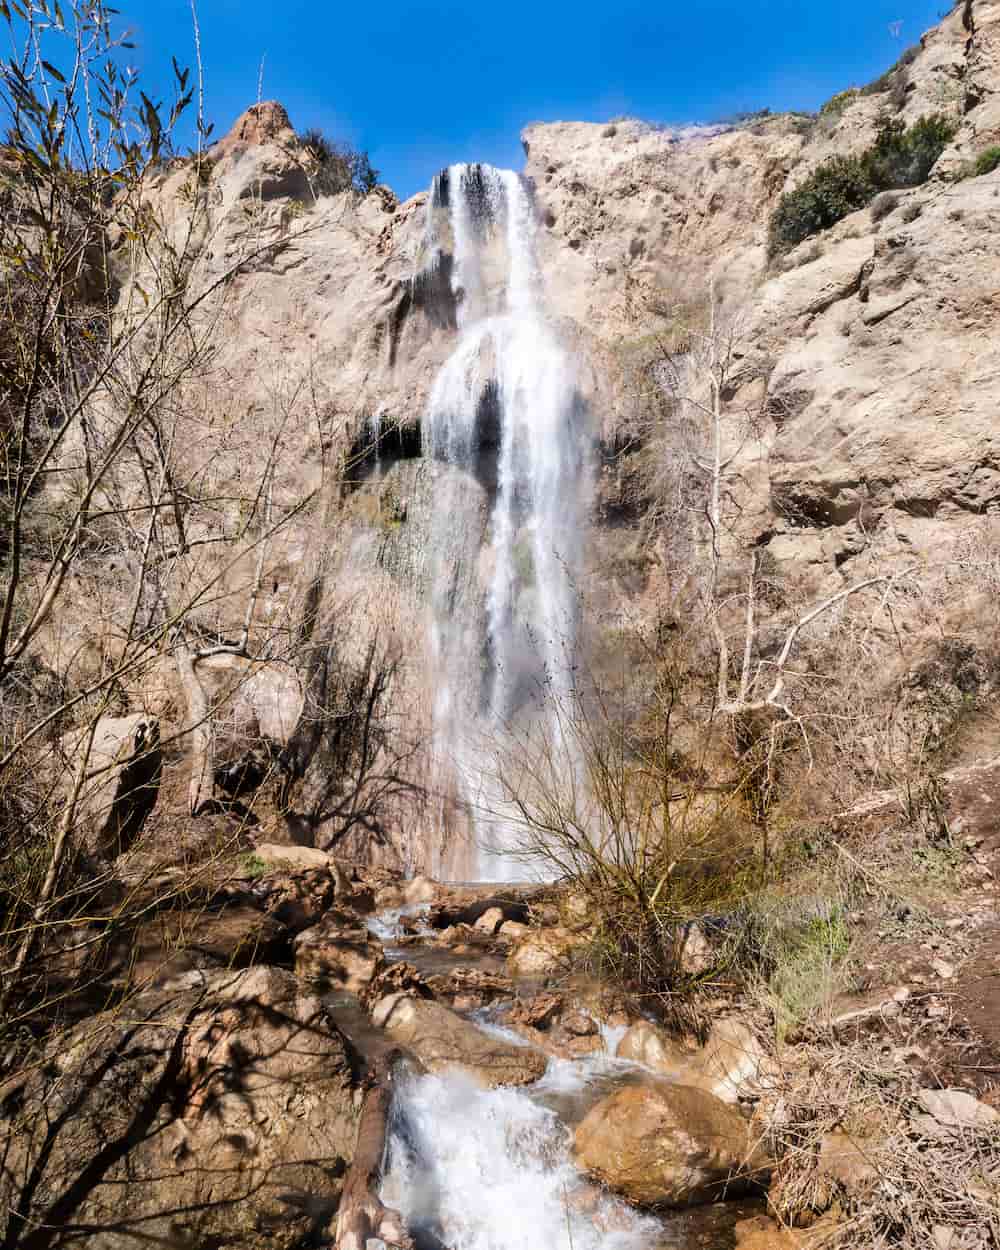
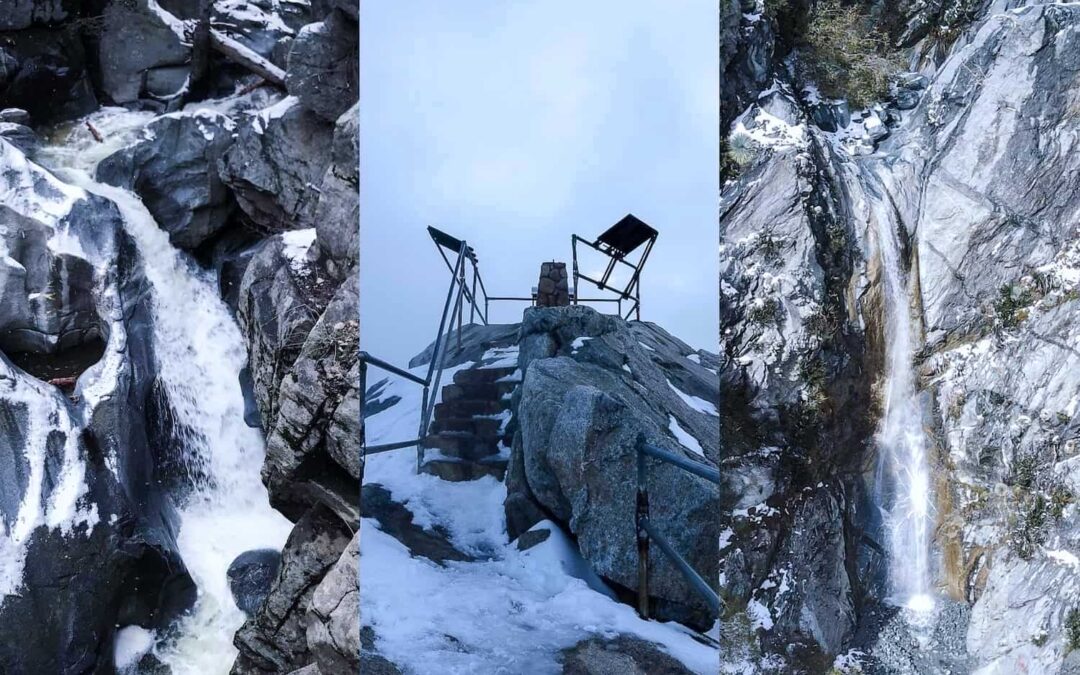
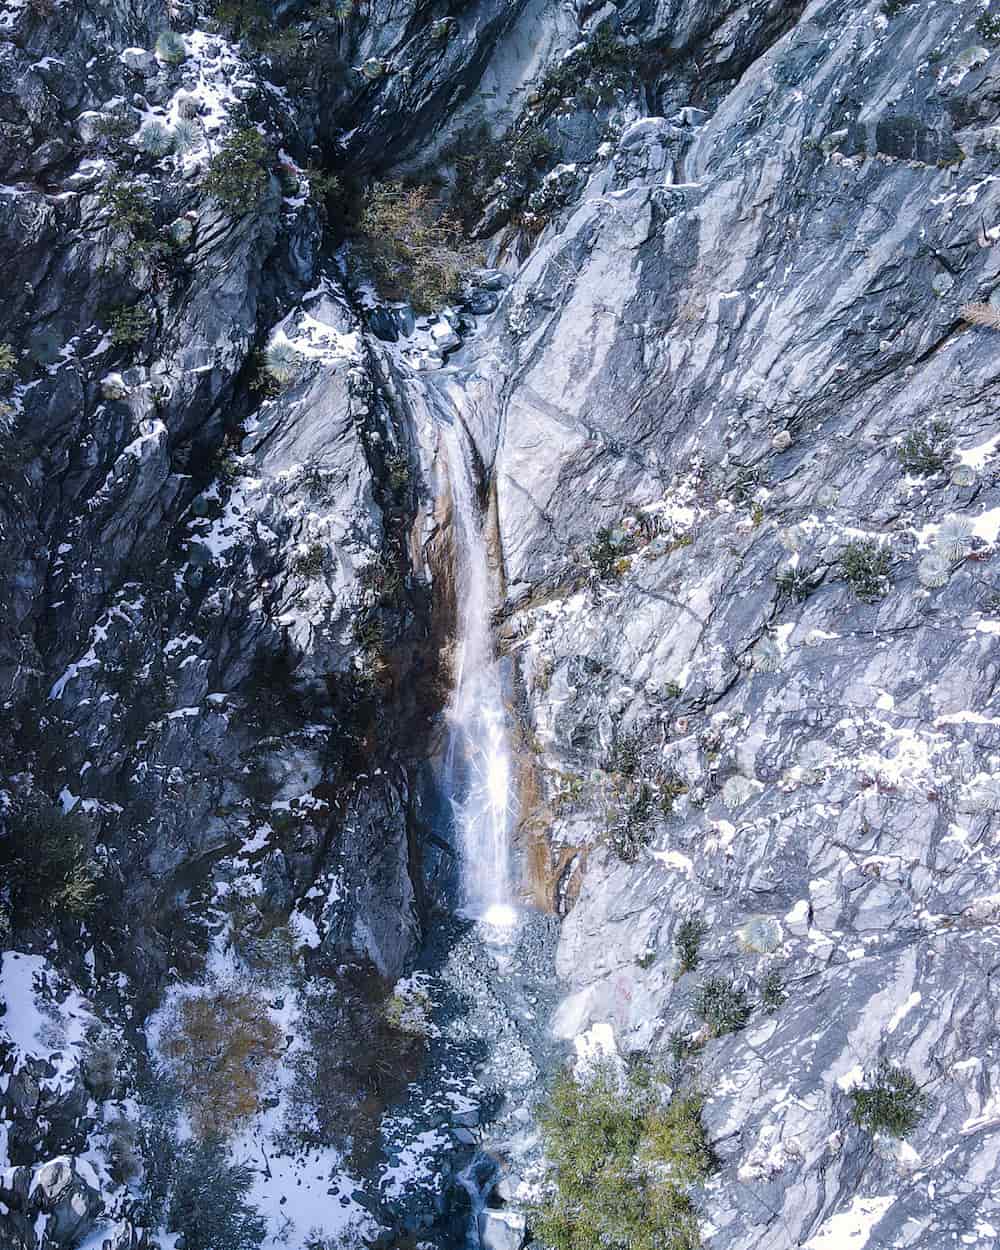
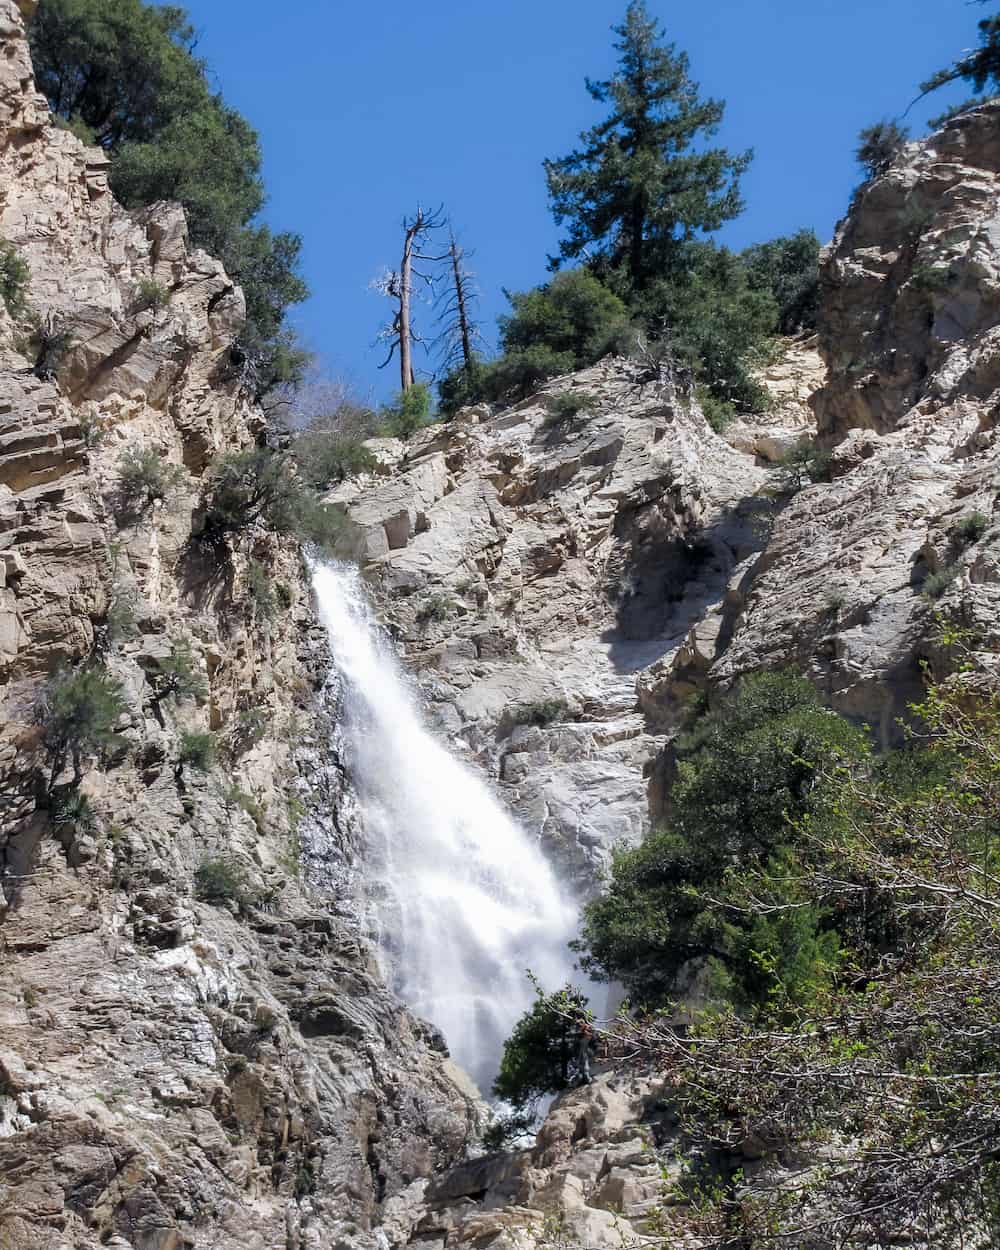
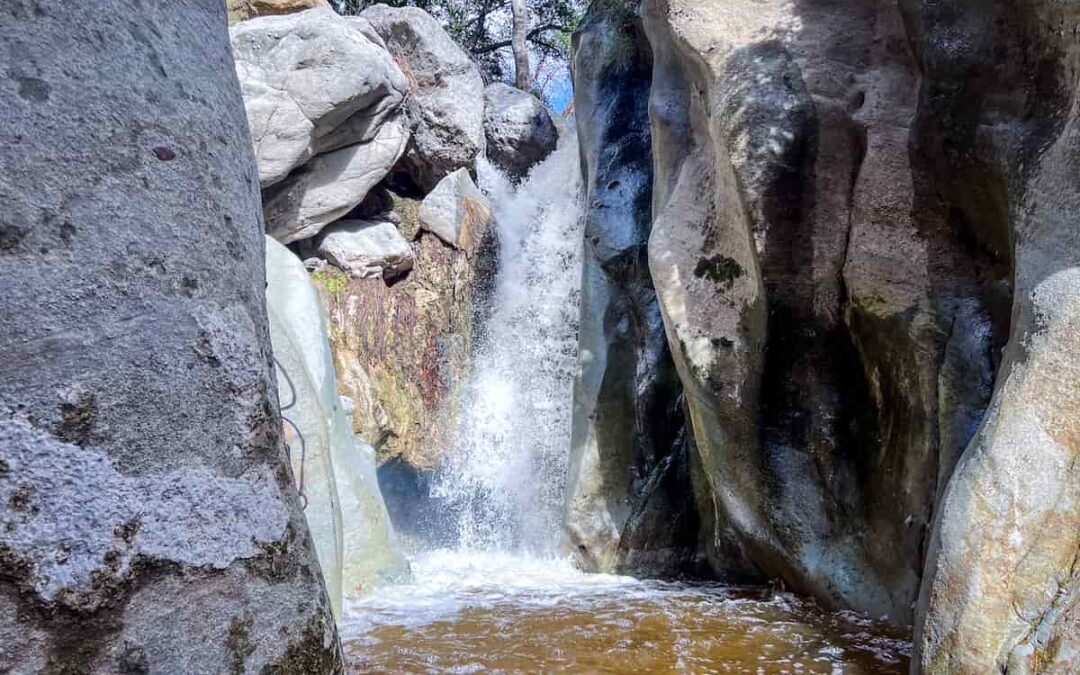
Just like that, I was standing before the 18-foot cascade. The creek gushed off the sandstone cliff with a roar and plummeted to a shallow pool below.
Most of the canyon floor was flooded, forcing me to cling to the walls to give my feet a break from the cold water.
The Maidenhair Ferns which adorn the falls with a vibrant green had become dull for the winter.
Only one piece of graffiti could be seen at the falls.

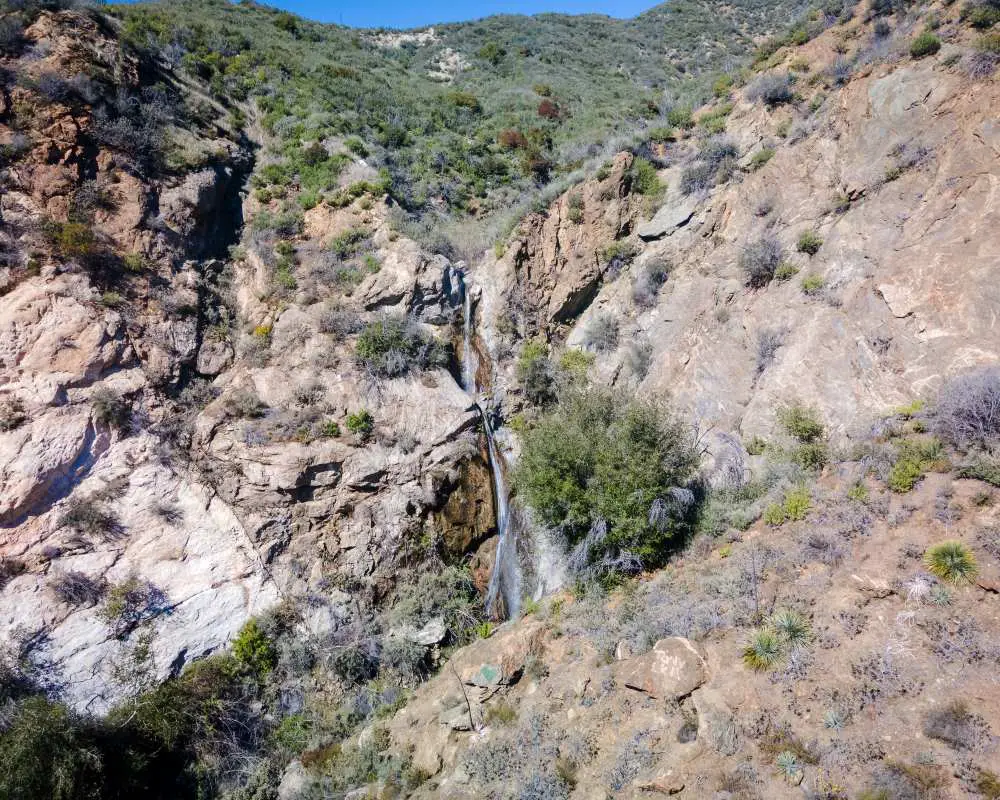
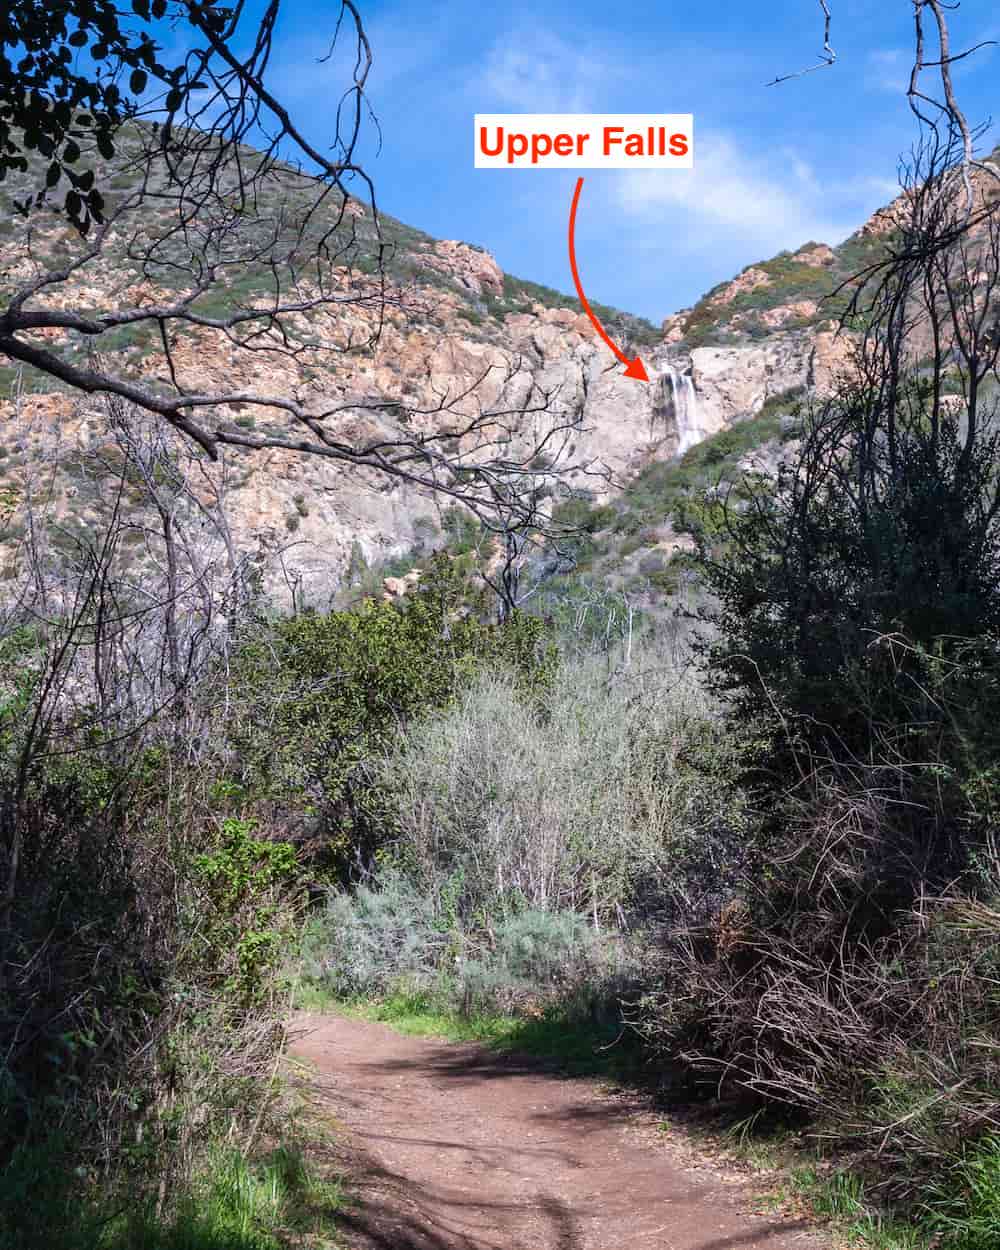
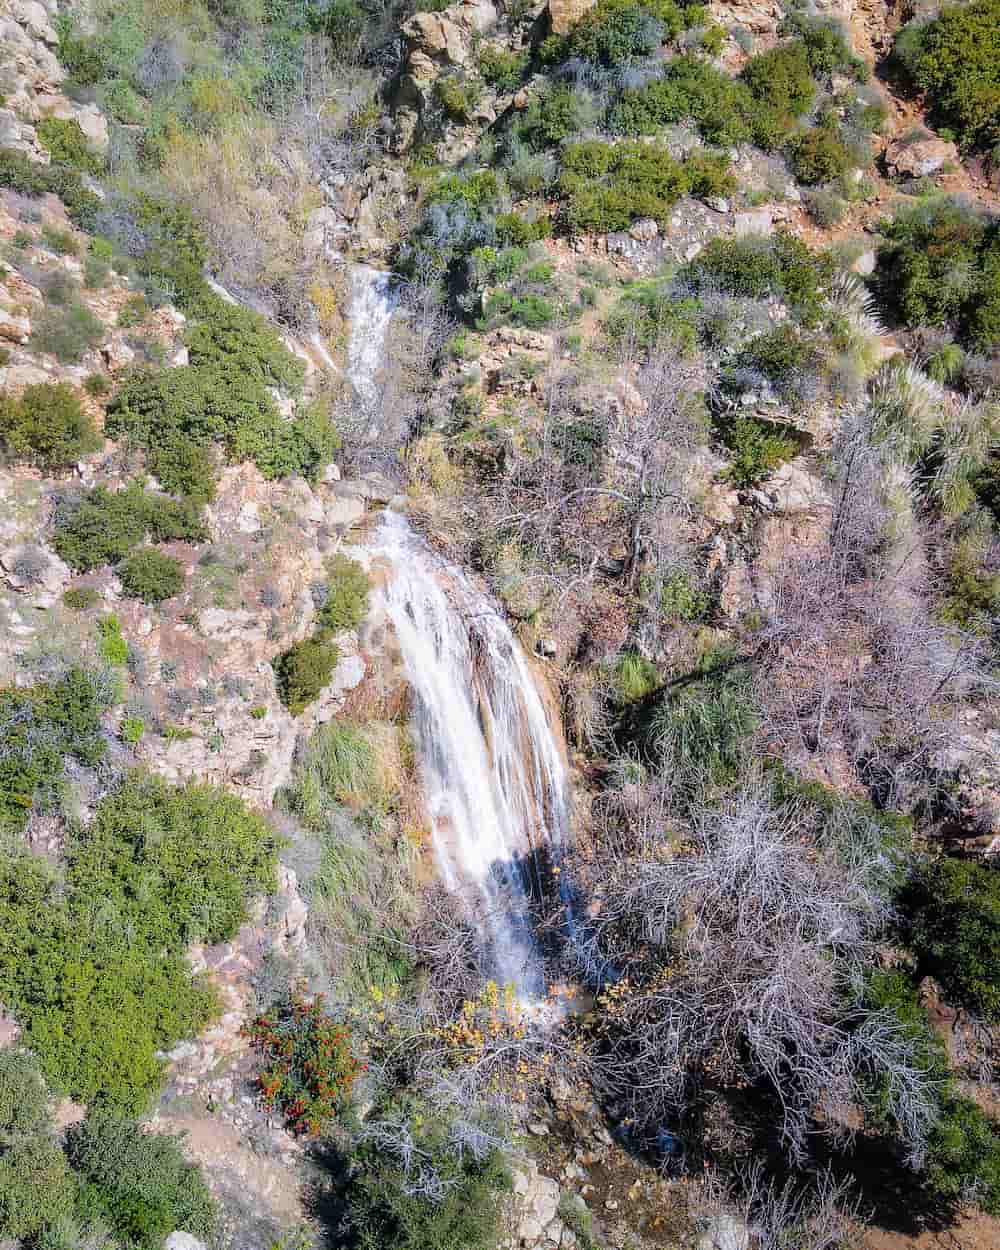
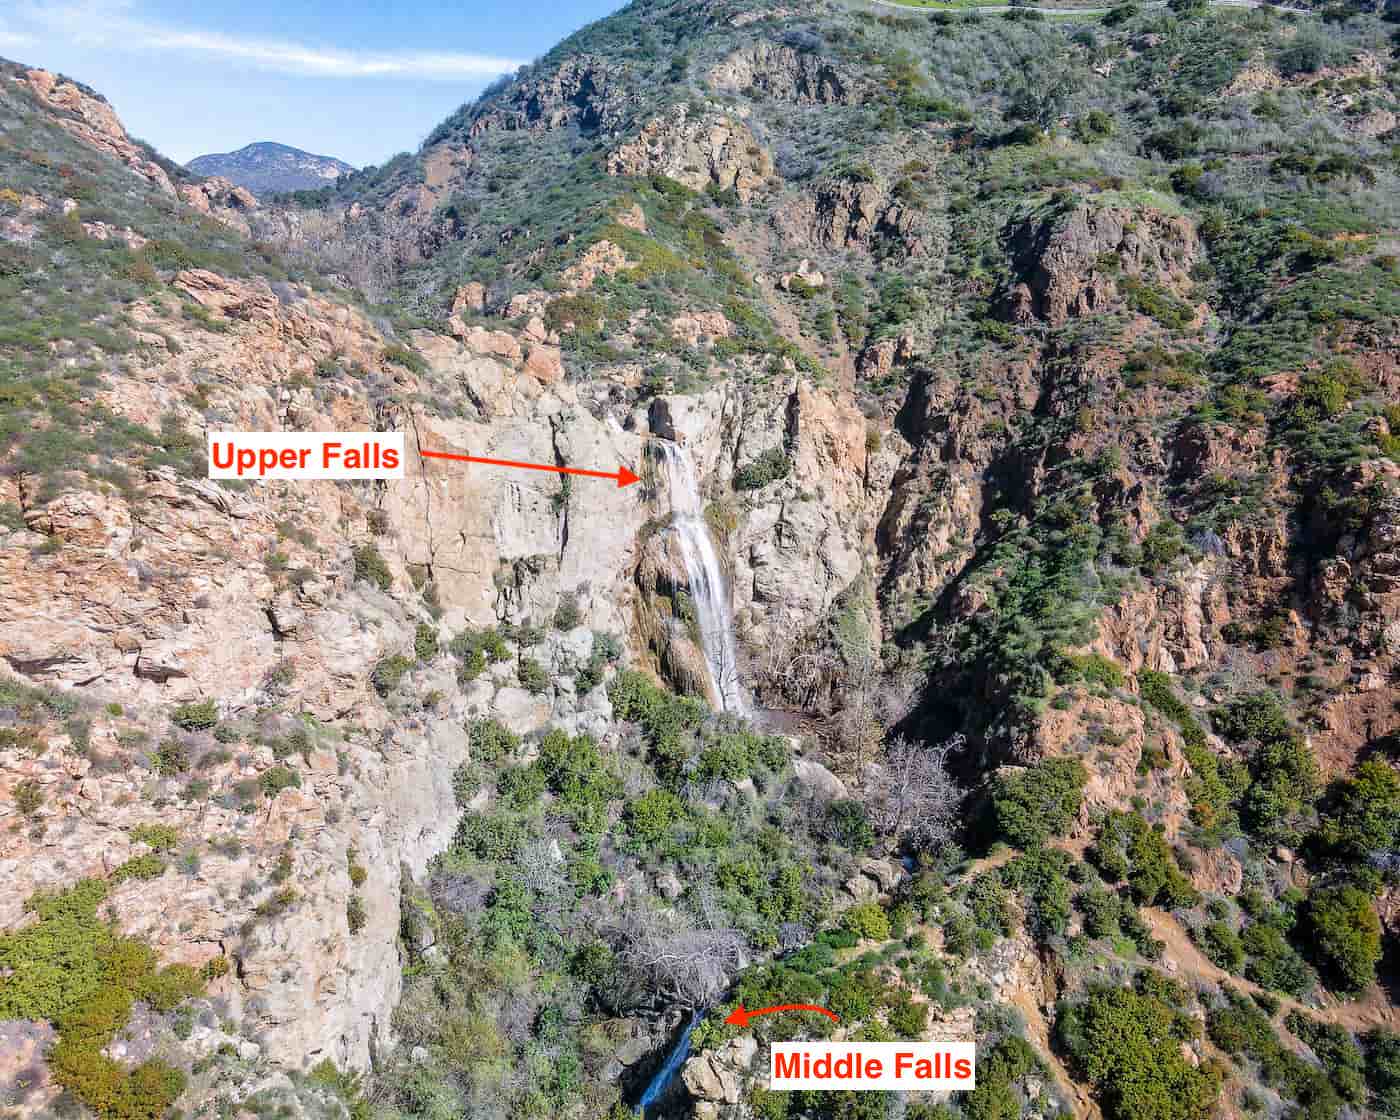
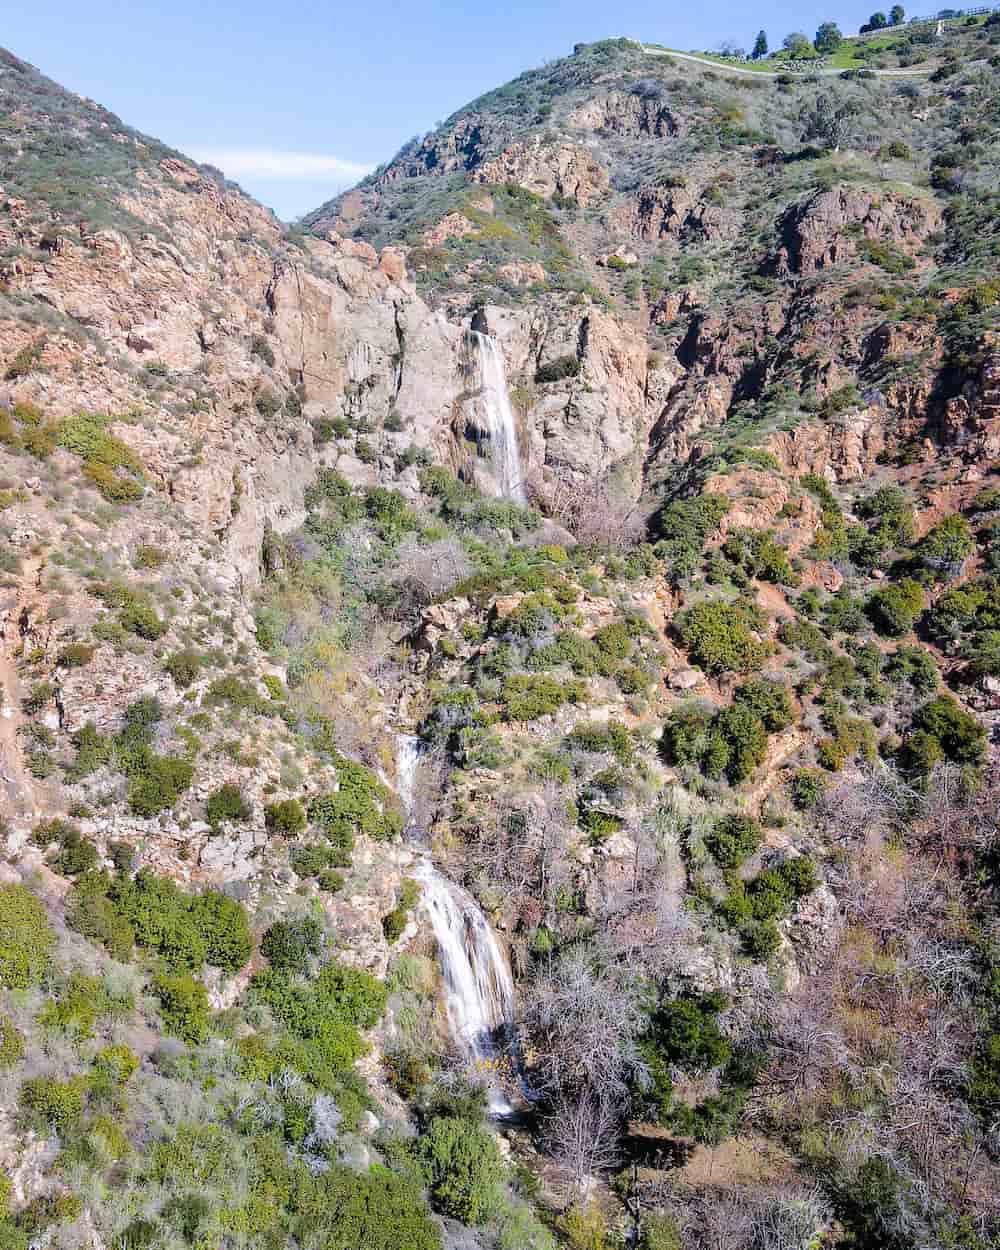
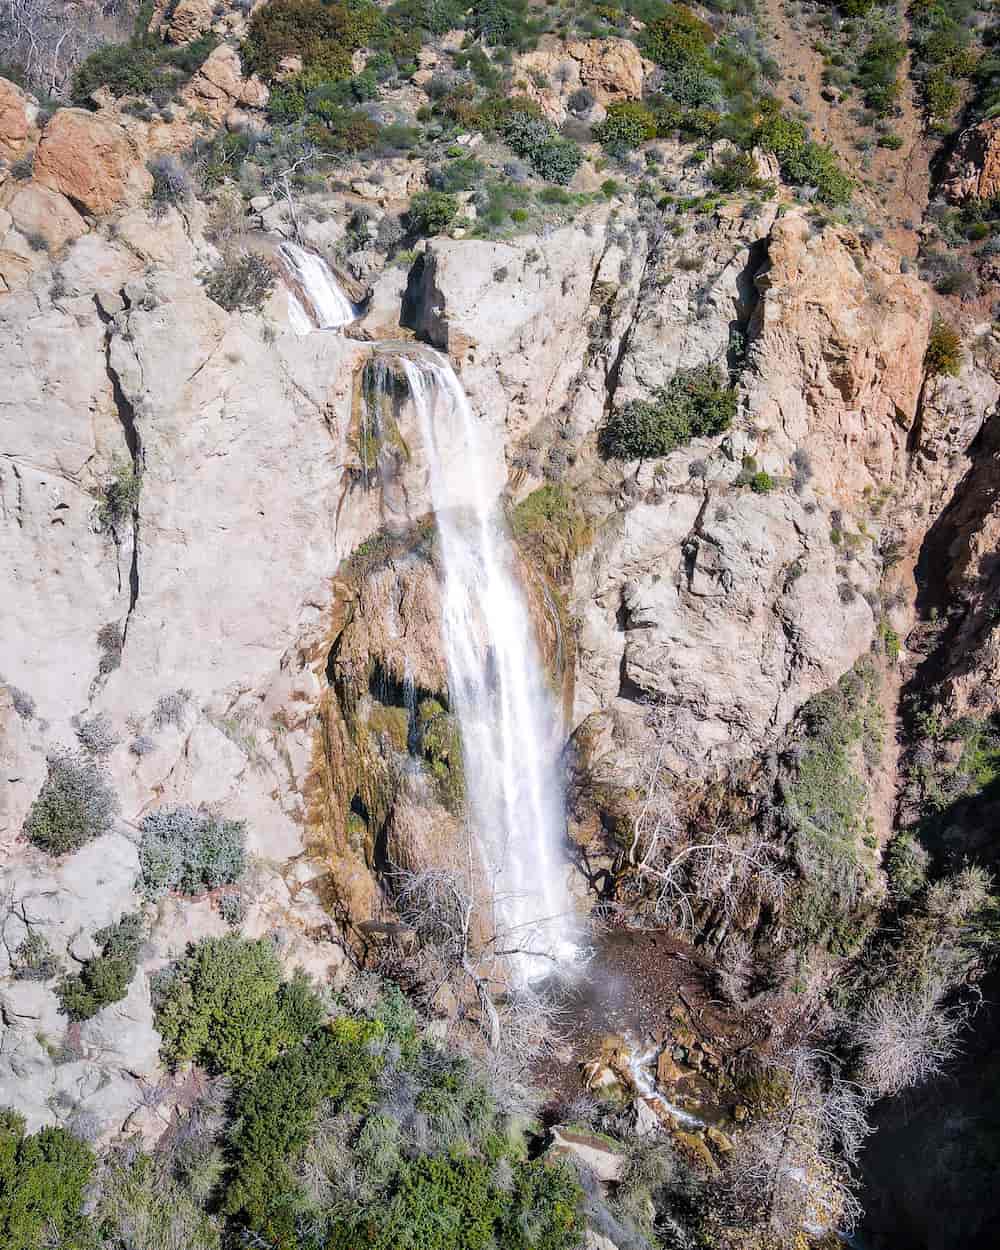
The creek continues to meander up the canyon, leading to a smaller falls known as Upper Santa Ynez Falls, and then much further up to its source, Eagle Springs.
For me, however, this marked the end of my adventure.
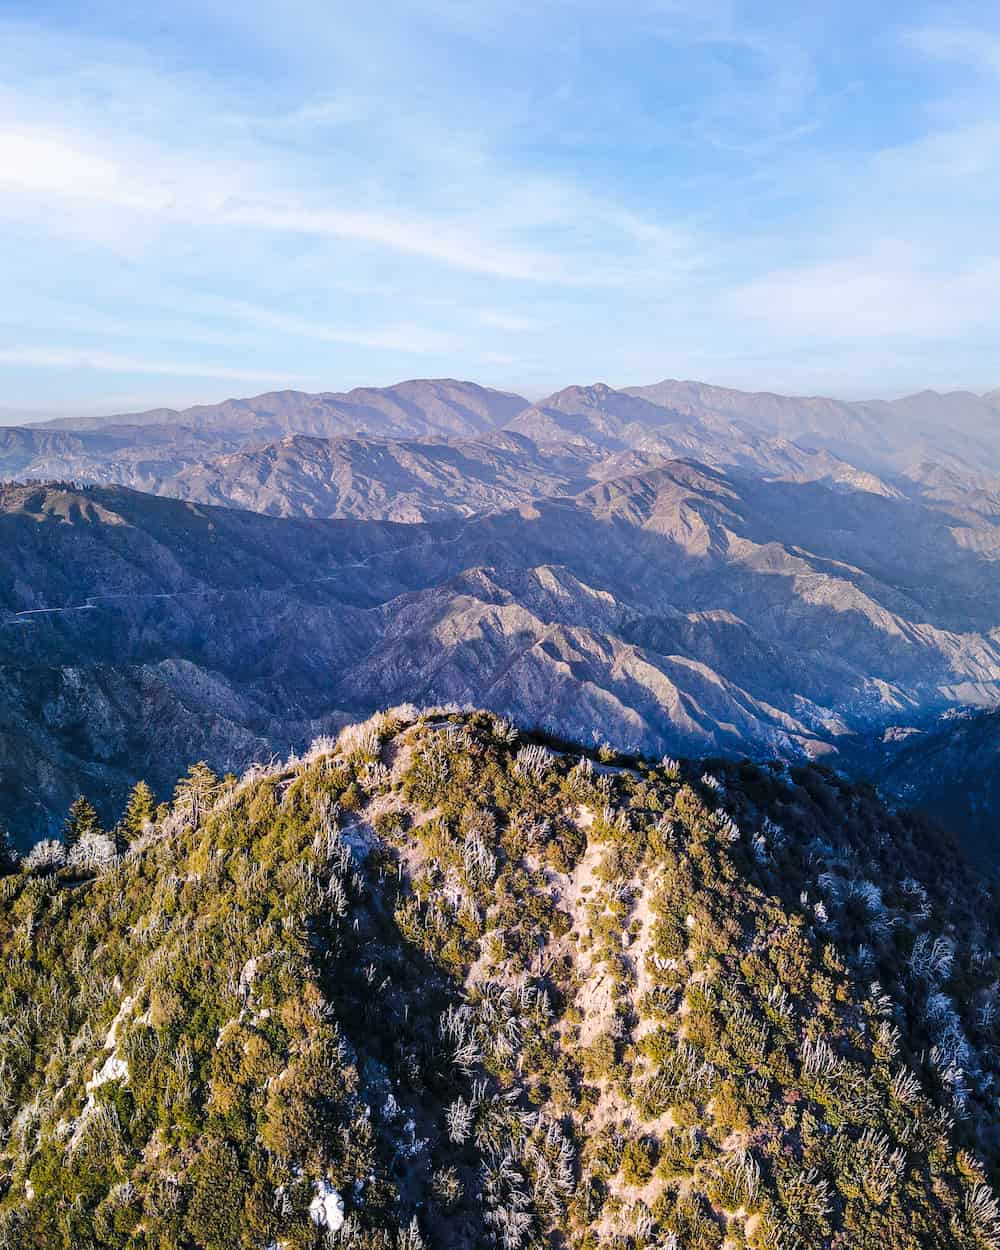
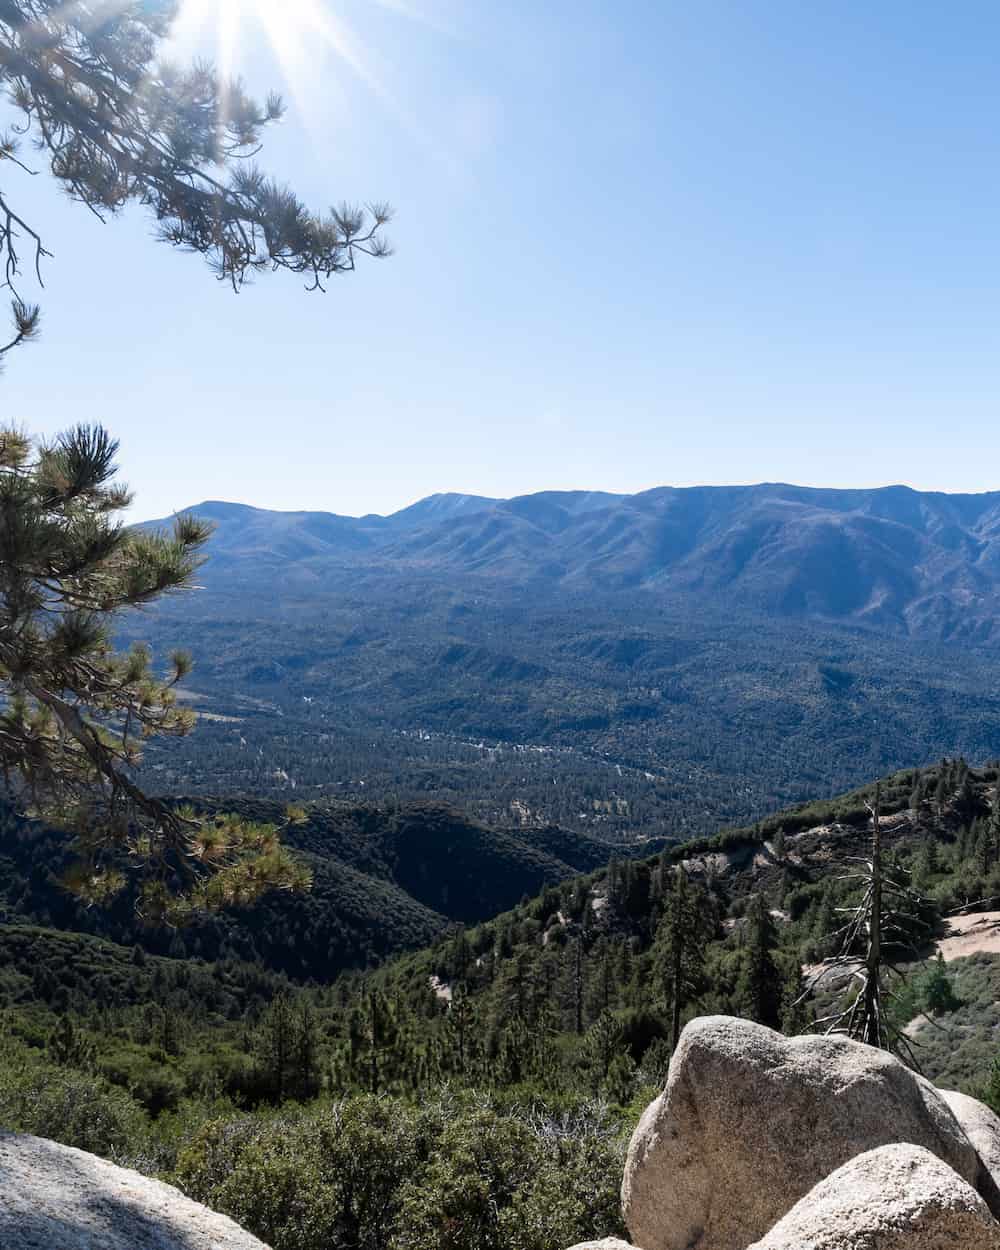
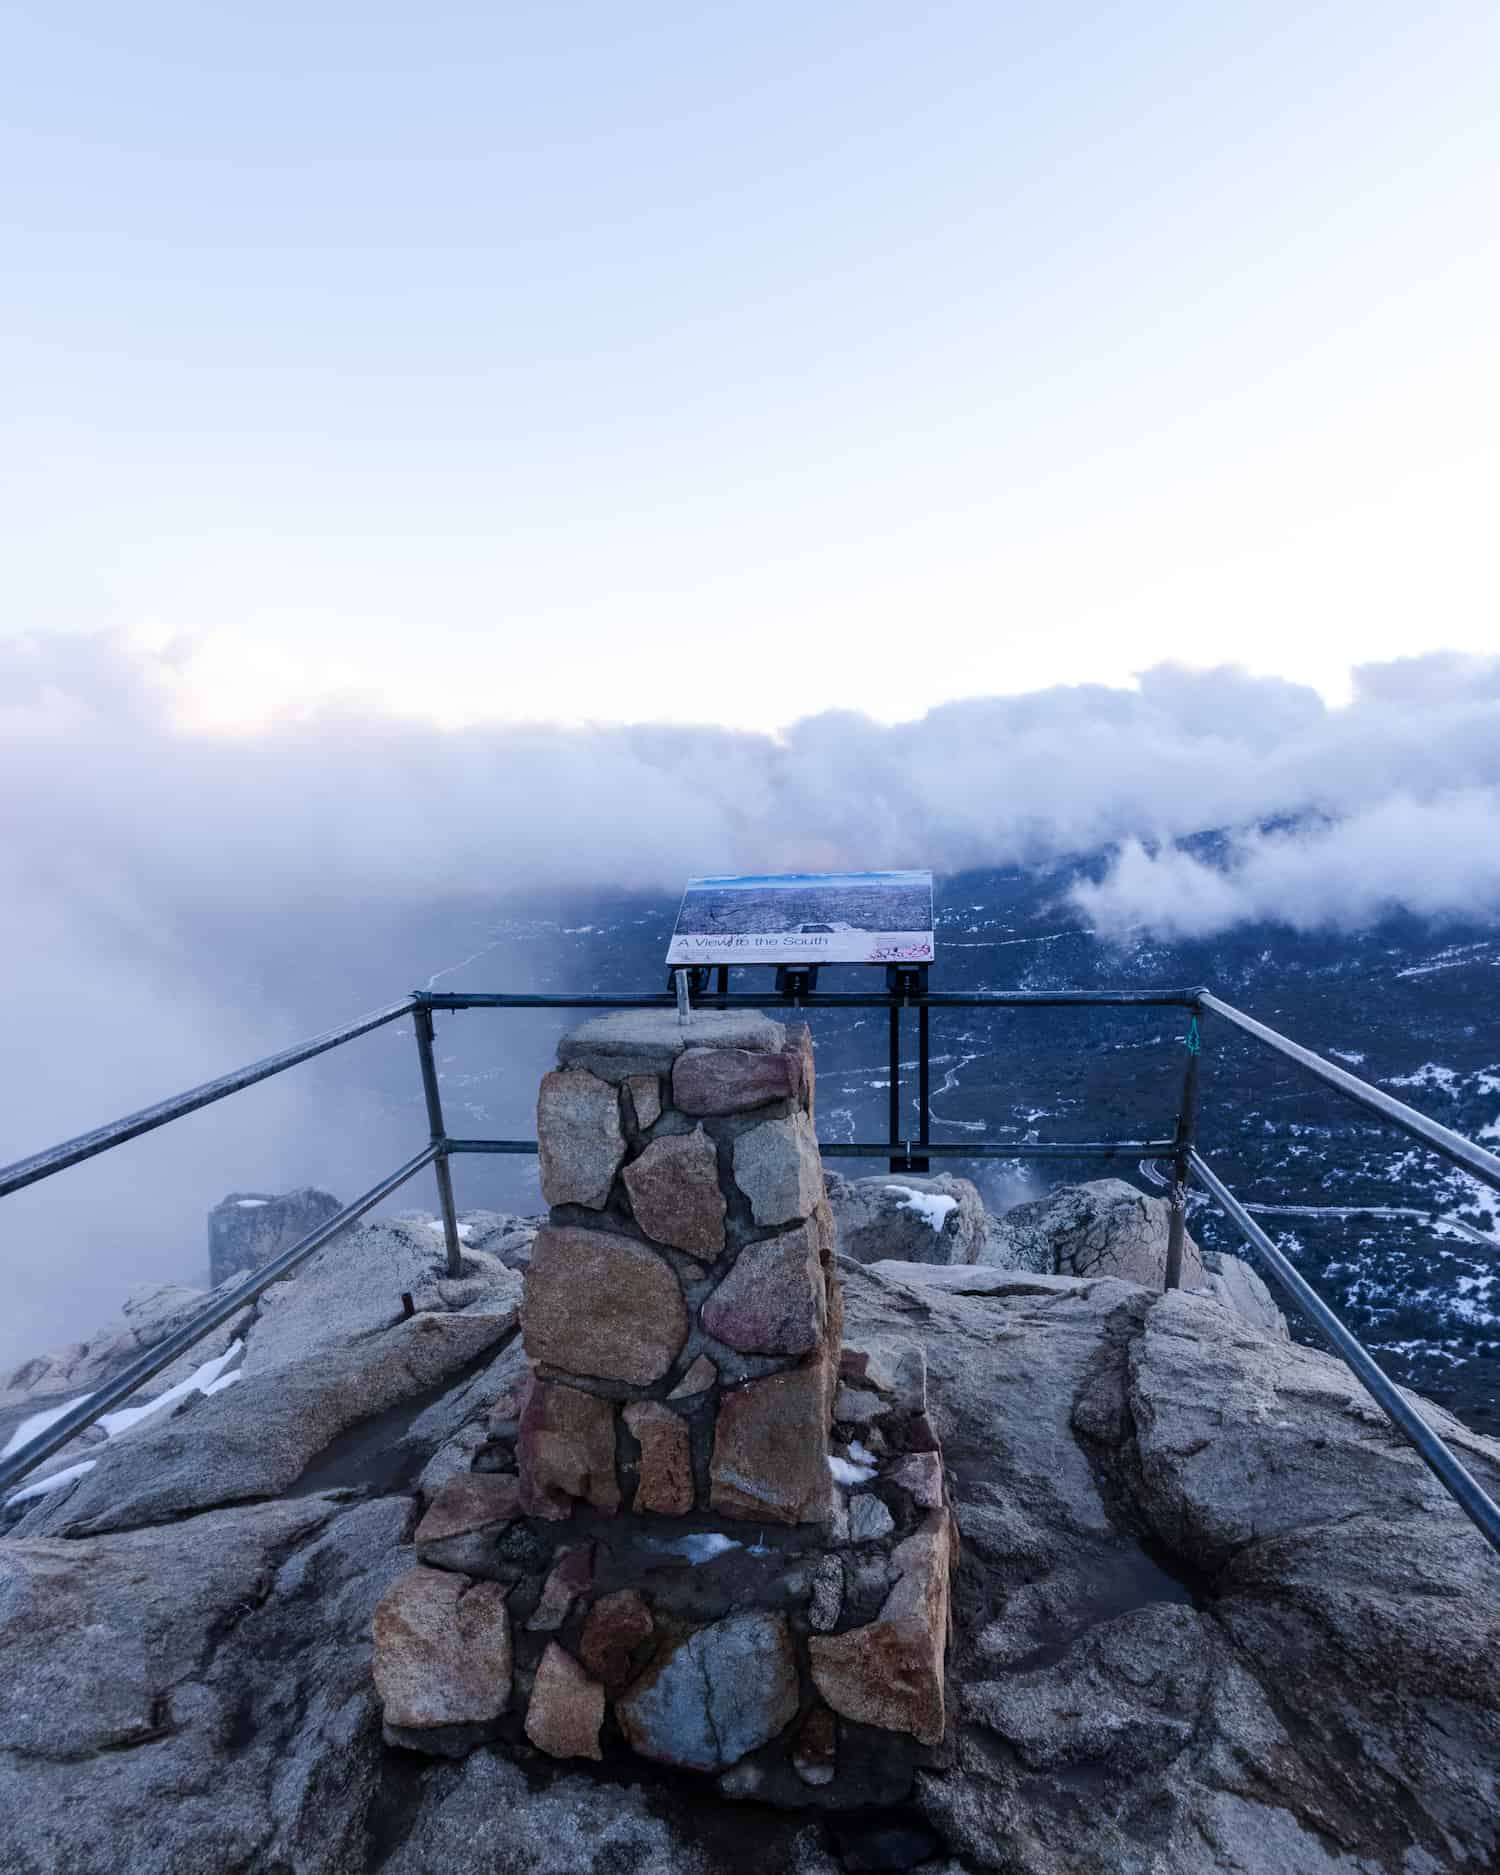
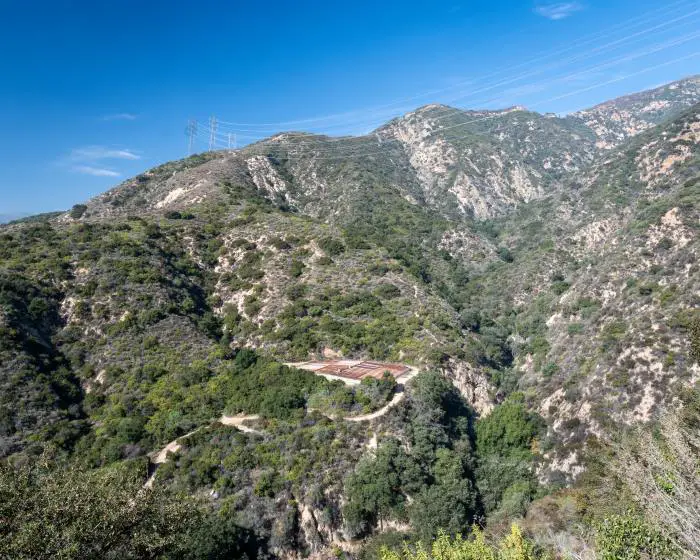
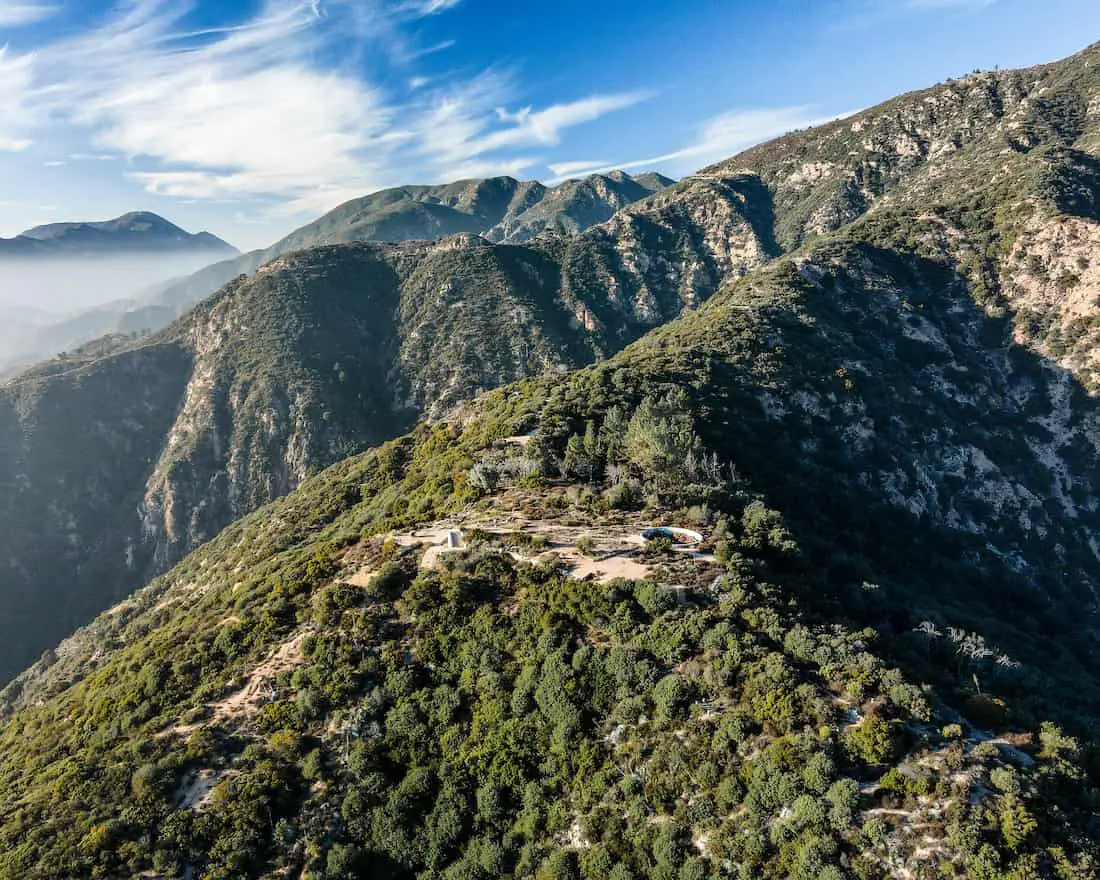
Is getting wet and boulder scrambling not your thing? Then you should probably swap Santa Ynez Falls for this hike to a concrete ledge, which is also located in the Santa Monica Mountains. Do not be fooled, the panoramic views from this ledge are insane and breathtaking and are by far the best in the range.
Plants
- Oak Cathedrals
- Poison Oak
- Lupine
- Alders
- Sycamore
- Maidenhair Ferns
- California Bay
- Coast Live Oak
- Purple Nightshade
- Humboldt Lilies
Animals
- Pacific tree frogs about 1.5 inches long
- Mule deer
- Coyotes
- Bobcats
- Mountain lions (cougars)
- California Scrub Jays
- California Newts
- Western Rattlesnakes
- Southern Alligator Lizards
FAQs
Can You Swim At Santa Ynez Falls?
Unfortunately, the pools are not deep enough to swim.
Does Santa Ynez Falls Flow Year-Round?
Santa Ynez only flows during the spring, assuming we receive decent rainfall.
Is Parking Free For The Santa Ynez Falls Hike?
Since parking consists entirely of street parking, it is completely free.